SET YOUR VEHICLE
TALK TO A PARTS EXPERT TODAY!
FREE SHIPPING ON ORDERS OVER $70 in the contiguous US lower 48 states
SPECIALS!
Browse By Category
- Auxiliary Lights
- Light Bars
- Fog/driving Lights
- Underhood/rock Lights
- 3rd Brake Light Solutions
- Back Up Lights
- Other Auxiliary Lighting
- Shop All
X Close Search
Results for
Filters:
Stock
Category
Brand
Rating
Price
Stock
Category
Brand
Rating
Price
OH NO!
We couldn't find any results
We couldn't find any results
Search Tips:
- Use different keywords
- Double check your spelling
- Start with something less specific - you can refine your search results later
- Try changing some of your filters below:
Search term:
While the weather outside might be frightful, now is the perfect time to prepare for the sunny days ahead! The easiest way to enjoy the sun in your JT is to just pop the Freedom panels out and store them in the backseat, bed of the truck or at home. This may seem like the best option until a rainstorm pops up out of no where and your panels are in the back of your Gladiator or maybe even left at home.
The Bestop Sunrider top is the perfect answer to that problem. It opens in seconds, folds back out of the way when open, so you don’t have to worry about storing any panels and if that sudden rainstorm catches you off guard as it only takes seconds to close.
The best thing…. this is a super quick and clean install you can do right in your own driveway or garage. The only tool needed is a T40 Torx bit and a ratchet or driver to run that bit.
What’s In The Box:
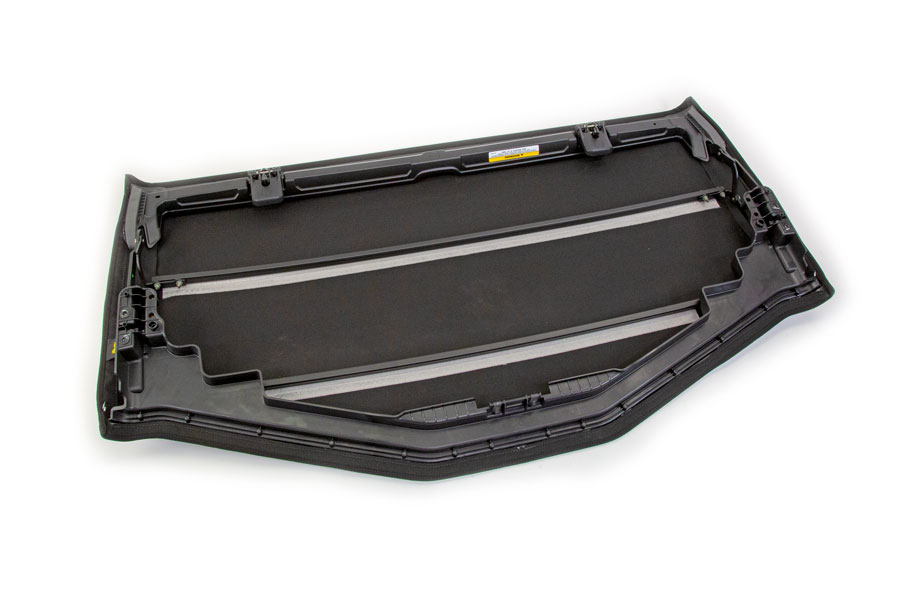
Header and Deck Assembly for the Bestop Sunrider for the Gladiator JT and the Wrangler JL (PN# 52452).
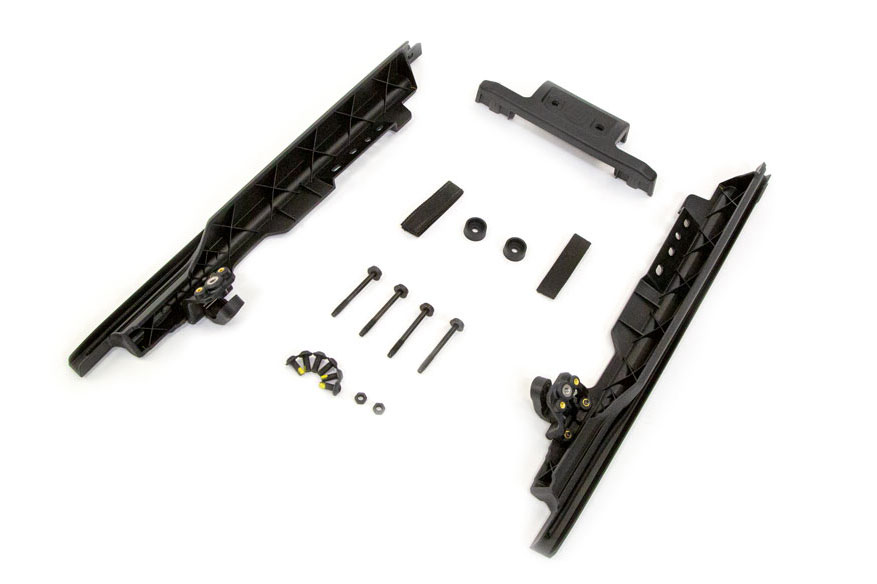
Bracket and Hardware kit for the Gladiator JT/Wrangler JL Sunrider top by Bestop.
How To Install The Bestop Sunrider:
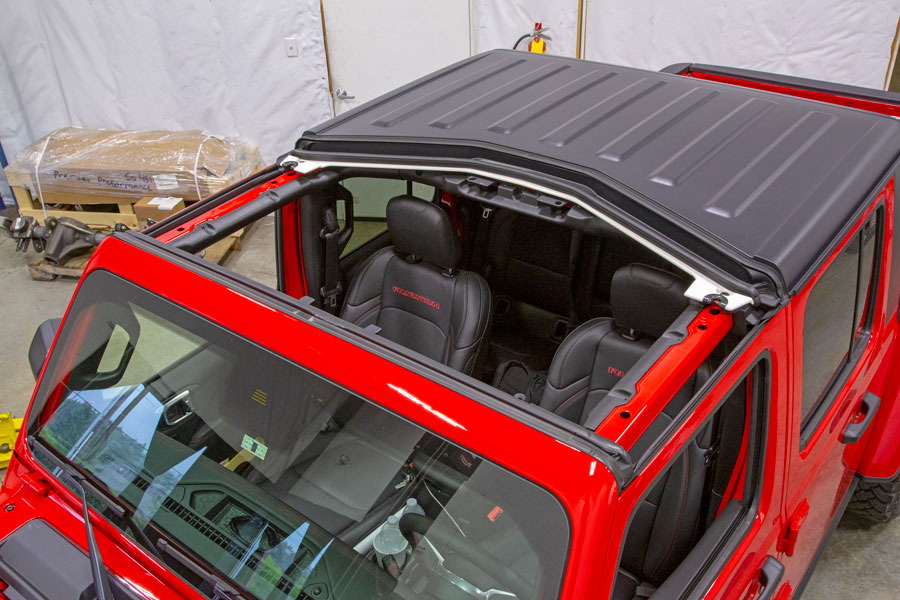
Start out by removing your Freedom panels.
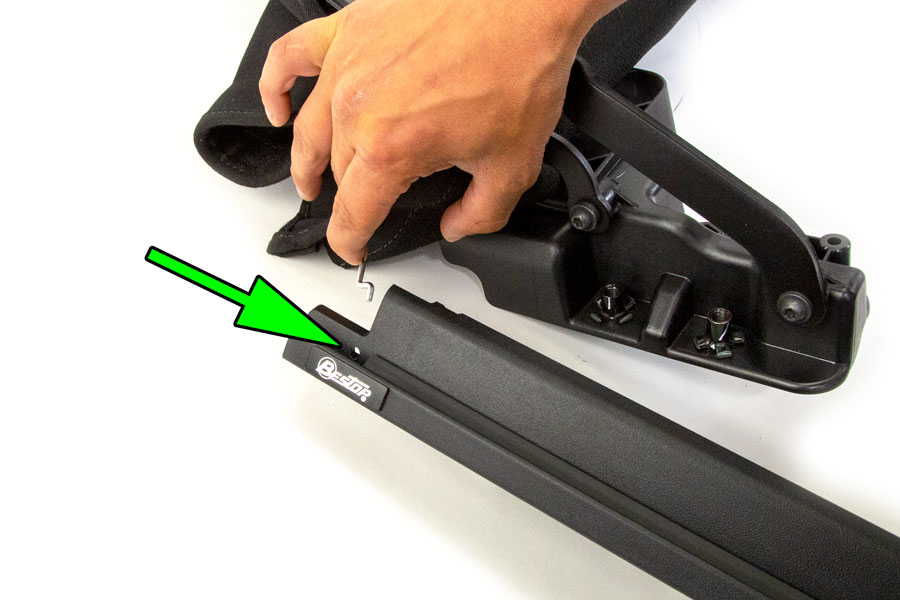
Attach the Z-clips on the sides of the deck assembly to the door rails.
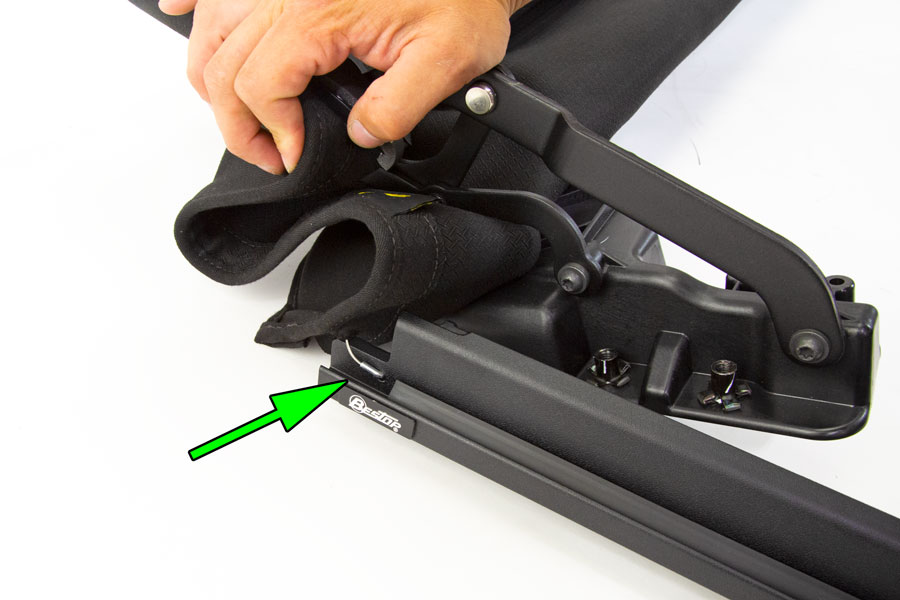
Installed they sit flush in against the door rails.
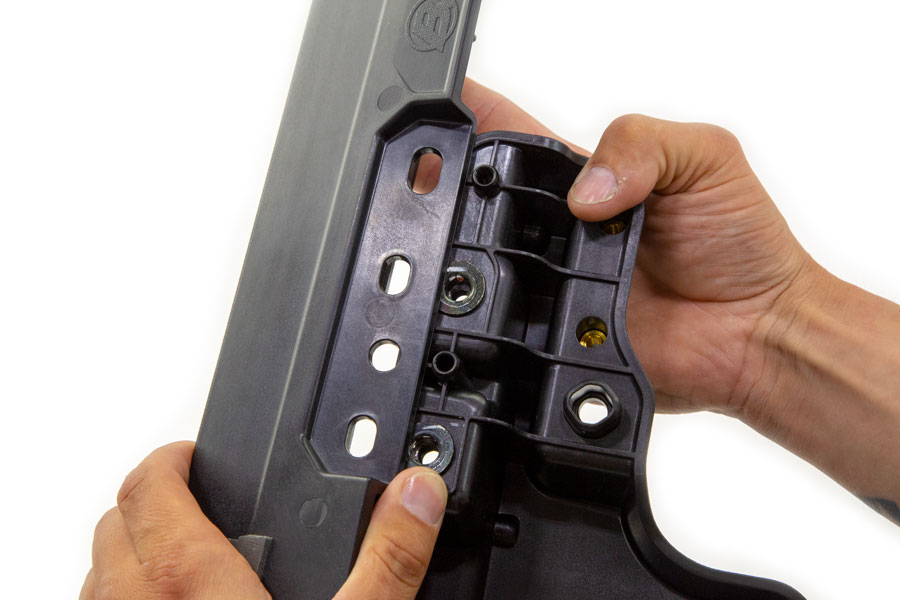
Align the mounting holes in the door rails to the sides of the Sunrider deck assembly.

Use a T40 Torx bit to install the M8 flanged button head screws to secure the door rails to the deck assembly on both sides. Tighten securely.
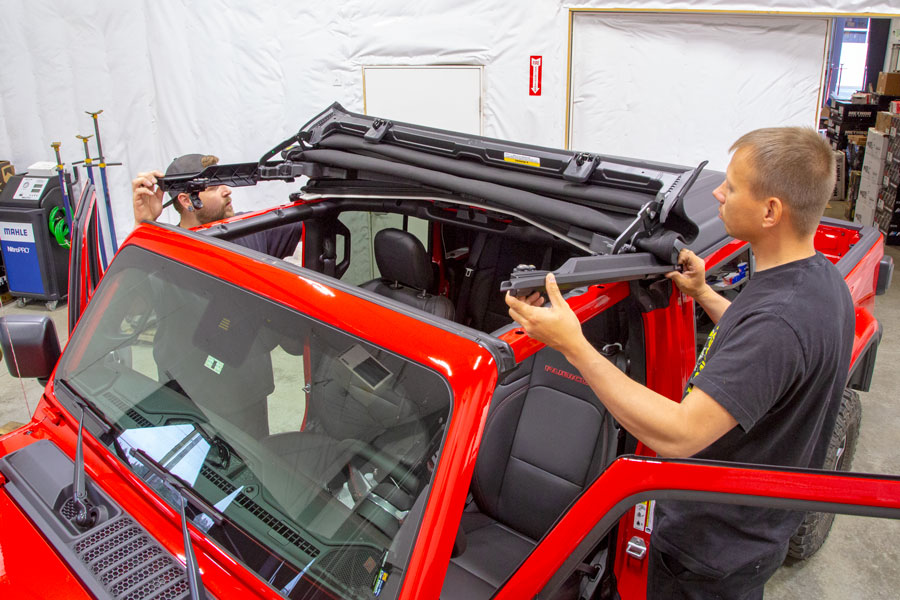
Set the Sunrider in place on top of the door bars. It’s easiest if you have another person to help you set it in place.
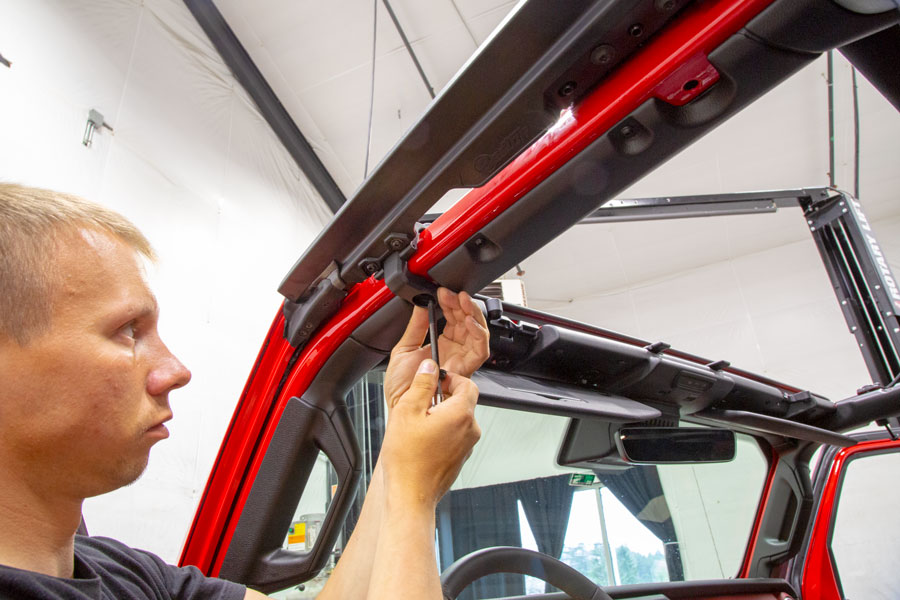
Wrap the Sunrider door rail brackets down around the Jeep sport bar door tubes, align the holes in the door rails with those in the Jeep sport bar door tubes and install the M80x80 flanged button head screw using a T40 Torx bit.
Do Not Tighten At This Time.
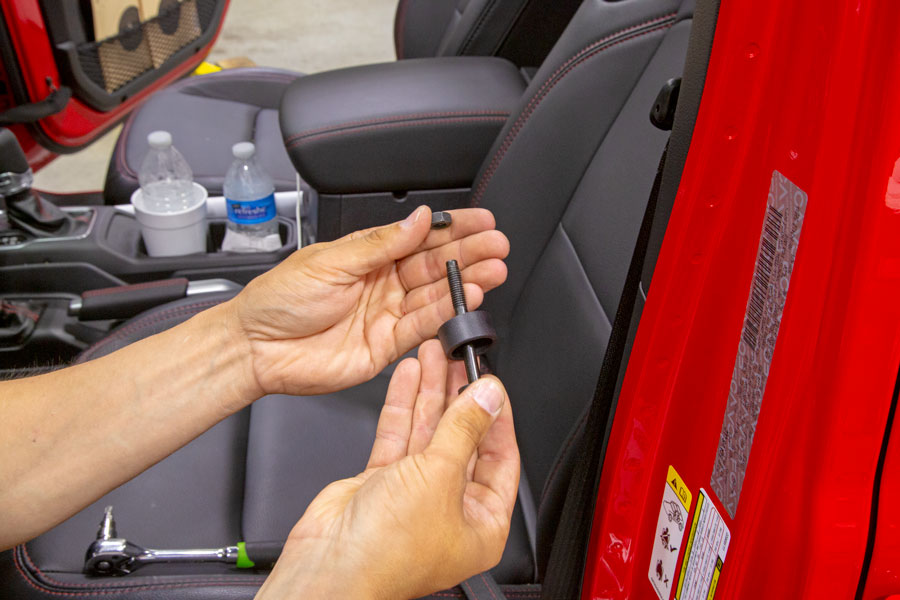
The rear door rail mounting screws also have a spacer that needs to be used.
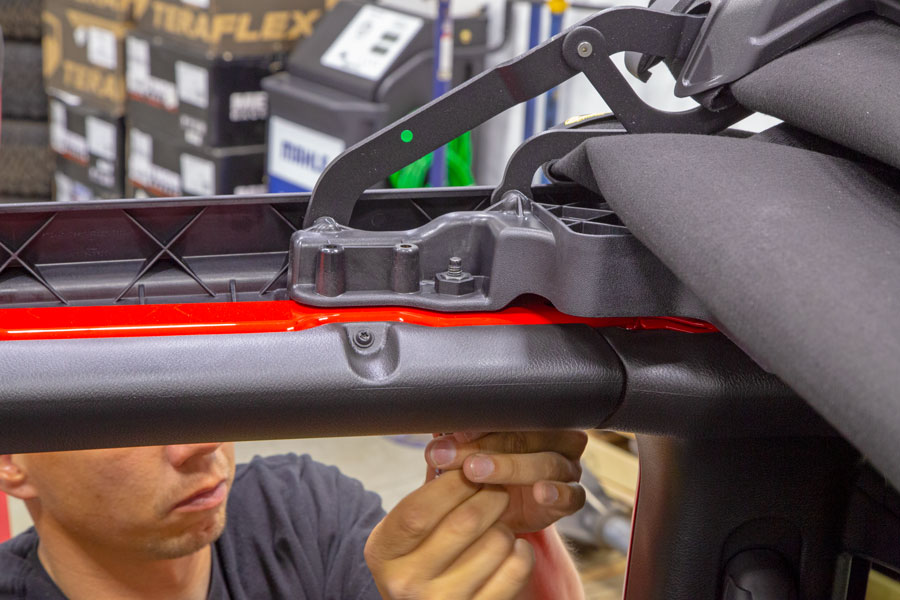
Set the M8 nut into the hex recess at the top of the door rail and screw the M8 flanged button head screw and spacer up through the bottom.
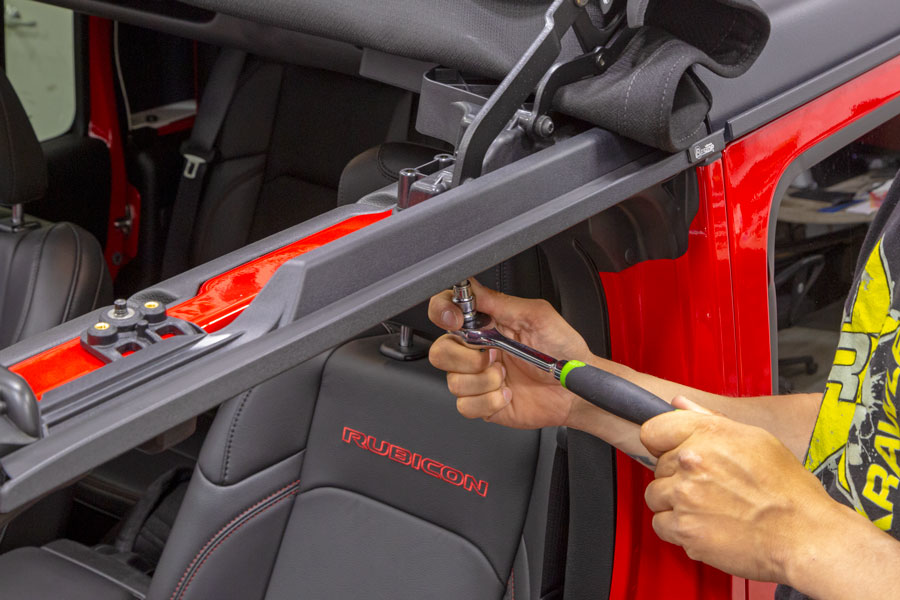
Once you have all four M8 door rail screws installed and snug, check fit of the door rails carefully and then tighten.
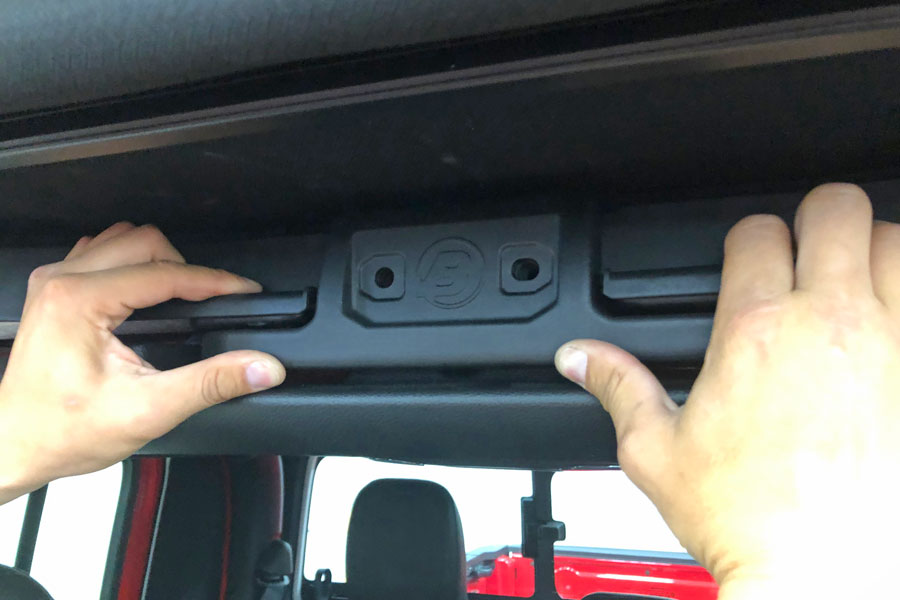
The rear clamp slides into place at the back of the Sunrider and clamps it to the sport bar.
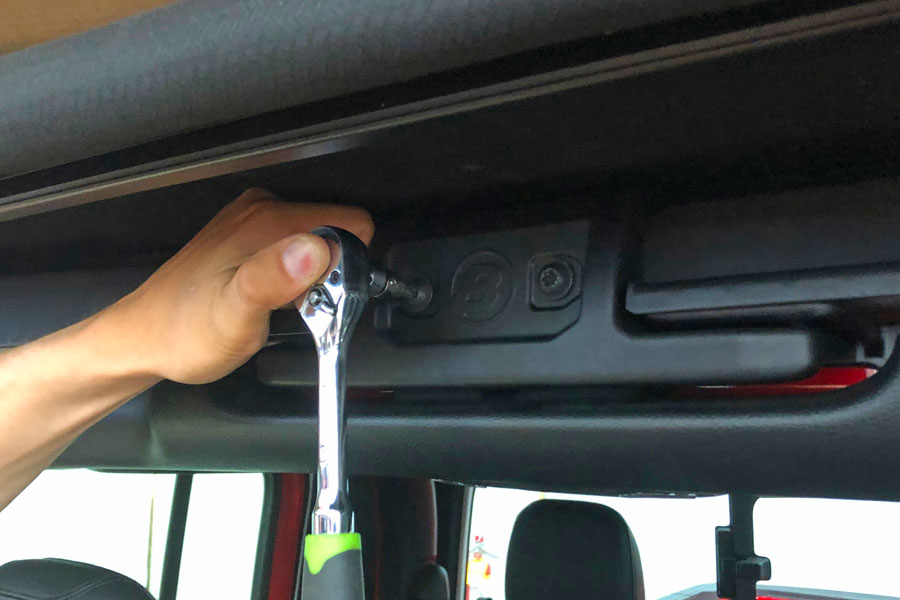
Once the rear clamp is snapped into place, install the two M80x20 flanged button head screws into the holes. T40 Torx bit here too.
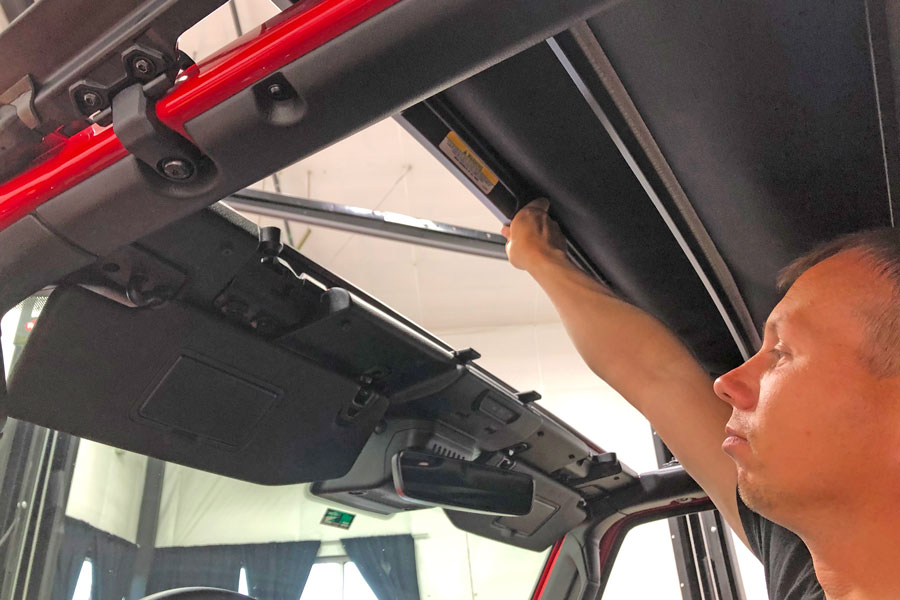
That’s it, the install is complete. To close the Sunrider, grab the header rail and pull forward and down.
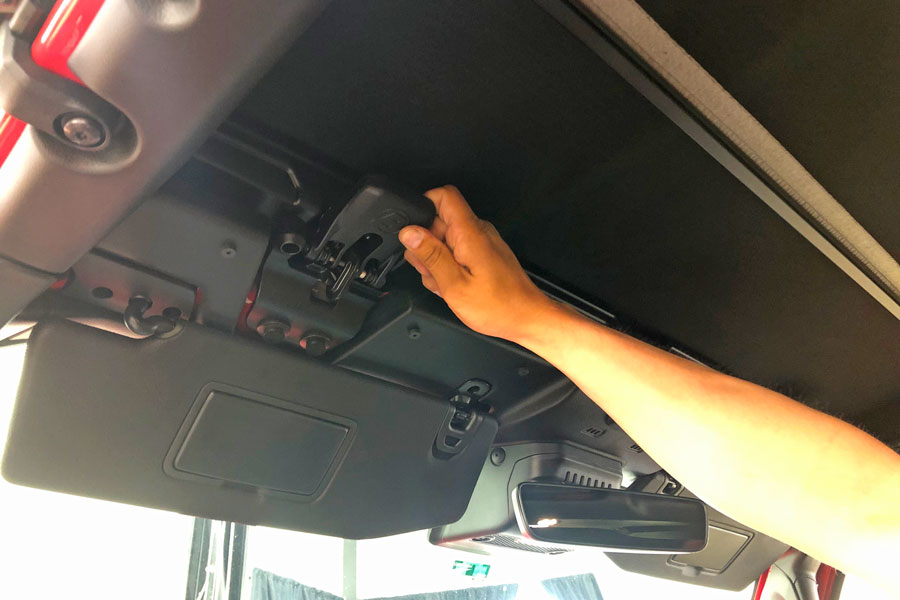
Once the header rail is down and snug against the front sport bar tube, hook the Sunrider clamps to the OE soft top loops.
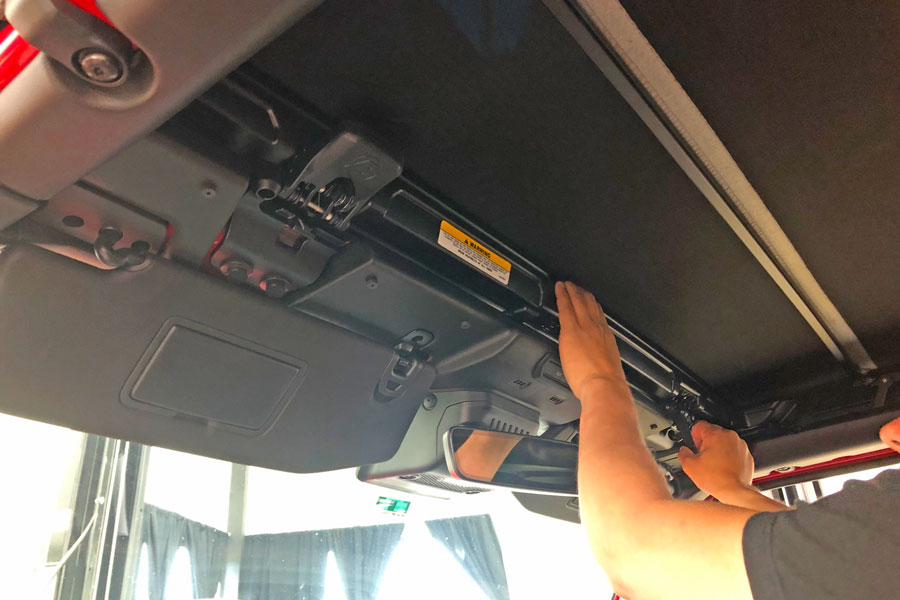
Push up on the clamps to lock in place.
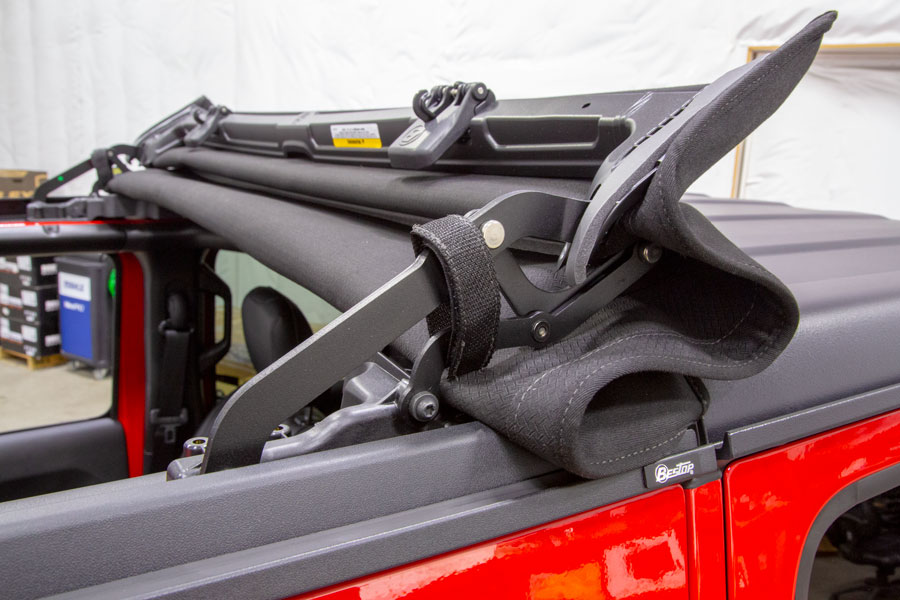
When open, use the supplied Bestop Sunrider tie-down straps to lock the sunrider arms in place.
Opening Bestop Sunrider Top:
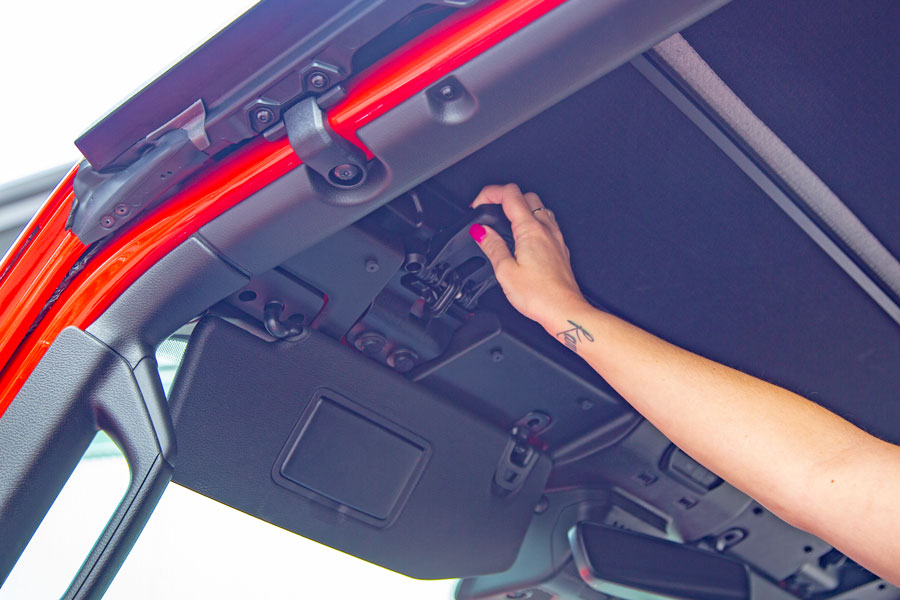
Grab the Sunrider latch on the drivers side.
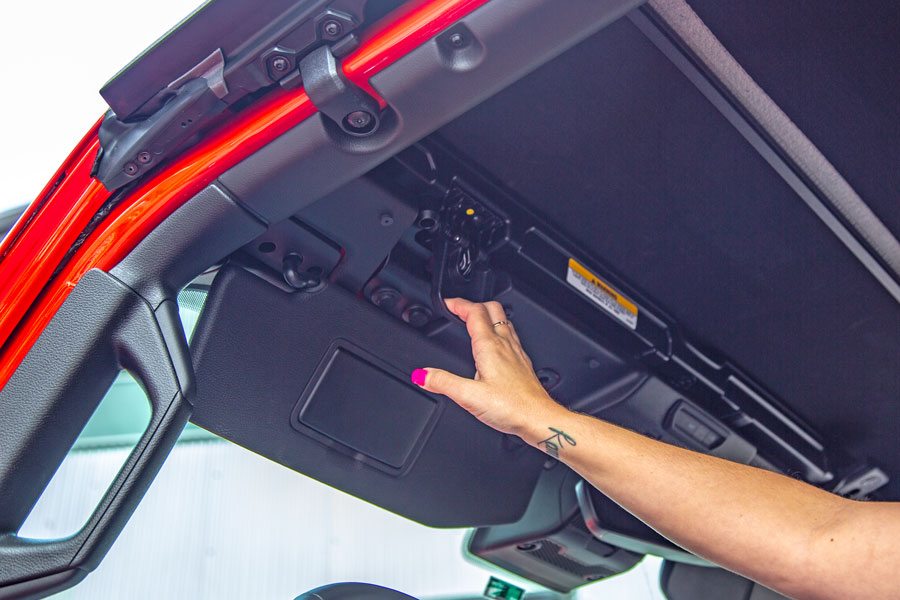
Pull all the way down to release the latch hook.
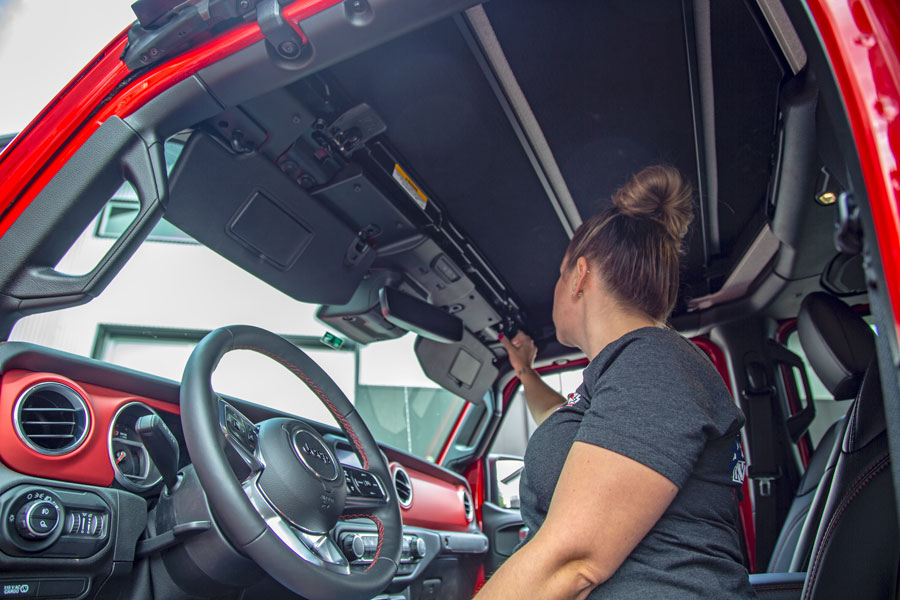
Repeat on the other side.
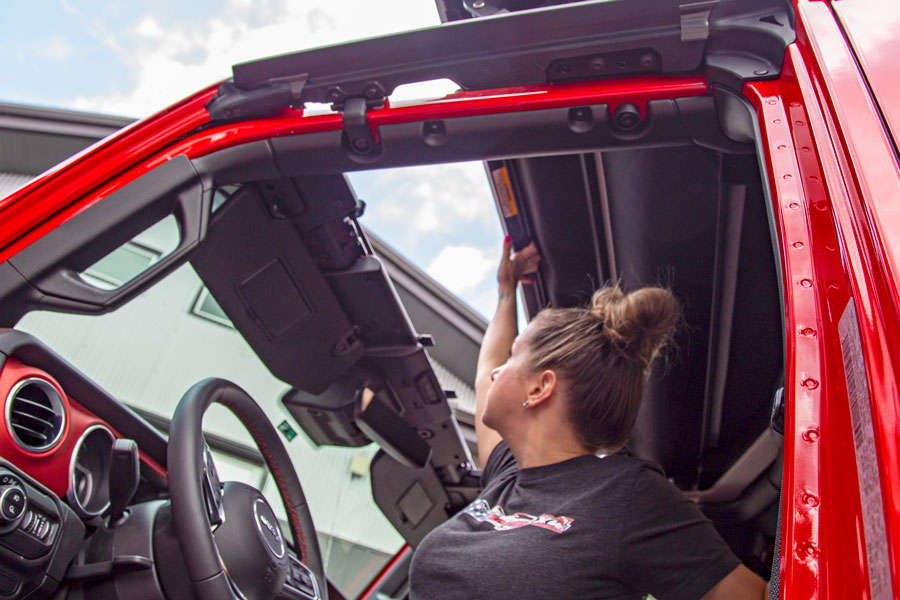
Fold back the Sunrider top and use the telco loops to lock the arms in place.
Before & After
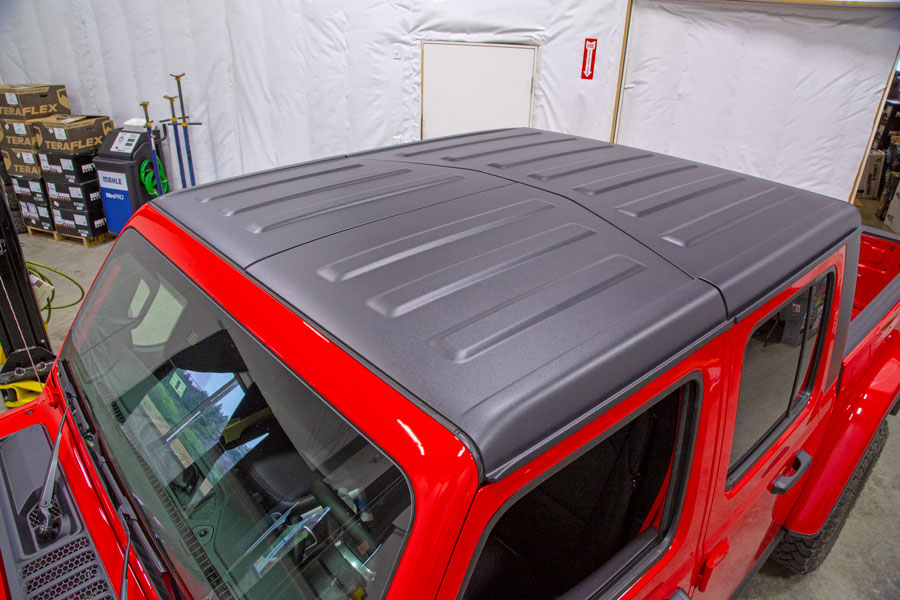
Jeep Gladiator with the Freedom panels in place.
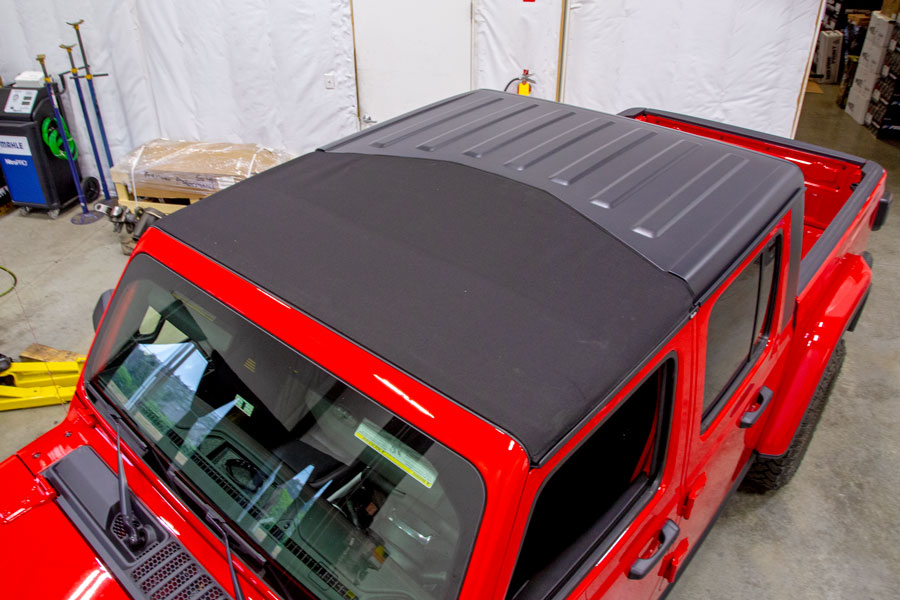
Jeep Gladiator after the Bestop Sunrider top installed.
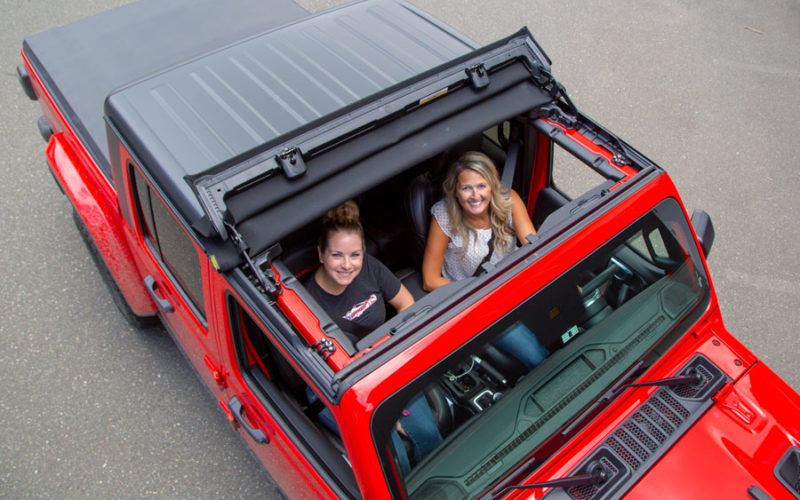
Time to go for a ride and enjoy the open top Sunrider from Bestop!
