Start with something less specific - you can refine your search results later
Try changing some of your filters below:
Search term:
Jk Rear Driveshaft Install Instructions.
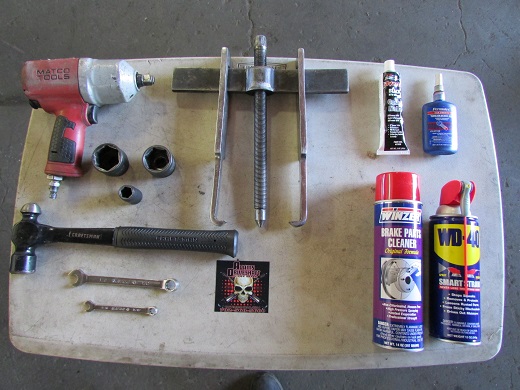
The following are the tools and products you will need to install the Driveshaft.
Tools: These are the tools we use for the install. We listed a couple of different tools that can be used to loosen, tighten, or take off the yoke, and bolts just in case you do not have some of them. Example [ You could use the Ball Pein Hammer or the Yoke Puller.] 1/2″ impact, medium size ball pein hammer, 1/2″ end wrench, 5/6 12 point end wrench, 1 1/4″ impact socket, 1 5/16″ thin wall impact socket, yoke puller is optional.
Products: Locktight, Black Silicone, WD-40, and Brake Clean.
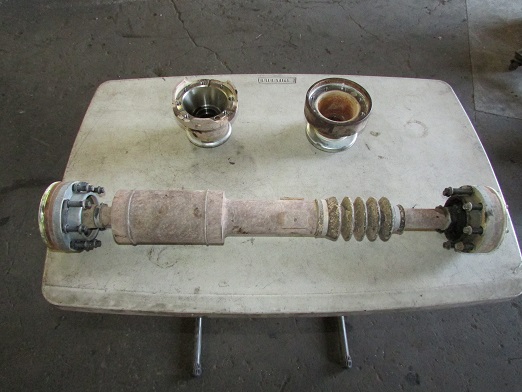
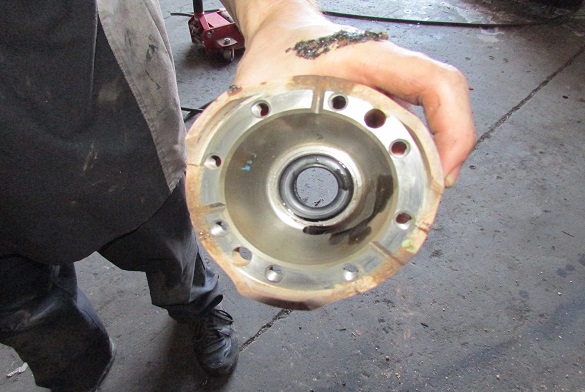
These are the parts you will be replacing. The picture below shows you the old OEM driveshaft and yokes.
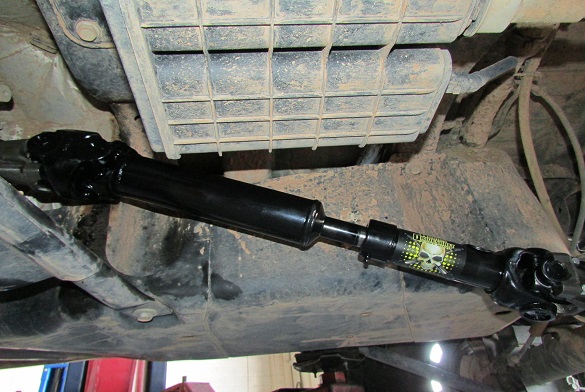
You will be Installing the parts you see in the picture below. Adams Driveshaft Rock Crawler 1310 CV Driveshaft, Dana 44 Pinion Yoke, T-case CV Yoke, 1310 U-bolts, and Four 5/16 12 point Head Grade 10 CV Bolts. Note: The silicone and Locktight does not come with the driveshaft it is only pictured to show the importance of using these so you will not have a leak, or a bolt come loose.
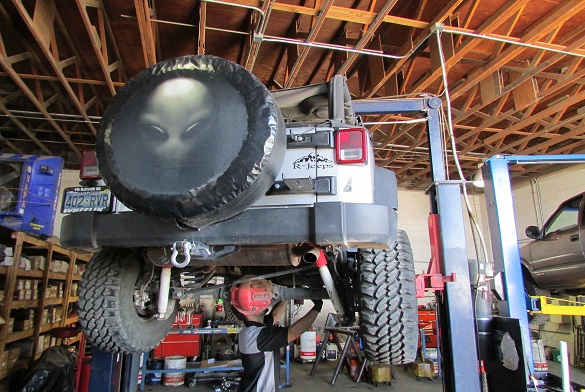
Thanks to Eddie Ortiz for donating his 2 Door JK for the install.
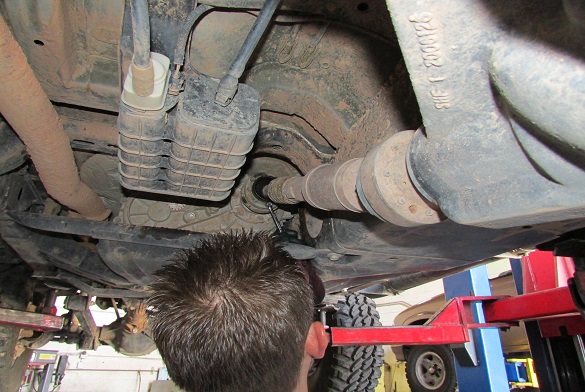
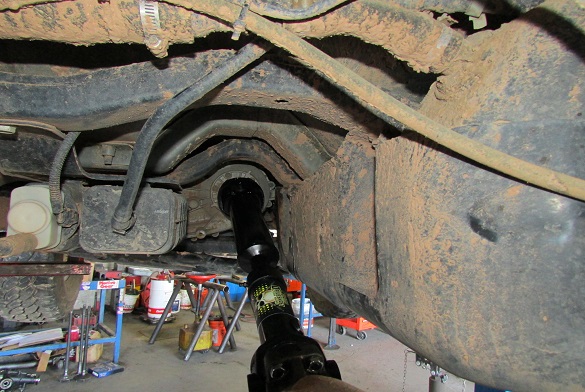
First you will need to take out the old OEM driveshaft by using your 5/16 12 point end wrench. The OEM driveshaft uses the same bolts front and rear. You may need to spray some WD-40 on the bolts and yokes to help you remove them if they are rusted.
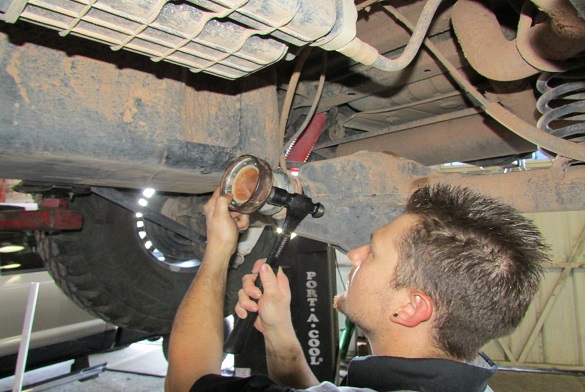
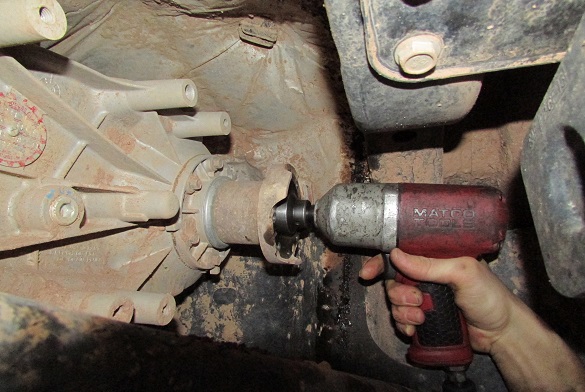
Next you will need your Impact and the 1 5/16″ thin wall socket to remove the Dana 44 pinion nut.
Using the medium ball pein hammer lightly tap on the back side of the pinion yoke in order to remove it. Depending on how hard the yoke comes off or mileage you may need to replace the pinion seal at the same time as you install the new yoke.
You could also use a yoke puller instead of a hammer if you have one handy.
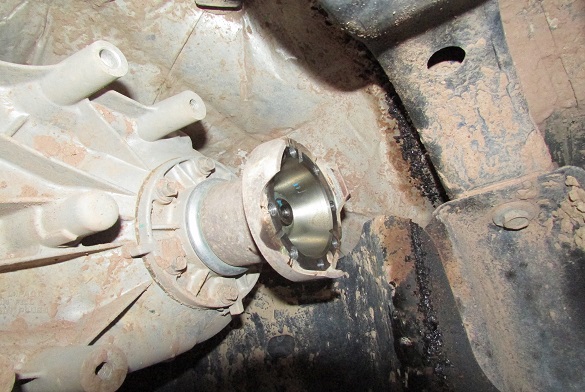
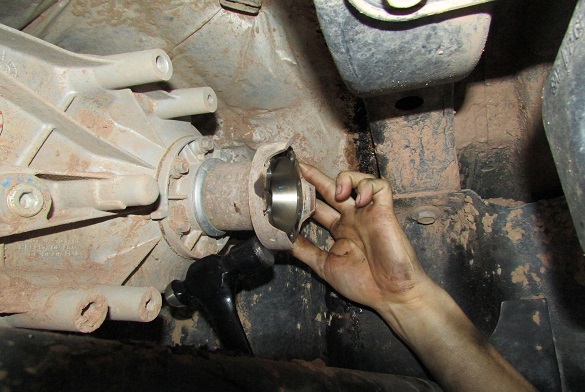
Lightly tap the new dana 44 pinion yoke on the rear differential with your medium size ball pein hammer like the picture below shows being careful not to hit the threads or the splines.
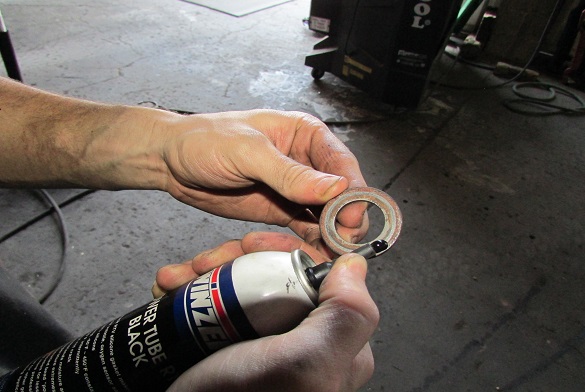
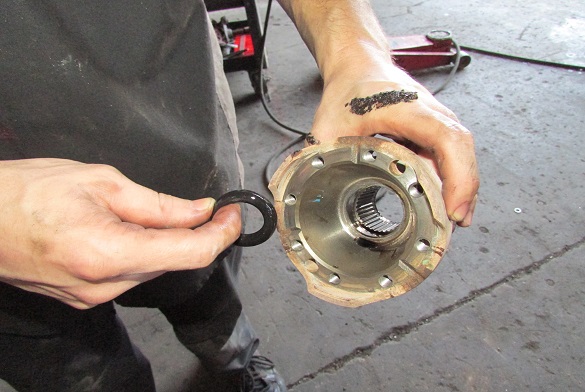
Install the black silicone on the bottom side of the pinion washer like the two pictures below and install the washer on the pinion with the silicone facing towards the differential.
After installing the washer, apply red Locktight to the inside of the pinion nut and thread it on the pinion threads.
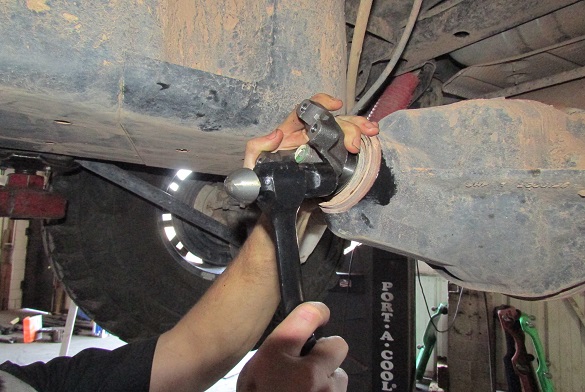
With the Impact gun, tighten down the pinion nut until the socket comes to a stop. NOTE: DO NOT KEEP TIGHTENING THE PINION NUT AFTER THE SOCKET HAS STOP. If you keep tightening the nut you will over crush the crush sleeve and the pinion bearings will burn up.
Check to make sure that there is no play in or out or up and down on the pinion yoke. If there is some play then the yoke has not been tightened down to the crush sleeve yet. Continue tightening until there is no movement in the yoke in or out or up and down.
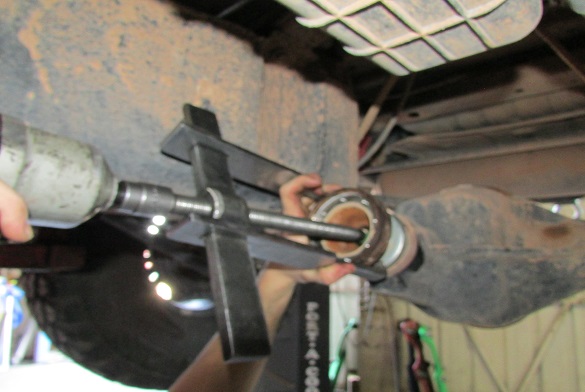
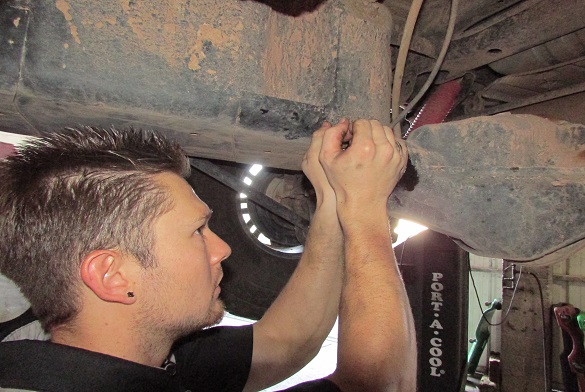
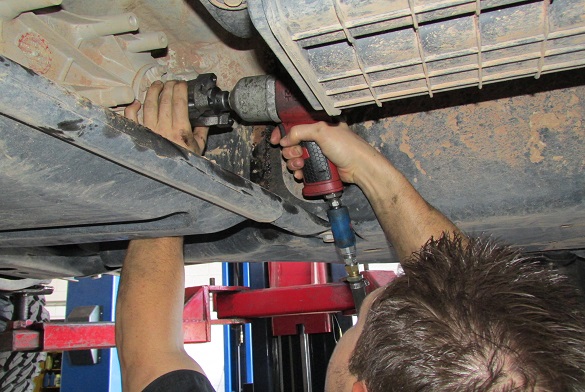
Now it is time to change the transfer case yoke by using the impact and 1 1/4″ impact socket.
Take your hammer and tap off the T-case yoke. You could also use the yoke puller if you have one.
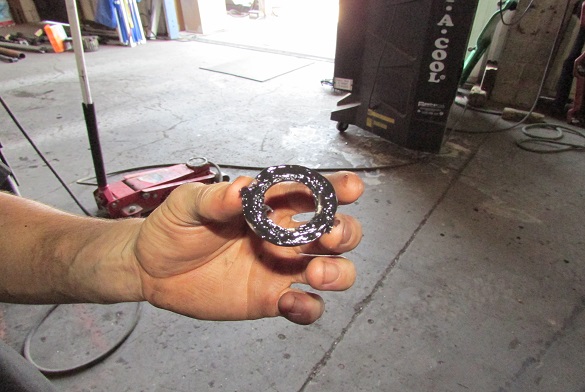
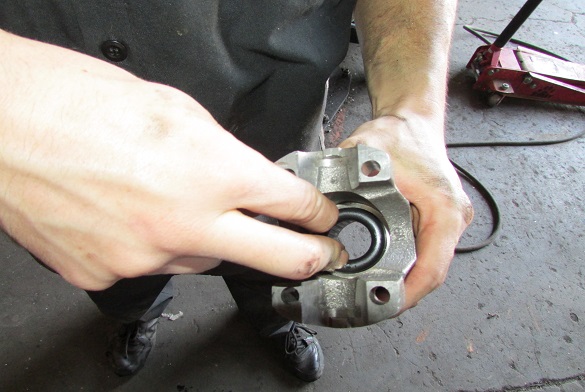
Notice that in the old T-case yoke there is a thick O-ring, take out this O-ring like the picture shows below so you can install it in the new T-case yoke.
Install the O-ring that you took off the old yoke into the new yoke before you put the yoke on the T-case.
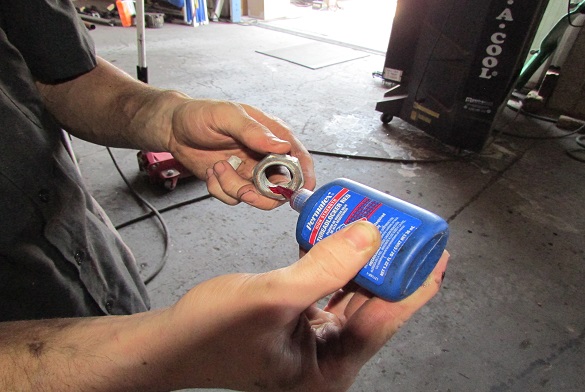
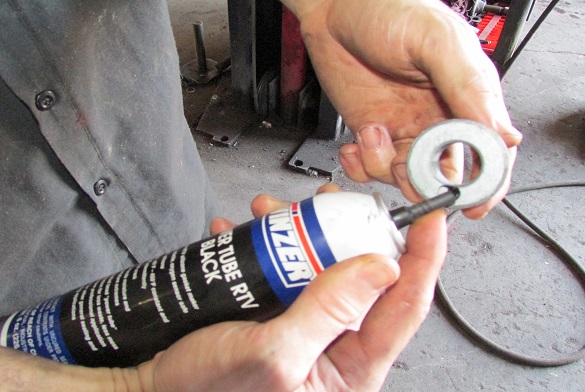
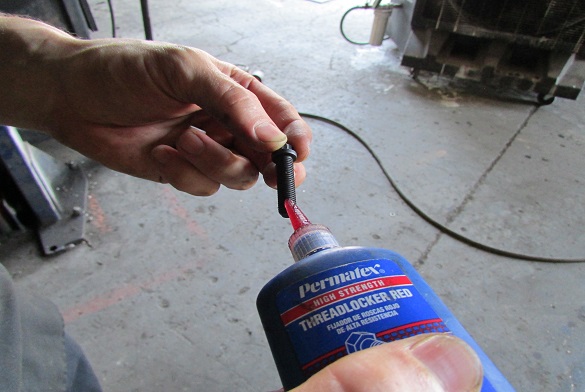
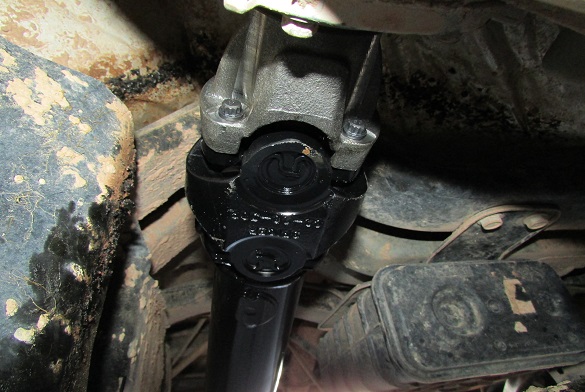
Put some black silicone on the back side of the nut like the picture shows below.
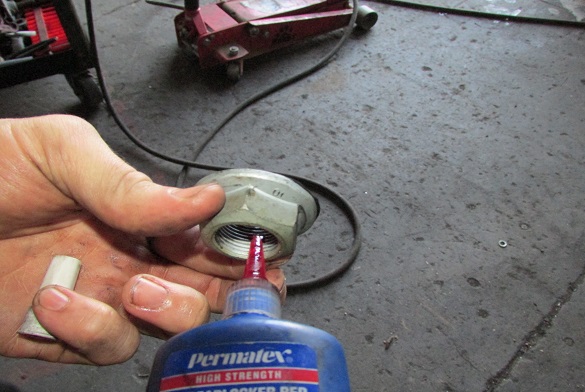
Put red Locktight on the threads like the picture below shows.
Tighten the transfer case yoke until socket stops. We called and talked to four different Jeep dealerships and they all recommended that the torque Settings to be between 120 to 190 foot pounds. We set ours to 160 FT Pounds.
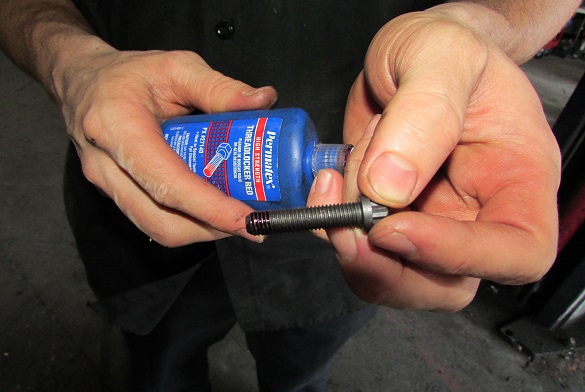
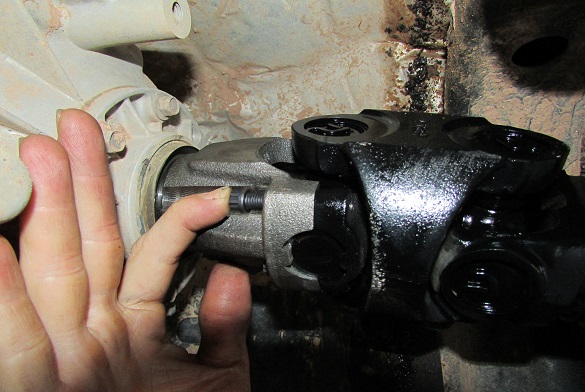
Install red Locktight on the cv bolts like the picture shows below.
The cv bolts are installed through the back of the yoke and threads into the cv kit. You will need your 5/16″ 12 point open end wrench for these bolts.
Remove the black tape off of the rear u-joint. Be carefull not to drop the cap off the u-joint.
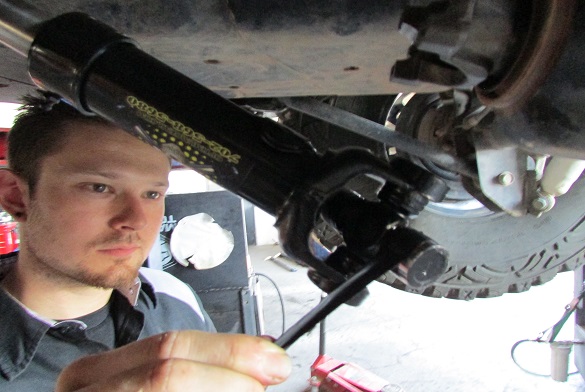
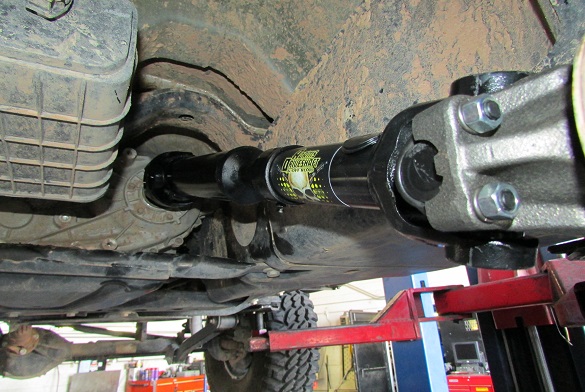
Install the rear u-joint into the pinion yoke making sure that both u-joint caps are sitting between the tabs on the yoke like the picture below. Take your 1/2″ open end wrench and tighen down the u-bolts. Make sure that when you are tightening down the u-bolts that you tighten them down even. Tighten the nut down until it feels snug then go a 1/4″ of a turn and thats tight enough. The lock washer will hold the nut tight. Note: If you over tighten the u-bolts or tighten them uneven, then the u-joint will fail and could cause the driveshaft to come out.
You now have installed a new Adams Driveshaft Rock Crawler 1310 Solid Spicer 1310 CV Driveshaft. This is one of the strongest driveshafts and made with the best components possible by Spicer and Neapco.