SET YOUR VEHICLE
TALK TO A PARTS EXPERT TODAY!
FREE SHIPPING ON ORDERS OVER $70 in the contiguous US lower 48 states

SPECIALS!
Installing LoD Destroyer Rock Sliders on Wrangler JL
If there is any best “First Mod” out there for the 4 door Wranglers or JT Gladiators, it should probably be rocker panel protection of some sort. That long wheelbase means there are large spans of unprotected sheetmetal between the front and rear tires and one big hit is all it takes to dent them up pretty bad. These rock sliders are also avaliable for the Jeep Gladiator!
We used LoD Signature Series Rock Sliders on our Red JLU Rubicon build and it just seemed natural to try a set of the LoD Destroyer Series Rock Sliders on our Sting Gray JLU Rubicon. The Destroyer Series Rock Sliders are a box sheetmetal style side rail that has steps inset at each door. They are definitely bigger and burlier looking than the rock crawler tube style Signature Series Rock Sliders.
Just like the Signature Series, The Destroyer Series Rock Sliders are frame mounted. They bolt up to existing holes in the frame and then there are three optional bolts to add to the frame. The holes are in the LoD brackets, but you will have to drill them into the frame. Though not necessary for a daily driver mall cruiser, we do highly recommend that you drill the extra holes in the frame and use the optional bolts. Even if you were to only to use your Jeep on road, the extra bolts will add extra strength.
This install is a little different in that this JL has the 2.0L Turbo 4 cylinder in it and we’ll need to deal with the coolant lines that go along the frame to help keep the 48V BSG battery cool.
What we used:
LoD Destroyer Series Rock Rails
Tools needed:
10mm, 13mm, 16mm, 18mm, 19mm sockets
3/8″ and 1/2″ Ratchet Wrenches
Extensions
Optional Bolt installation:
Marking Pen
Center Punch
Drill Small pilot drill bits, we used 3/16″ and 3/8″ bits
7/16″ or 27/64th and 9/16″ Drill bits
1/2″ x 13 Tap
Extras needed:
Use Blue Loctite (or other medium strength thread lock) on the mounting bolts.
Benefits:
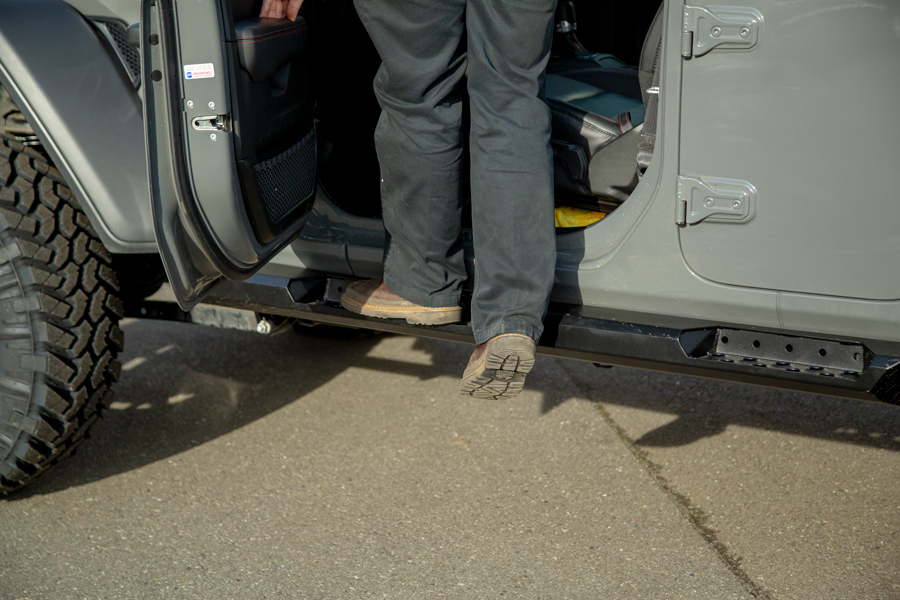
Protects your rockers and doors from off road obstacles/debris and those dreaded shopping carts. Doubles as side steps to help get in and out of your JL.
Getting Started:
Start out by removing your factory rails (if so equipped). Check out our install of the Armor Lite Rock Rails for step by step removal instructions.
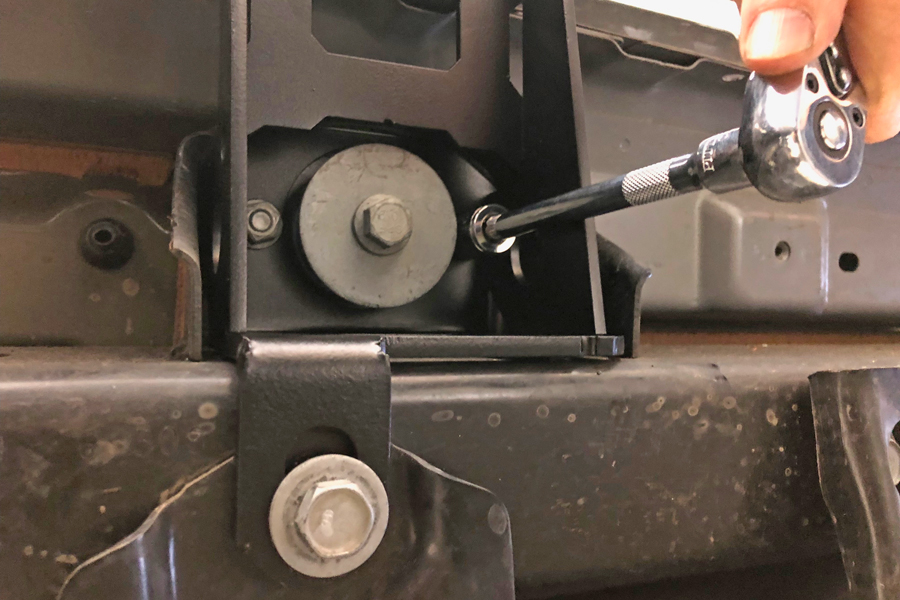
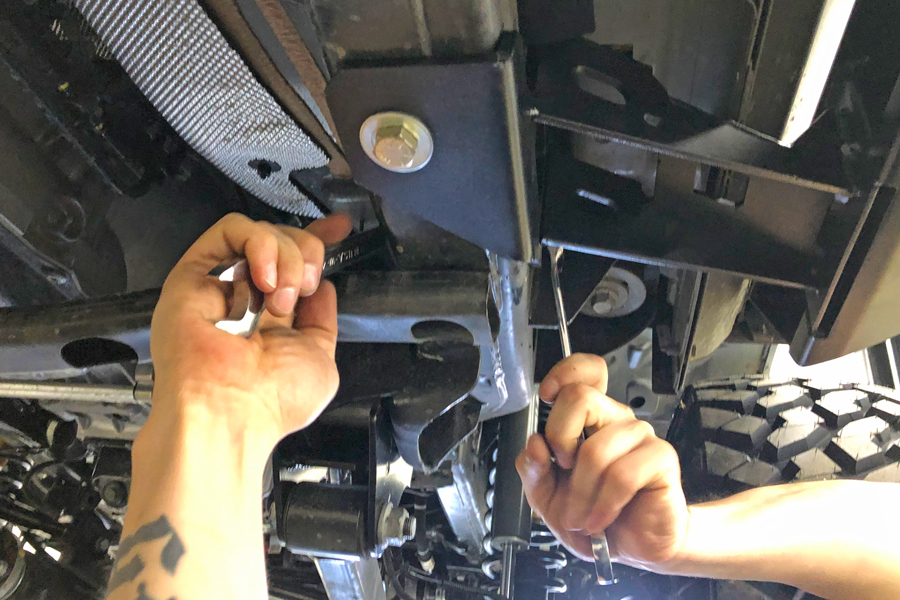
Using a 16mm socket on an extension, remove the two nuts on each side of the body mount at center and rear body mount positions. Do not remove the center body mount bolts and do not remove the nuts from the forward body mounts.
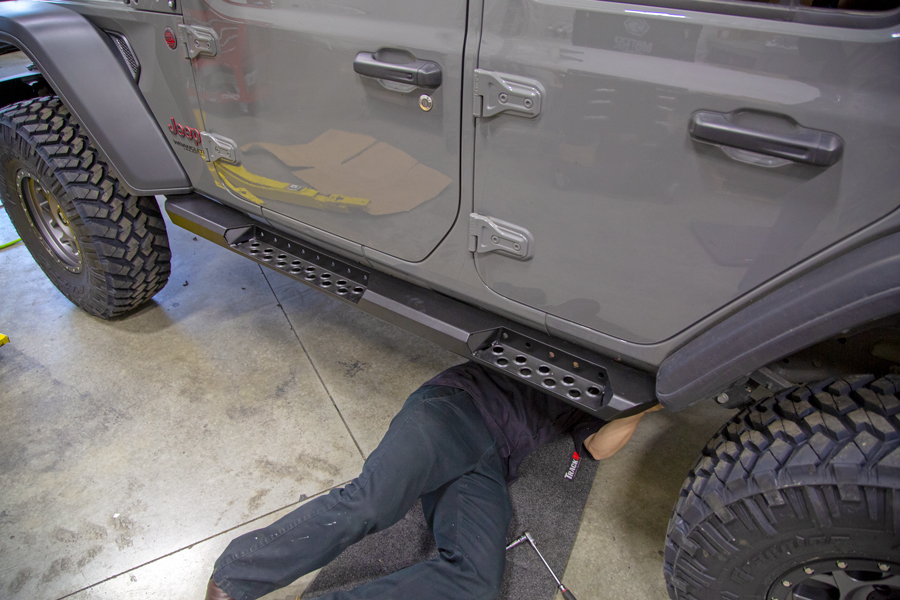
Next step is to get the LoD Rock Sliders up into place.

Once the Rock Slider is in place, install the OE bolts back up into the frame, holding the LoD Rock Sliders up against the frame. Use an 18mm socket or wrench on these.
Once we had the LoD Rock Sliders in position, we found one of our rear holes didn’t line up perfectly, so we use a carbide bit in a die grinder and massaged the bolt hole just a little to open it up. With the Jeep being mass produced and aftermarket 4×4 parts being mass produced, this happens every now and again. Don’t stress, just massage the hole a little and bolt it up.
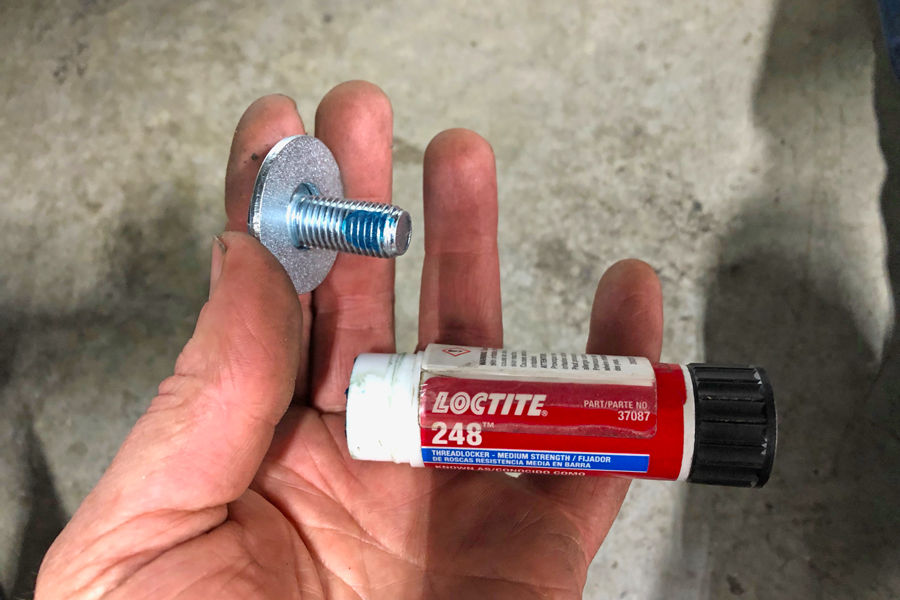
Always use a bit of blue Loctite on the mounting bolts to help keep the bolts from moving.
Reinstall the nuts on each side of the body mounts, make sure to use some Loctite here too!
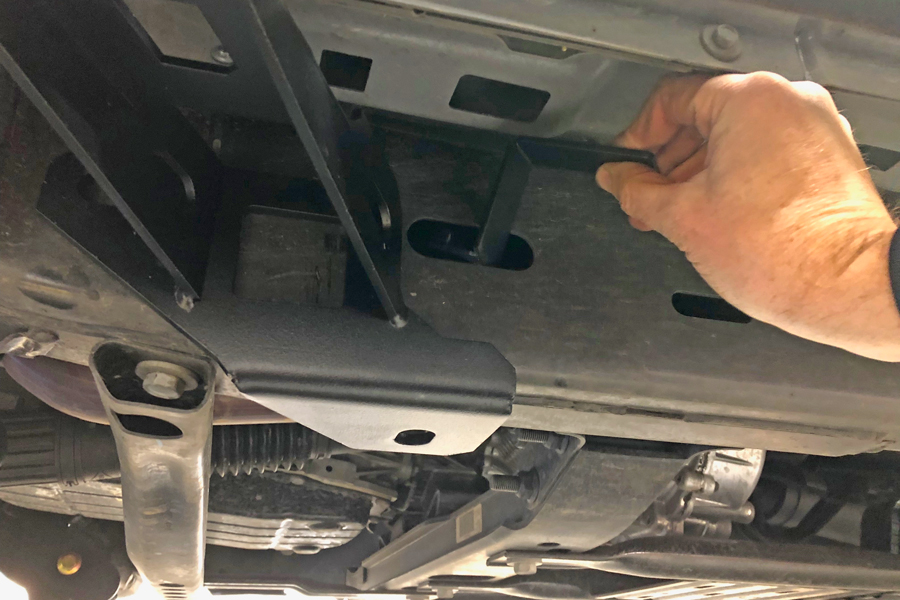
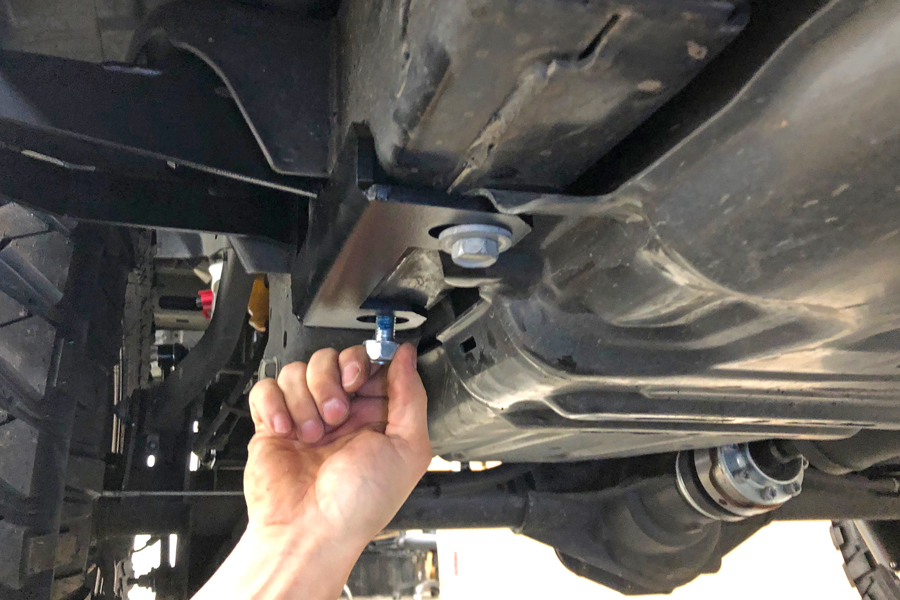
Slide the captive nut plate in through the slotted hole in the frame.
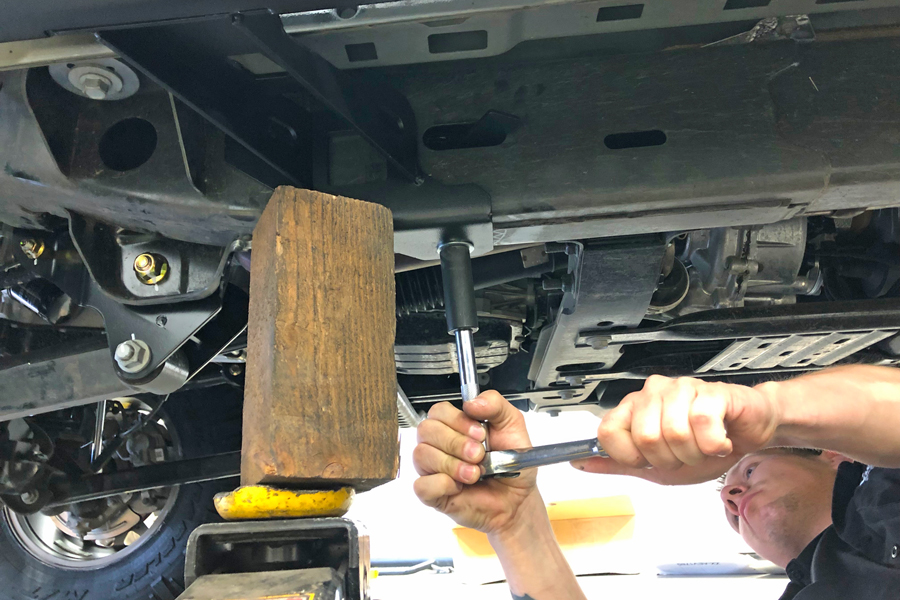
We used a piece of 4×4 on the jack to hold the plate up against the frame and installed the lower bolt through the frame, up into the captive nut plate.
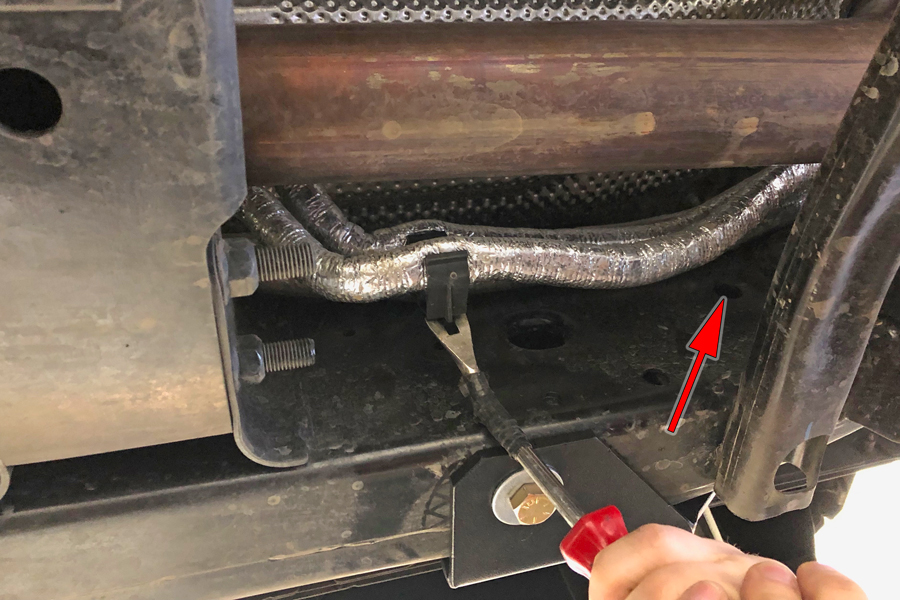
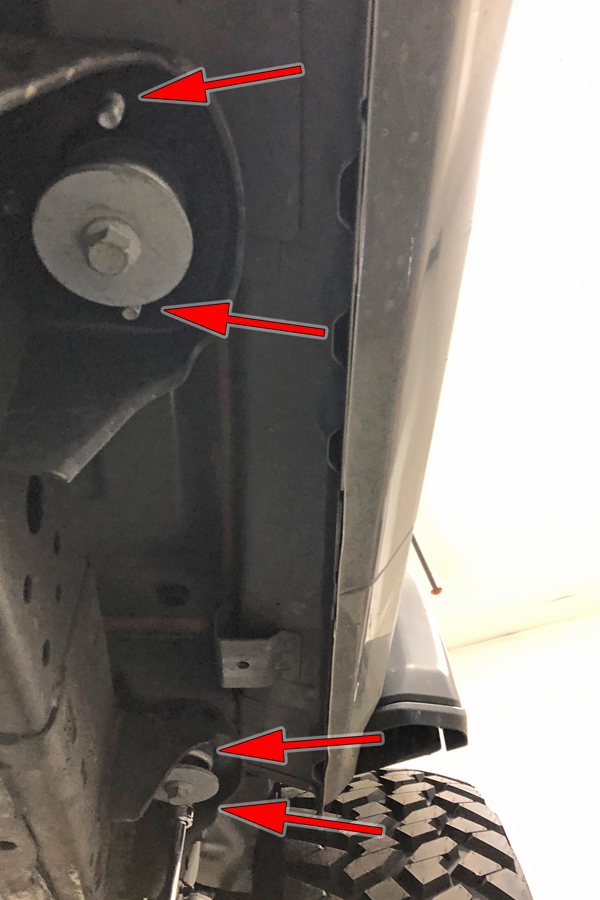
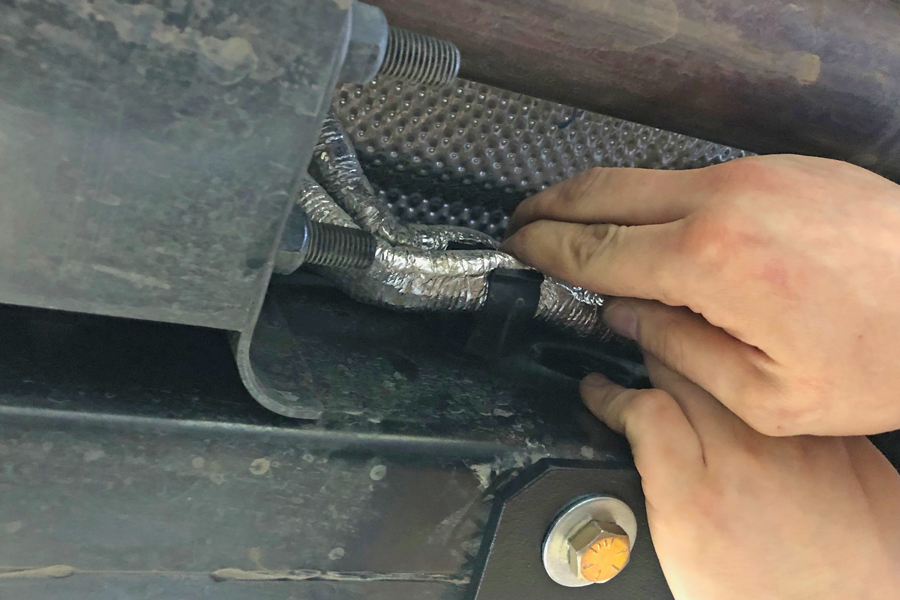
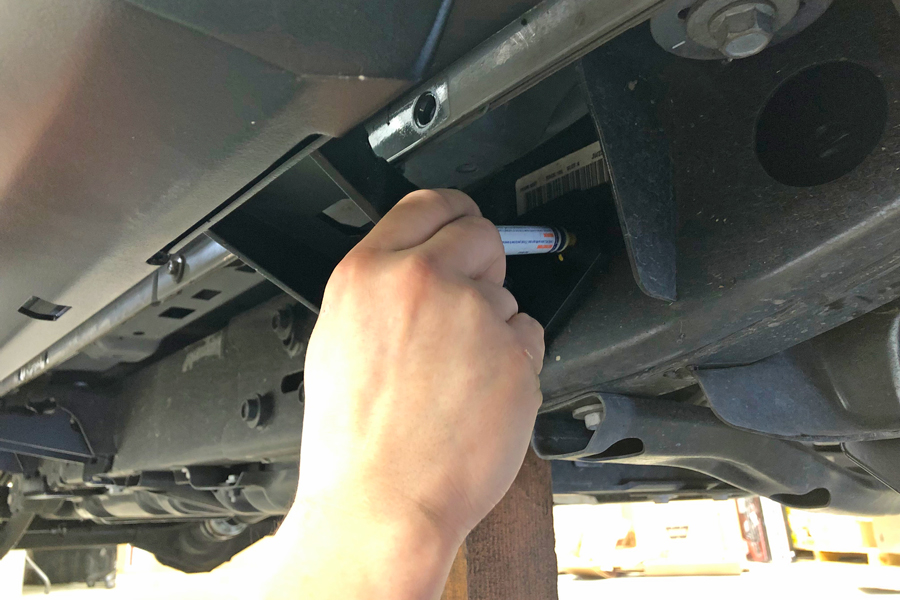
On the 2.0L Turbo engine, pop the clips holding the 48V battery coolant lines against the frame. You need to carefully pull the lines far enough from the frame that you can install the side bolt through frame (red arrow).
*Not needed for the non-BSG 3.6 V-6 equipped JLs.
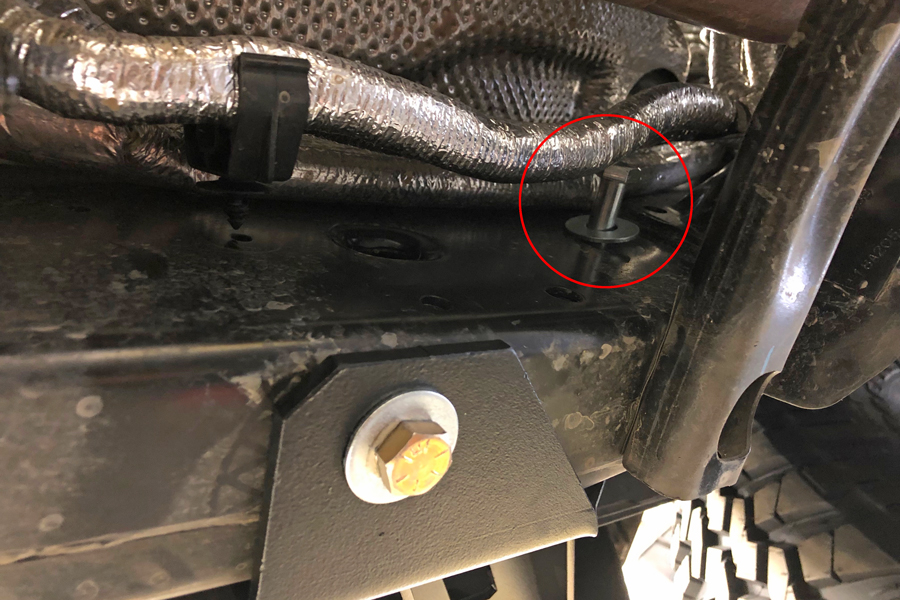
Install a flat washer onto the large bolt, put a little Loctite on the threads, slip the bolt underneath the battery coolant lines and push it through the frame and LoD slider.
Install another flat washer on the end of the bolt sticking through the LoD mounting plate, screw on the nut and tighten it down securely.
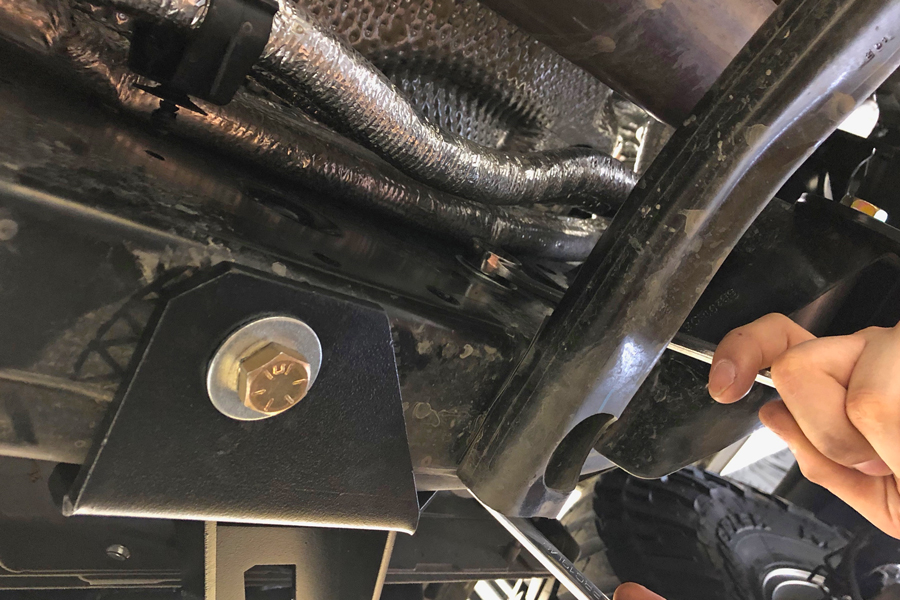
Align the coolant line clips back into place on the frame and push them in.
*Not needed for the non-BSG 3.6 V-6 equipped JLs.
Optional Bolt Hole #1:
Hold the RH side Destroyer step up into place and mark the front hole location on the side of the frame. To make sure we had the slider in the exact location we bolted up the back of the slider and then used a jack and a block of wood to push up against the bottom of the front bracket. For marking the hole we used a yellow paint pen.
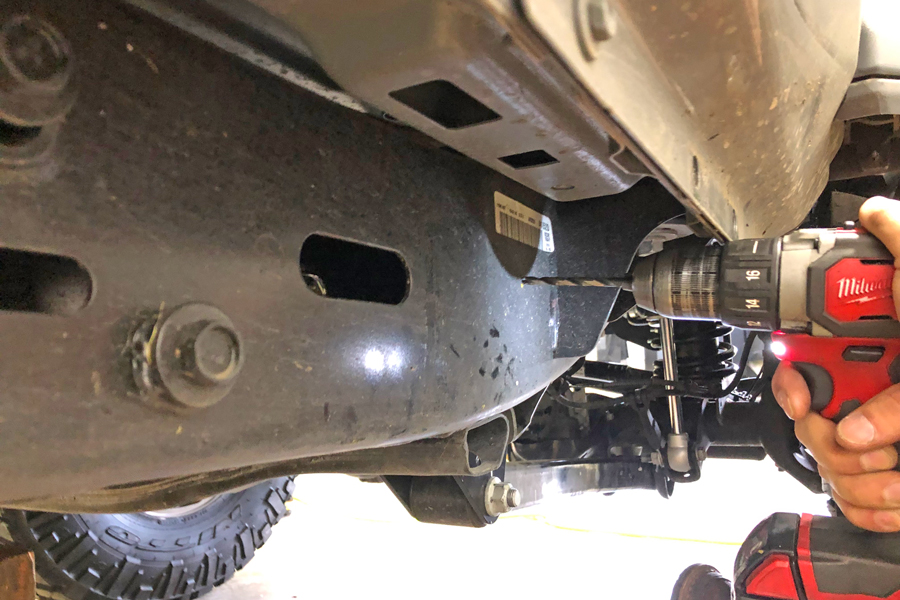
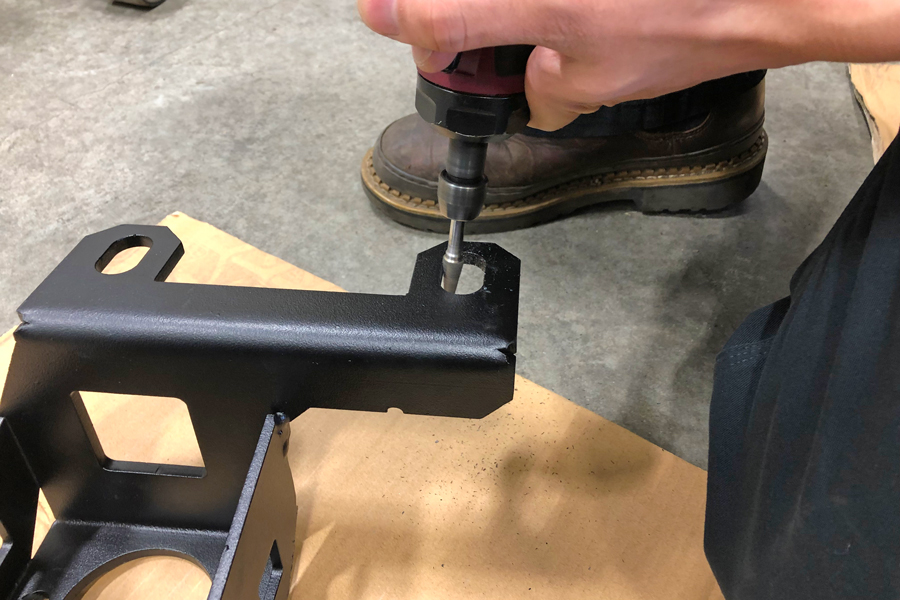
Center punch and drill out to 1/2″. We started with a smaller drill bit and worked our way up to 1/2″.
Install the flat washer onto the through bolt, add a little blue Loctite and slide it through the hole you just drilled in the frame and out through the LoD bracket. Add the flat washer and nut on the other side and tighten securely.
Optional Bolt Holes #2 and #3:

The very back brackets on the Destroyer side bars have an extra hole on both the right and left side. These are optional bolt holes #2 and #3. If you plan on wheeling your Jeep, we recommend that you add these optional bolts. LoD includes two self tapping screws for these two holes. Center punch and drill out the rear hole to 7/16″ if you are going to let the self-tapping screws thread the hole. Use a 27/64″ drill bit if you are going to tap out the hole like we do in the next step.

Though the optional screws are self tapping, we like to make sure the threads in the frame are perfect and prefer to thread the holes first. We used a 1/2″ x 13 tpi tap to tap the holes (right and left). This makes installing the bolts so much easier and lessens the possibility of messing the threads up on the screws.
Install the supplied self-tapping screws in the frame and tighten securely.

With everything tight, we double checked to make sure we didn’t forget anything and then stepped back to take a good look at these sliders.
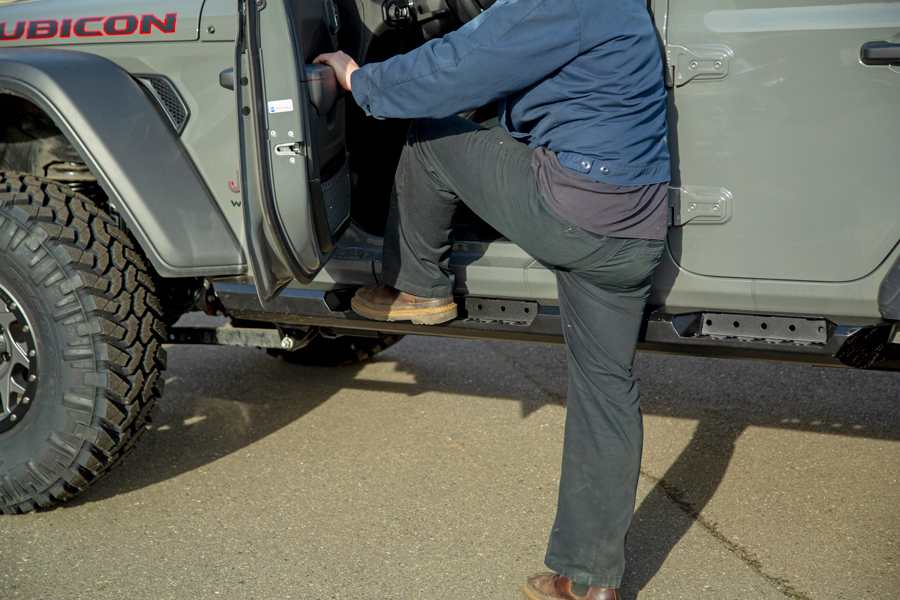
The Destroyer Series Rock Sliders from LoD are big and burly and feature a nice inset step at each door making climbing in and put of your Jeep much easier, especially if you have a decent sized lift on your JL.