SET YOUR VEHICLE
TALK TO A PARTS EXPERT TODAY!
FREE SHIPPING ON ORDERS OVER $70 in the contiguous US lower 48 states
SPECIALS!
Browse By Category
- Auxiliary Lights
- Light Bars
- Fog/driving Lights
- Underhood/rock Lights
- 3rd Brake Light Solutions
- Back Up Lights
- Other Auxiliary Lighting
- Shop All
X Close Search
Results for
Filters:
Stock
Category
Brand
Rating
Price
Stock
Category
Brand
Rating
Price
OH NO!
We couldn't find any results
We couldn't find any results
Search Tips:
- Use different keywords
- Double check your spelling
- Start with something less specific - you can refine your search results later
- Try changing some of your filters below:
Search term:
Bigger Tires Means Deeper Gears:
Yukon has just released their 4.88 gears and install kits for the new M210 Front Axle and M220 Rear Axle found under the Rubicon JL and JLU. They have been working hard for the last year on bringing these gears to market. A few months back they released their 4.10 gearsets, now it’s their 4.88 gearsets and we have the perfect place to test these out.
The boss’s 2018 JL Unlimited Rubicon runs 37″ Patagonia M/T tires on 17″ XD232 Beadlocks during the week for the Daily Driver duties and a set of 40″ Patagonia M/Ts on 17″ KMC Slab beadlocks for weekend adventures. For gears, it has been making do with the stock 4.10 Rubicon gears. While the JL 8 speed auto is pretty fantastic and handles the 37″s decently, when the 40″s go on, the need for steeper gears definitely becomes apparent.
Wait… M210…M220 Axles…WHAT????
Now when we talk about the new M210 and M220 axles under the 2018+ JL, we are talking about the “NEW” Advantek Dana 44s from Dana-Spicer. They are new, they are stronger and they are quite a bit different from the JK D44s used in the last generation of Wranglers (2007-20018 JK/JKUs). Dana is using their metric dimensions as model designators, so the front Dana 44 Advantek has a 210mm dia. ring gear and the rear Dana 44 Advantek has a 220mm ring gear.
Why You Need Deeper Gears With Larger Tires:
The ring and pinion gears in your axle do two different things, one is turn the driving power 90° from the driveshaft to the axle shafts. The other is for gear reduction to help the engine get the vehicle moving from a dead stop and to keep it moving within the proper RPM range for the engine.
When you install larger tires on your Jeep, you increase the amount of torque it takes to get the vehicle rolling from a stop and the amount of power it takes to keep it at speed. This is due to the larger lever arm of the larger diameter and the extra weight of the bigger wheel/tire combo and that weight is moved further out from the axle shaft centerline.
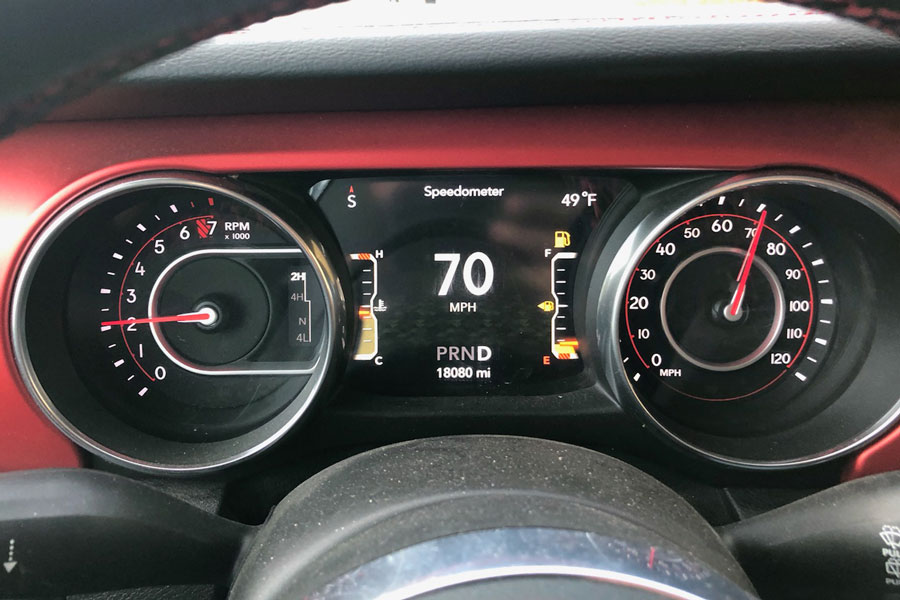
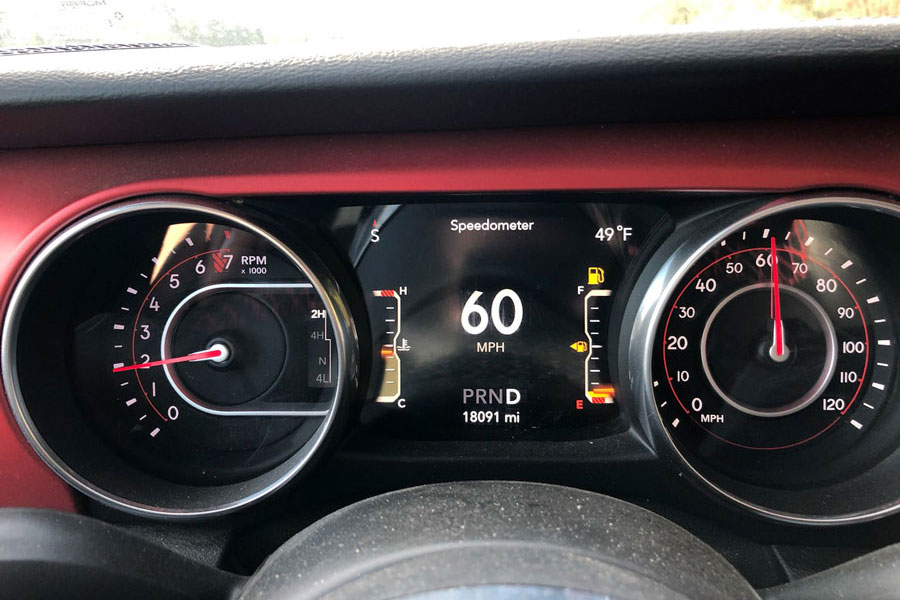
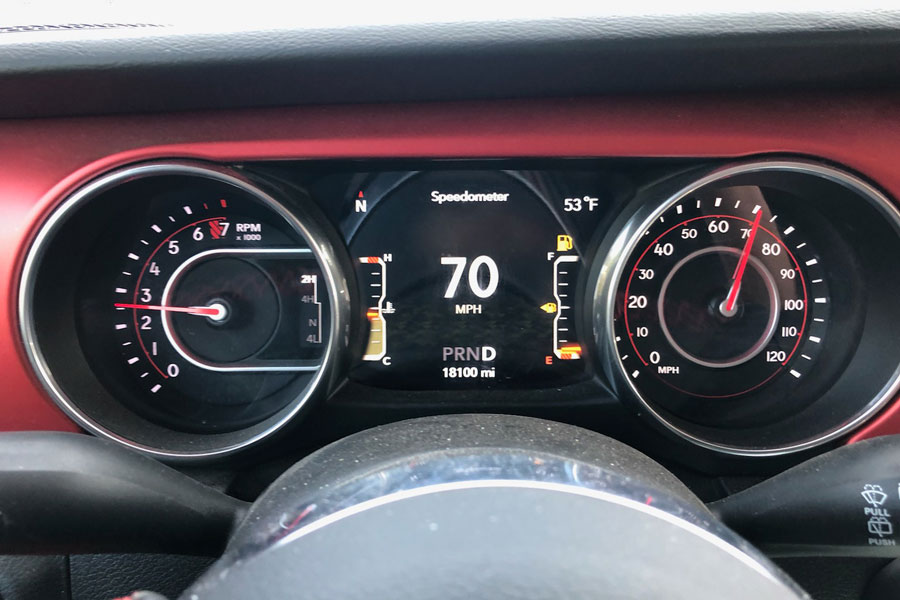
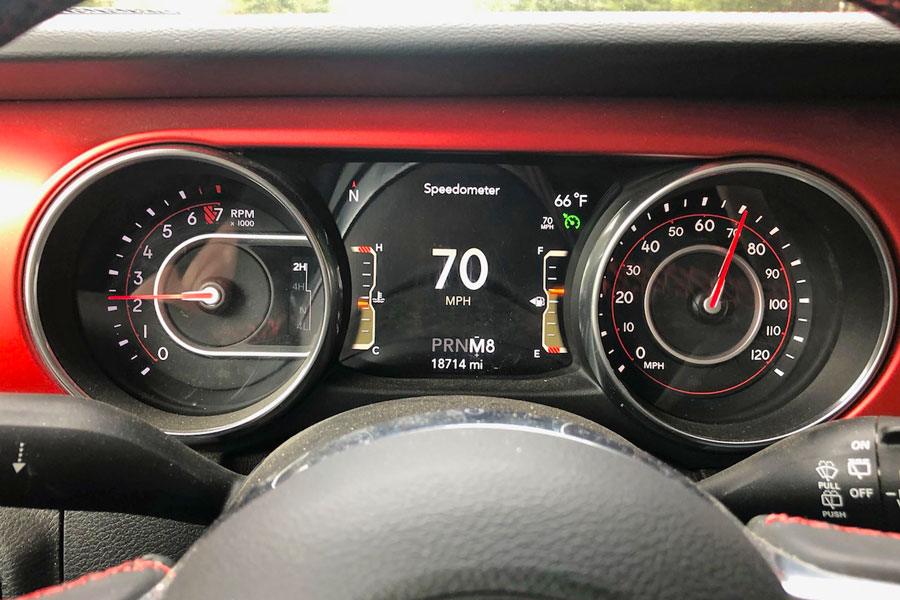
Stock 4.10 gears and 37″ Patagonias at 60 mph nets just under 2,000 RPM. Doing the math out, this looks like we’re in 7th gear… dang it, should’ve been in the gear selection screen, LoL.
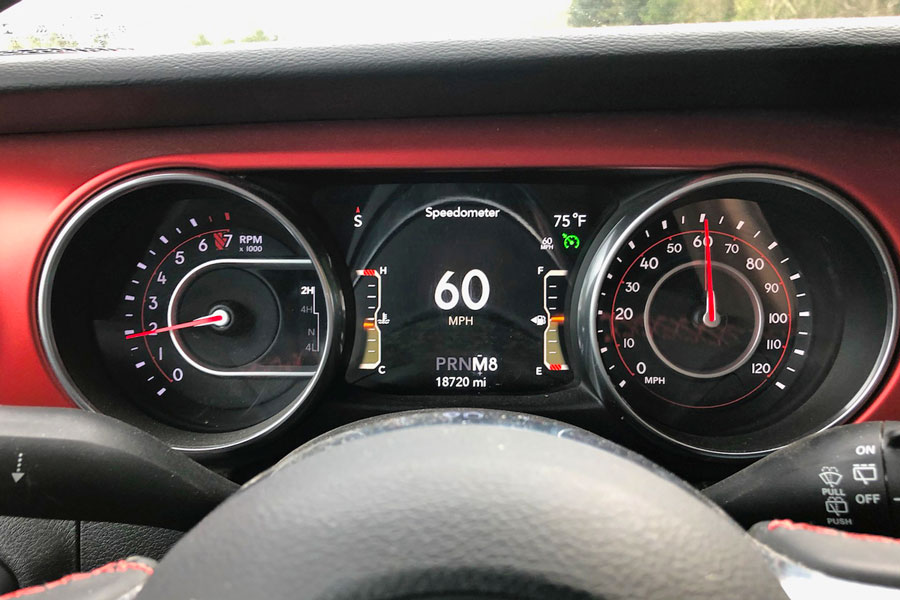
Stock 4.10 gears and 37″ Patagonias at 70 mph nets us just over 2,000 RPM. Again, doing the math, it looks like we are in 7th gear on this run also. This is telling us we are missing our 8th gear, costing us cruising performance and more than likely mileage too.
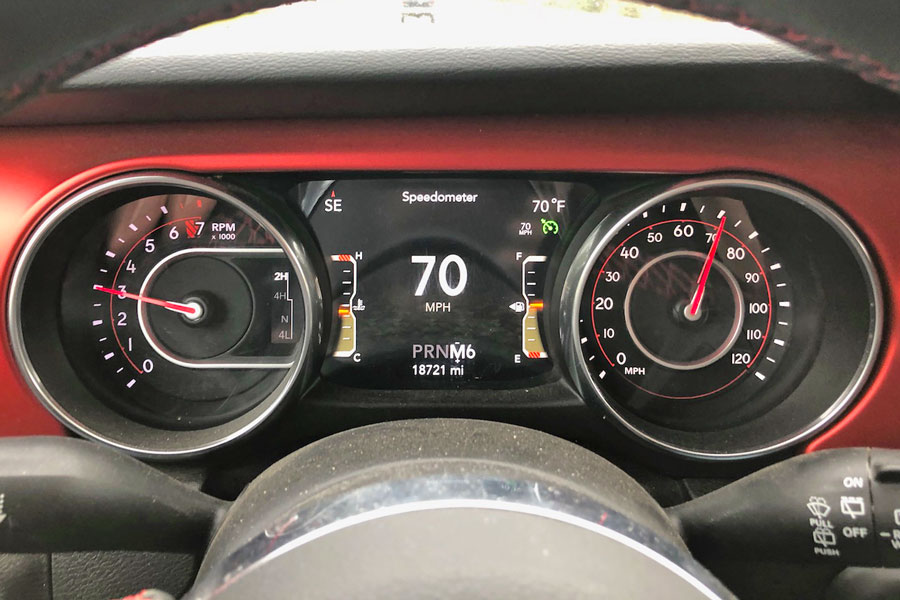
Stock 4.10 gears and 40″ Patagonias at 60 mph nets us just under 2,000 RPM. The math tells us we are in 6th gear, so now we’ve lost both 7th and 8th gear.
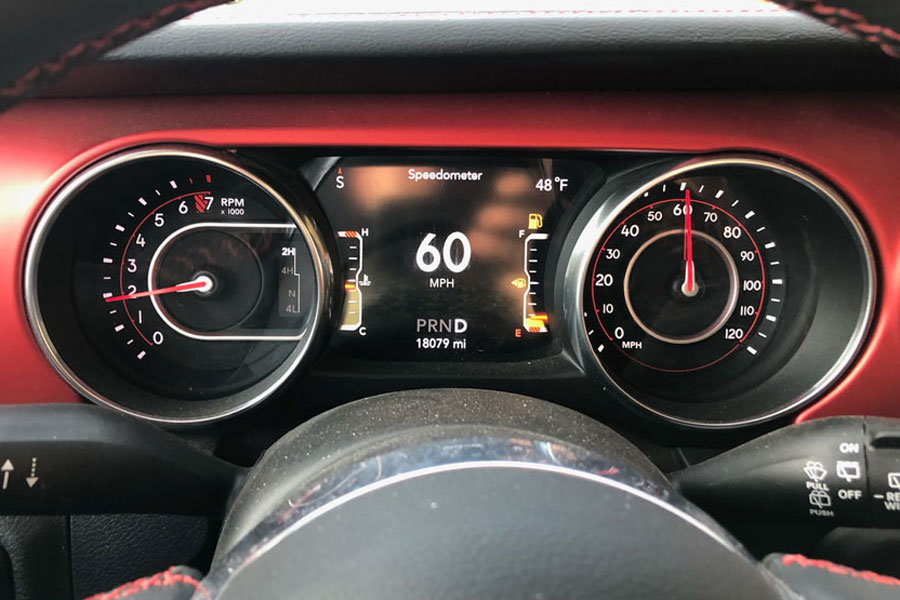
Stock 4.10 gears and 40″ Patagonias at 70 mph nets us just over 2,600 RPM. The math tells us we are in 5th gear to maintain 70 mph. Now we’ve lost the top three gears in our transmission at cruising speed. The loss of those higher gears at cruising speed is costing us performance and mileage and is working the transmission harder than it should, which could result in early transmission fluid failure and higher wear on the mechanicals inside. This JLUR definitely needs gears, so let’s install the new Yukon 4.88s and run this test over again.
What We Used:
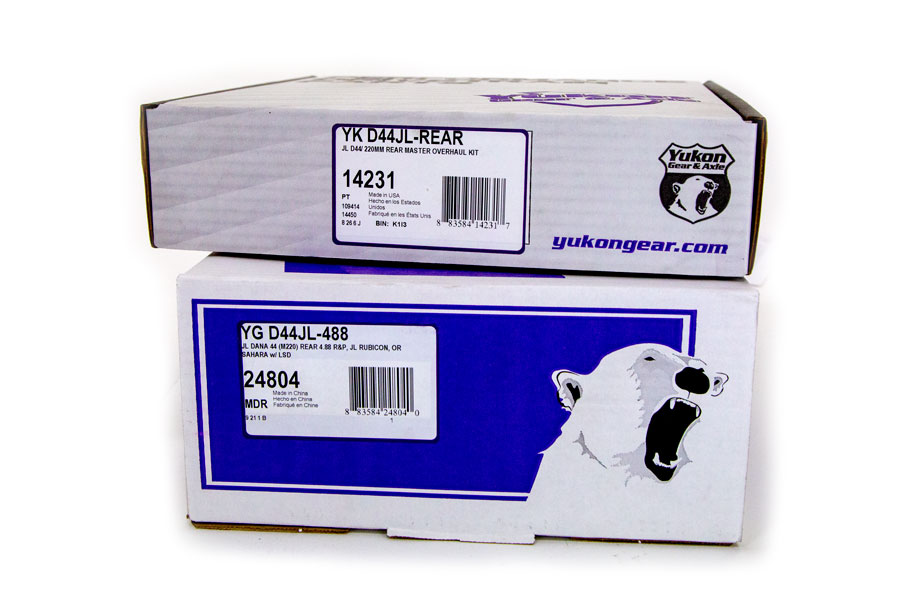
YK D44JL-REAR Install Kit and the YG D44JL-488 Gearset.
What is in the Box:
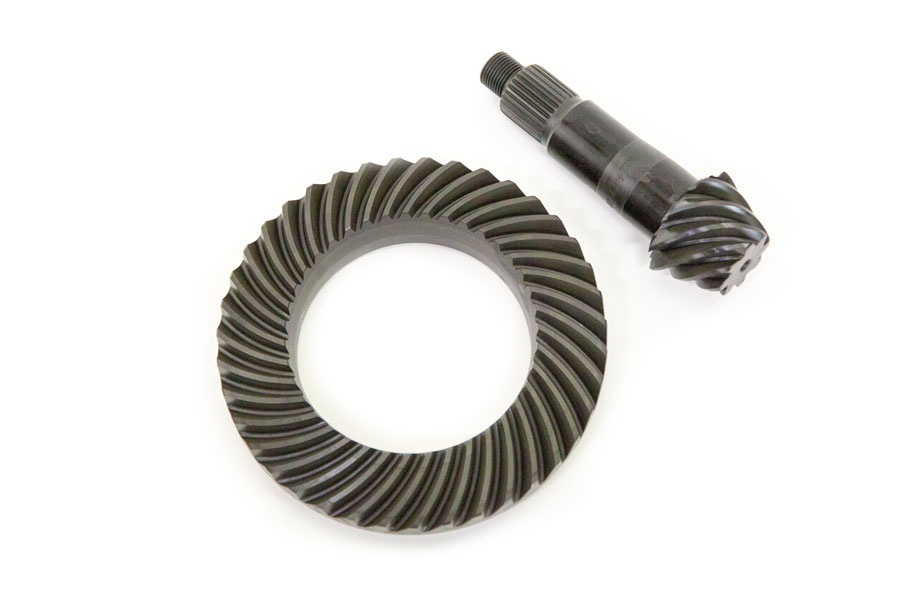
Yukon’s YG-D44JL-488 gearset for the new M220 (Dana 44) rear axle found in the back of the Wrangler JLs. Fits all M220 axles in the rear of the Rubicon (stock) and the optional rear axle in the Sahara and Sport models.
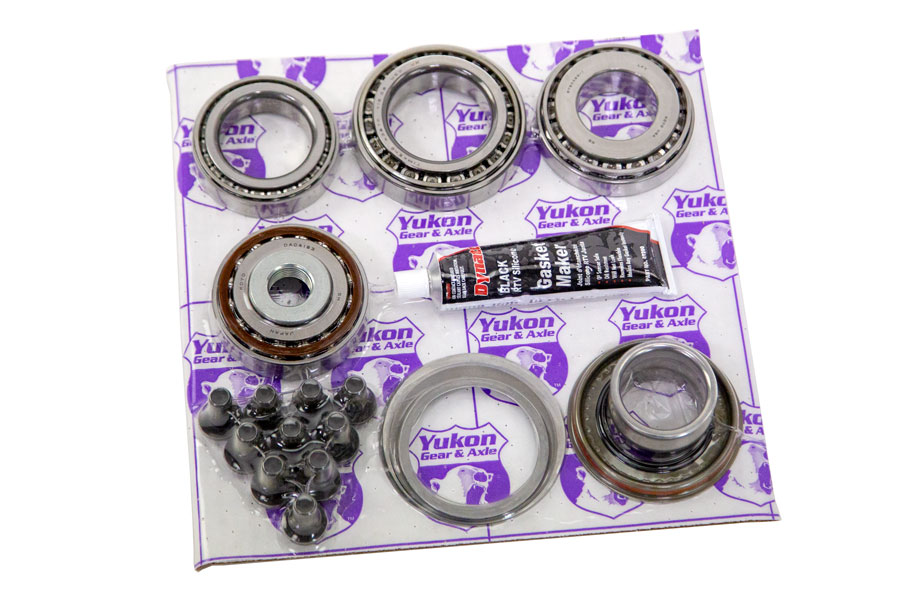
Yukon’s YK-D44JL-REAR install kit. Comes with all the needed differential parts for installing a ring and pinion set in the new M220 (Advantek Dana 44) rear axle. Always use a new install kit when installing gears and make sure the new kit comes with new ring gear bolts.
Installing the Yukon 4.88 gears for the Wrangler JL:
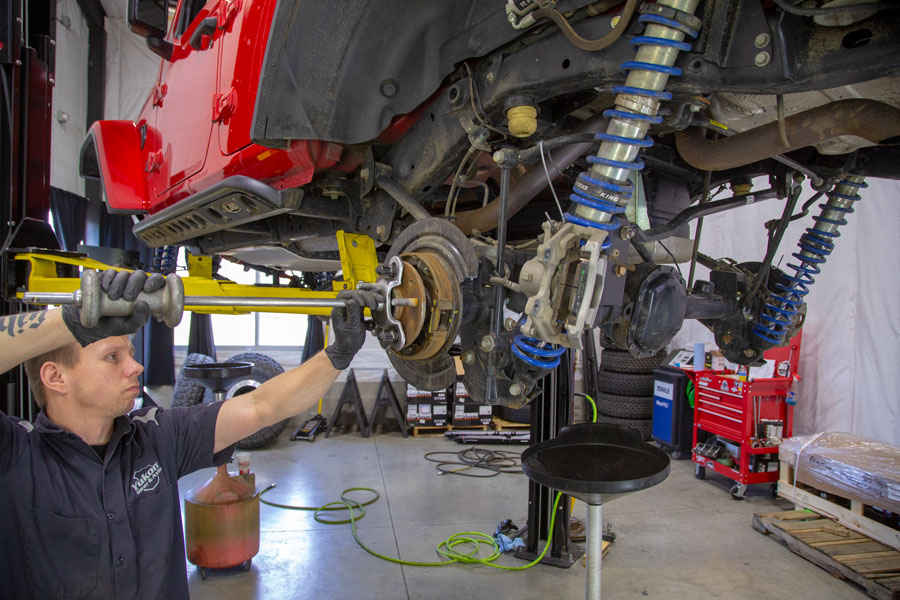
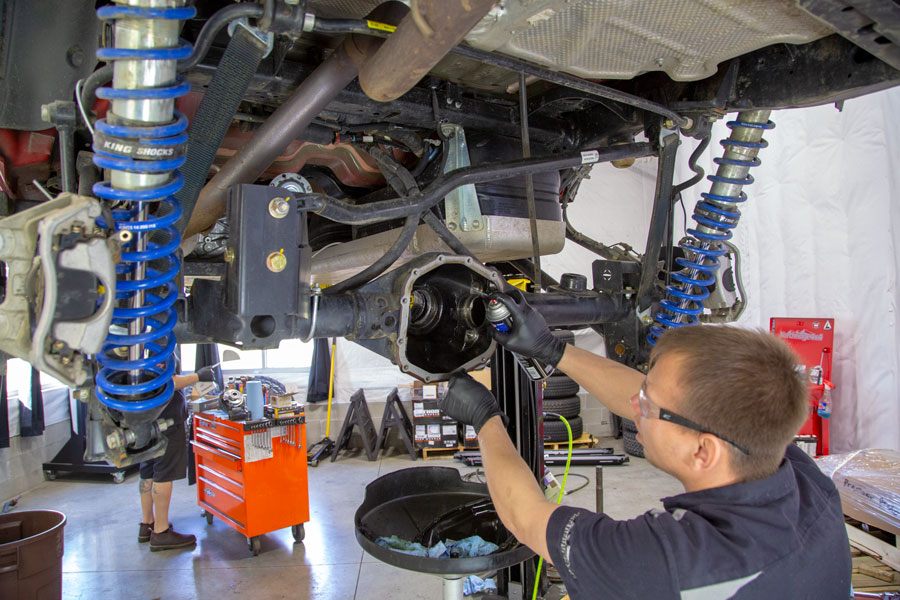
With the 2019 Easter Jeep Safari fast approaching we needed to get gears installed. The Silverdale, WA Northridge4x4 shop crew hit the ground running and started tearing into David’s Red JLUR. Tools and elbows were flying fast and they had the front done before we could even get down there. We did catch up with them during the rear install and were able to sneak in a few pictures of the process.
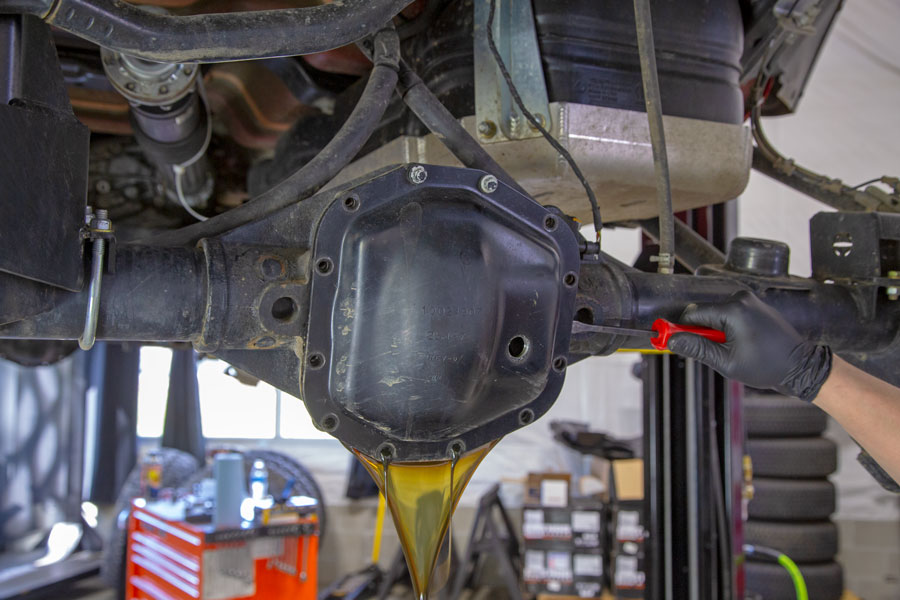
Before new gears can go in, the old gears have got to come out and the first step to tearing down the axle is to drain the old gear oil. The JL M220 axle has a drain plug in the side. Once we have that removed and draining, we broke the seal on the diff cover and continued to let the axle drain.
Then it was time to disassemble the brakes and get the axle shafts pulled out.
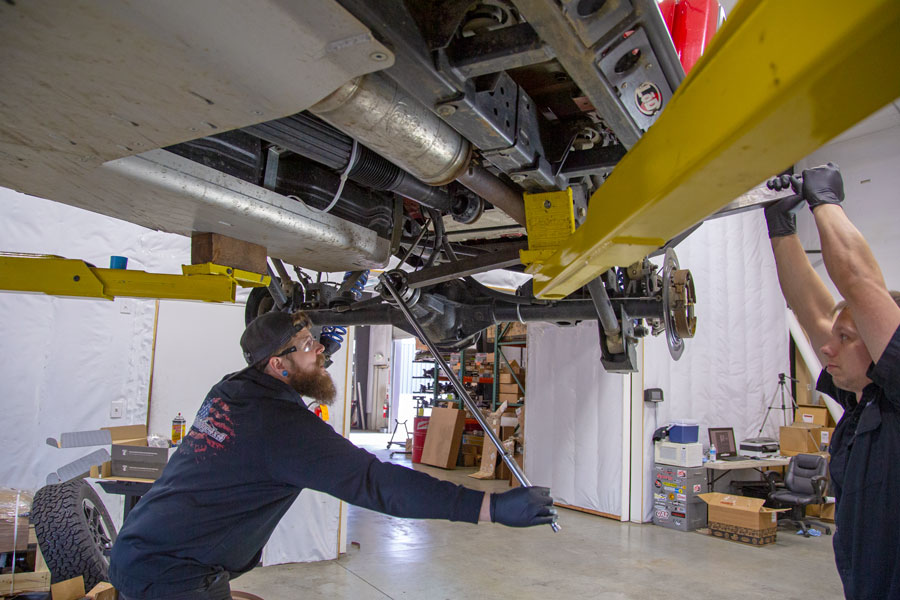
With the shafts out of the way and the bearing caps marked and removed, a large pry bar is used to help slide the Rubicon Locker out.
**The diff should be tight enough that you need a pry bar or a case spreader to remove it. If it is loose, you know you’ll need to add some extra preload shims when you put it all back together.**
With everything tore down, we clean, clean, clean and then clean some more. Clean the housing thoroughly, clean the locker, clean the axle shafts, clean it all.
Prepping the New Yukon Gear Parts:
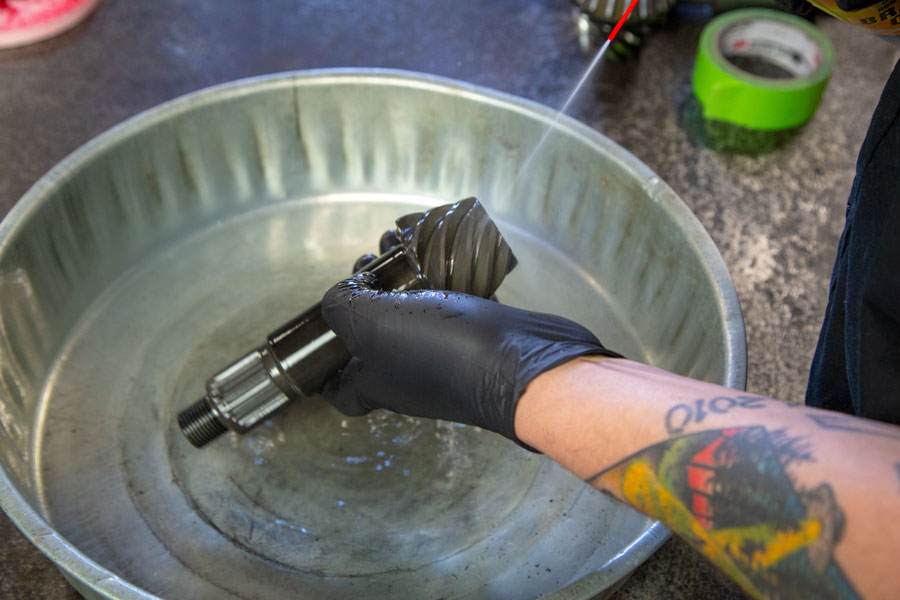
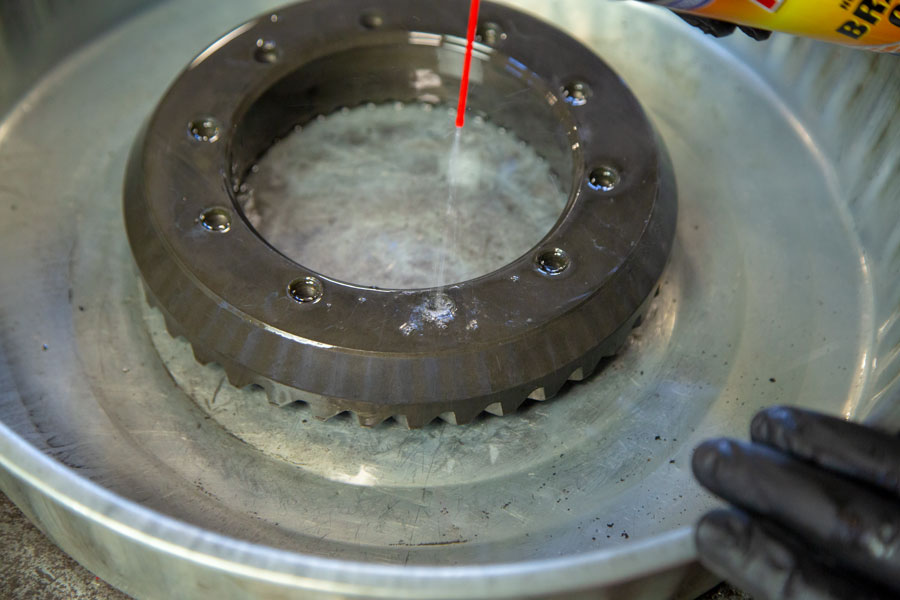
Cleaning the new parts is a must do item on tour list. We started with the Yukon pinion, then moved on to the ring gear. For cleaning we just use brake cleaner in a can. It’s quick and easy and it works great.
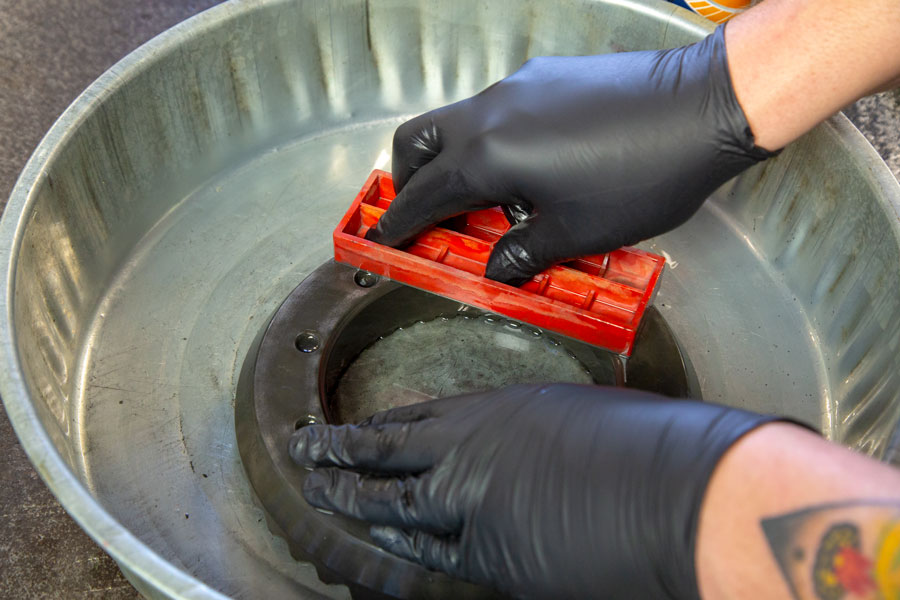
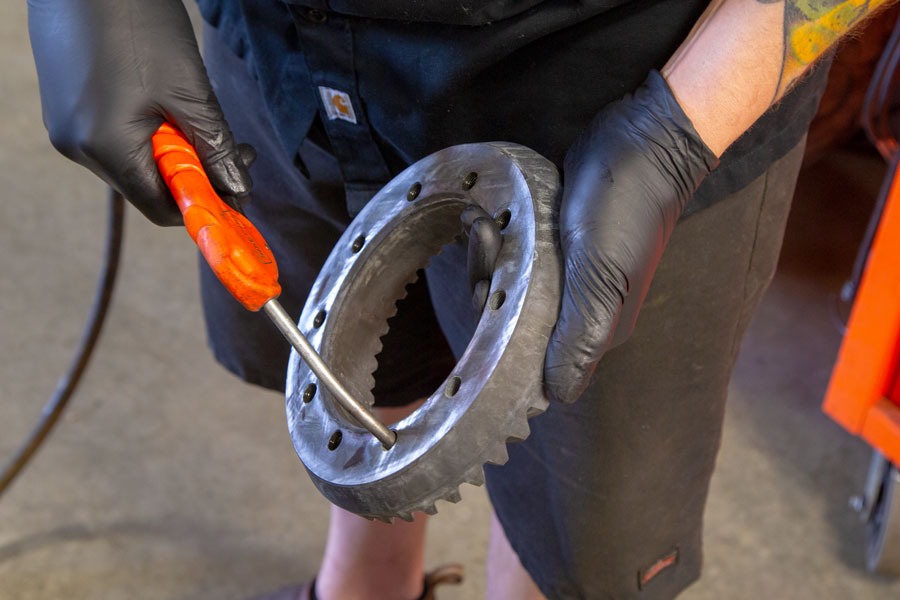
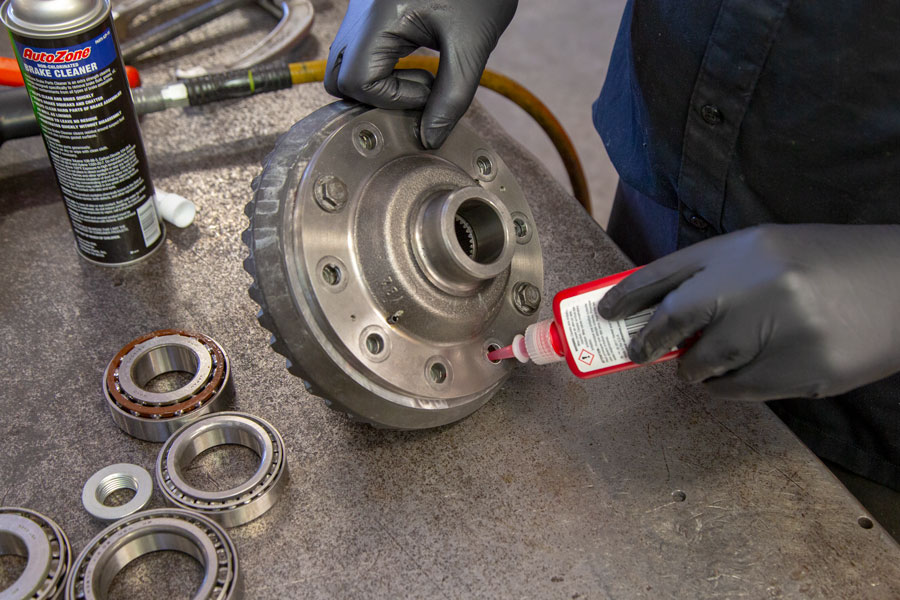
The ring gear was cleaned front and back, with extra attention paid to the ring gear bolt holes. They often hold oils and other contaminates that could prevent proper torque and/or the Loctite from setting up correctly.
The back face of the ring gear gets a hone ran across it to make sure every thing is perfectly flat with no high or low spots.
After a thorough cleaning and rinse, we then hit everything with compressed air to dry them off. Make sure to pay extra attention to the ring gear bolt holes, get them clean and dry.
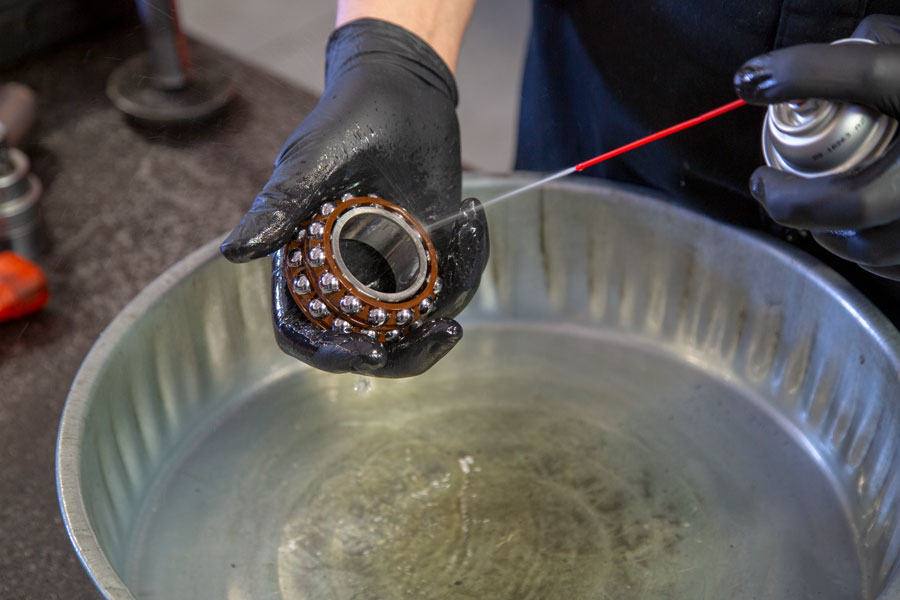
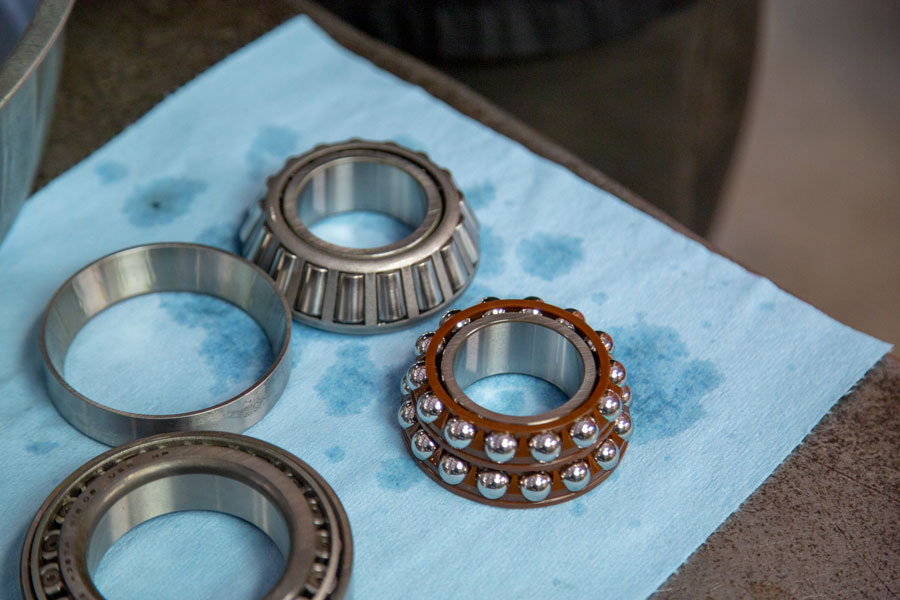
The new Yukon bearings and races also get a run through the wash and dry followed by an inspection to make sure everything is in perfect condition.
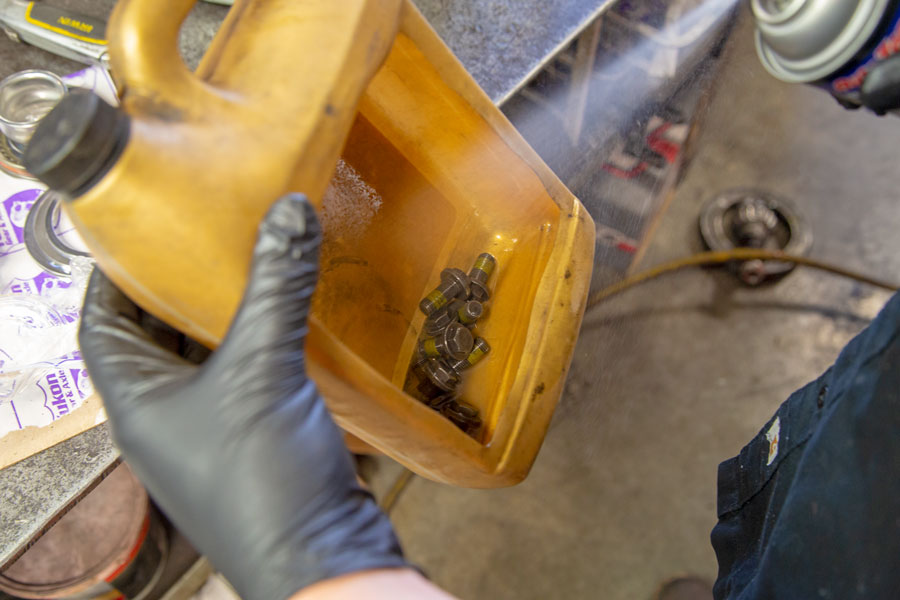
Even the new ring gear bolts get a good wash and dry. The time spent to prep everything is well worth the effort.
The new Advantek rear Dana 44 uses a double ball bearing for the outer pinion bearing instead of the more traditional tapered roller bearing. This gives the new M220 axle a small increase in bearing efficiency. Helping to give the JL a small increase in fuel mileage.
Start putting it all back together:
![]()
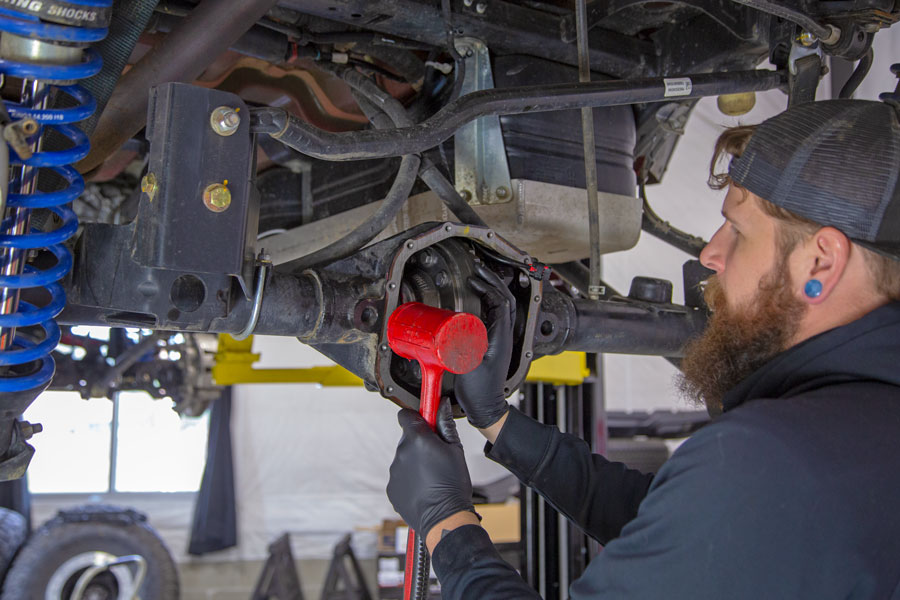
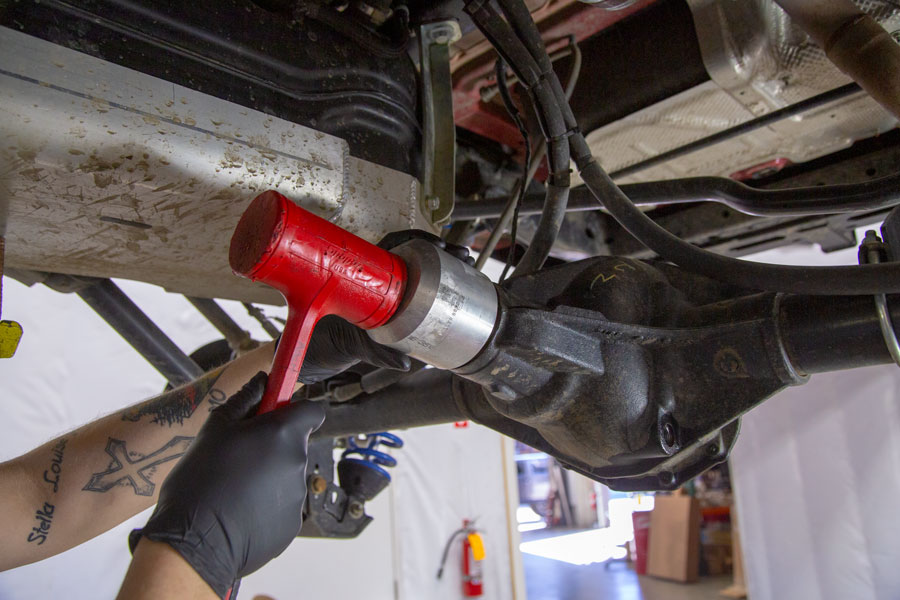
The new Yukon 4.88 Ring Gear goes onto the cleaned and prepped Rubicon locker. Set it in place, align the ring gear bolt holes and coax it into place with a big plastic mallet.
To make sure the ring gear bolts stay tight, we added a bit of red Loctite to the internal threads of the ring gear bolt holes. The ring gear bolts also get some Loctite on the threads, that way we get good coverage on both the holes and bolts. **Use the Loctite sparingly, don’t just squirt a bunch into the holes, too much Loctite sitting in the holes could cause a false torque setting.**
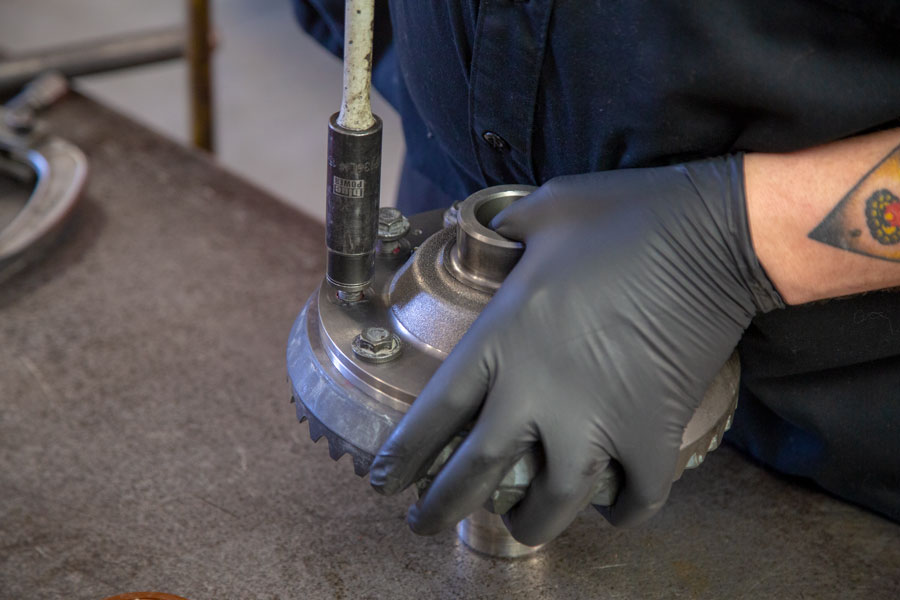
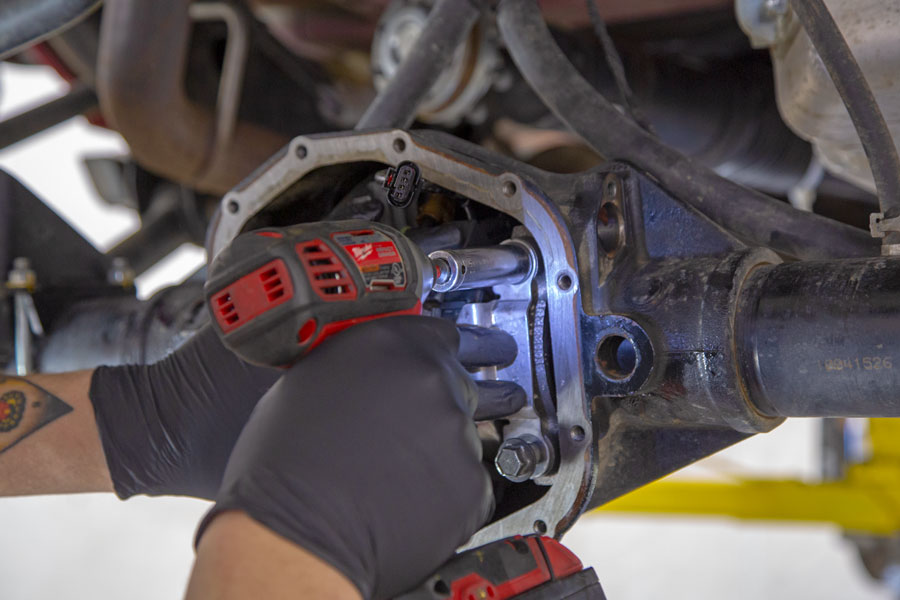
Ring gear bolts are then ran down tight and torqued to 135 ft-lbs.
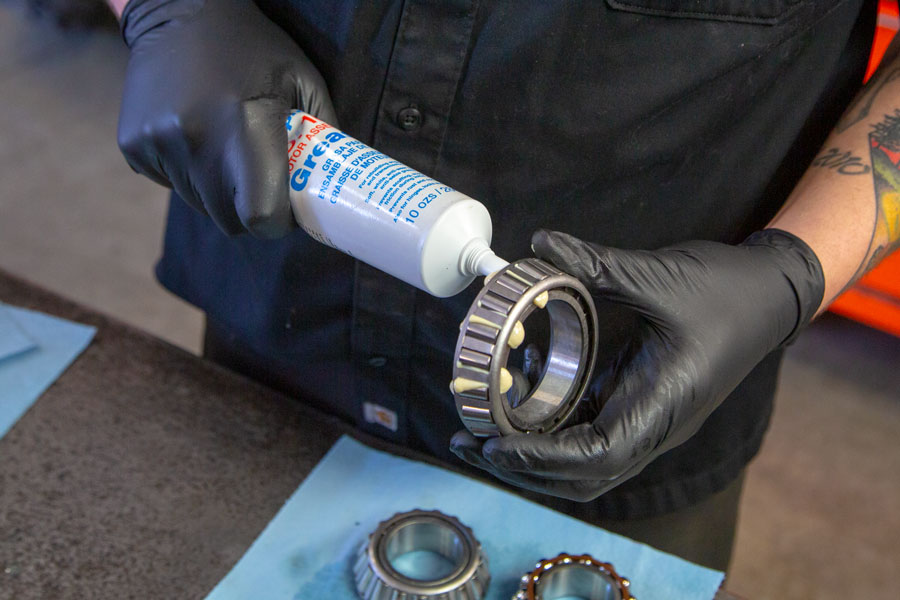
Bearings are loaded with assembly lube, which will make the set-up go a little smoother and help protect them from damage due to a dry start.
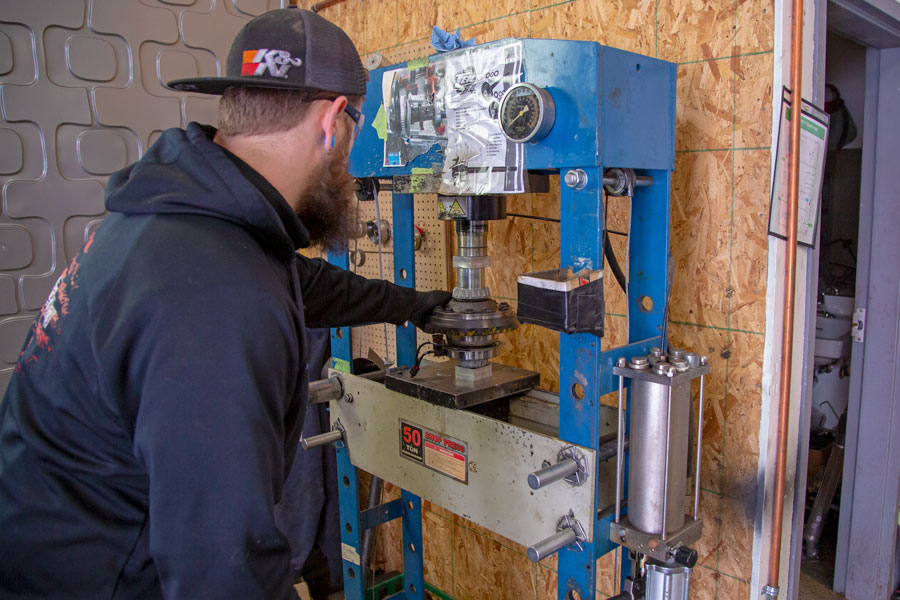
Bearings are then pressed onto the Rubicon locker and the pinion, then it’s time to get under the JL.
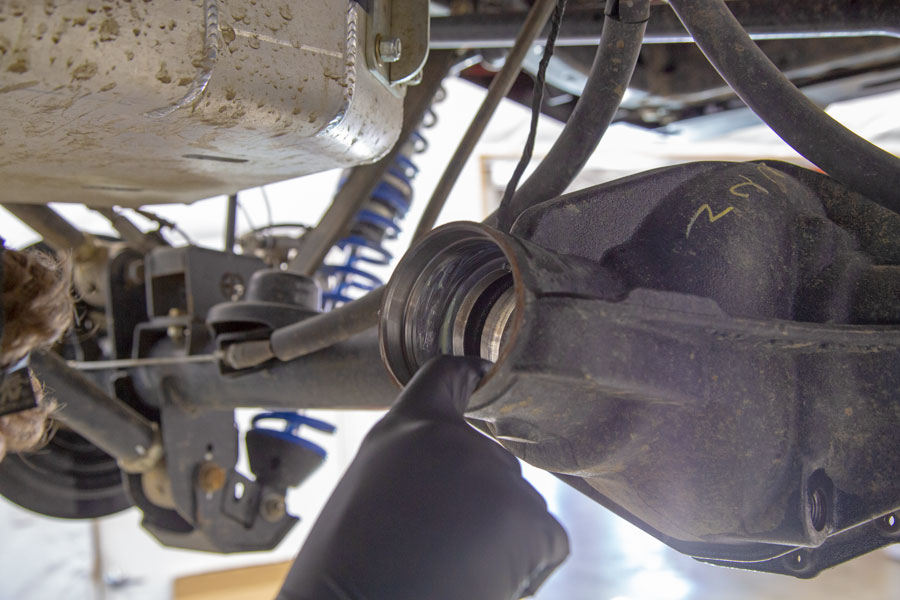
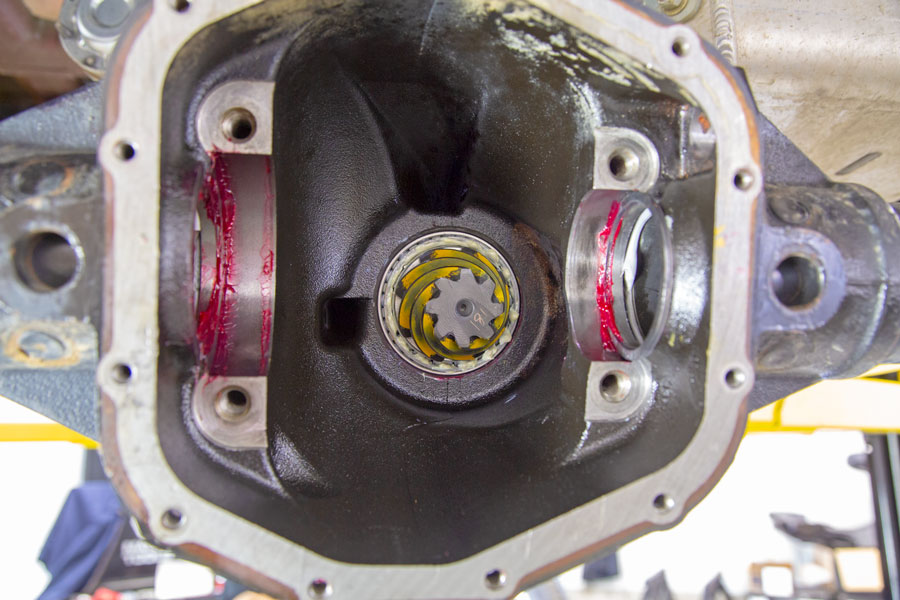
The new bearing races are installed into the Rubicon rear axle housing. We first use a little assembly lube in the race bores to help ease the race in. We then use a race driver to install the bearing races, though a brass punch will work fine too.
The new Yukon 4.88 pinion goes into the housing.
The outer pinion bearing goes in next followed by the yoke and pinion nut.
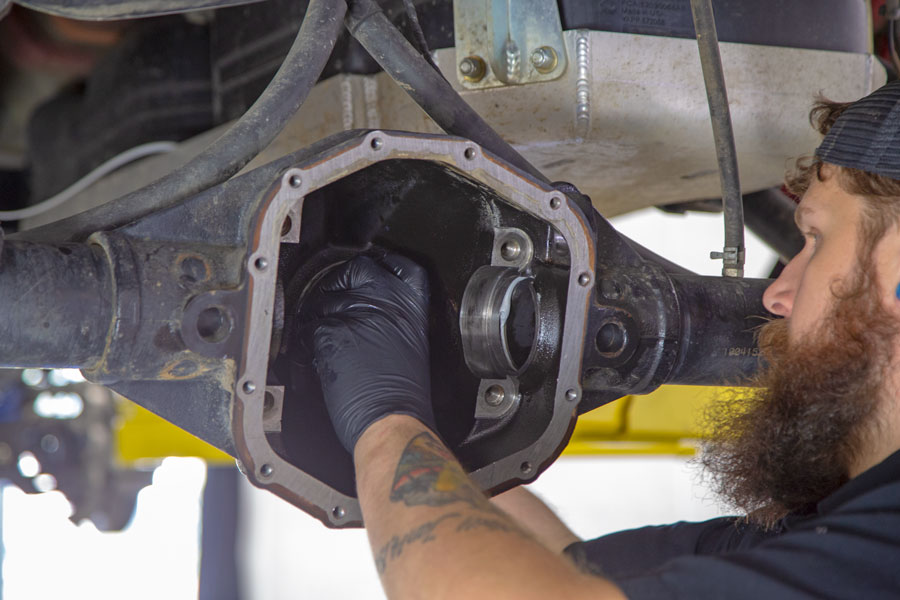
The loaded differential is installed into the axle housing with preload shims on either side. Adam (Silverdale, Northridge4x4’s gear master) shims the differential fairly tight to start with by using a mallet. Once the gear pattern is set, he breaks out a case spreader and adds the final preload shims to make sure it is tight.
Bearing caps are installed and torqued to 70 ft.-lbs.
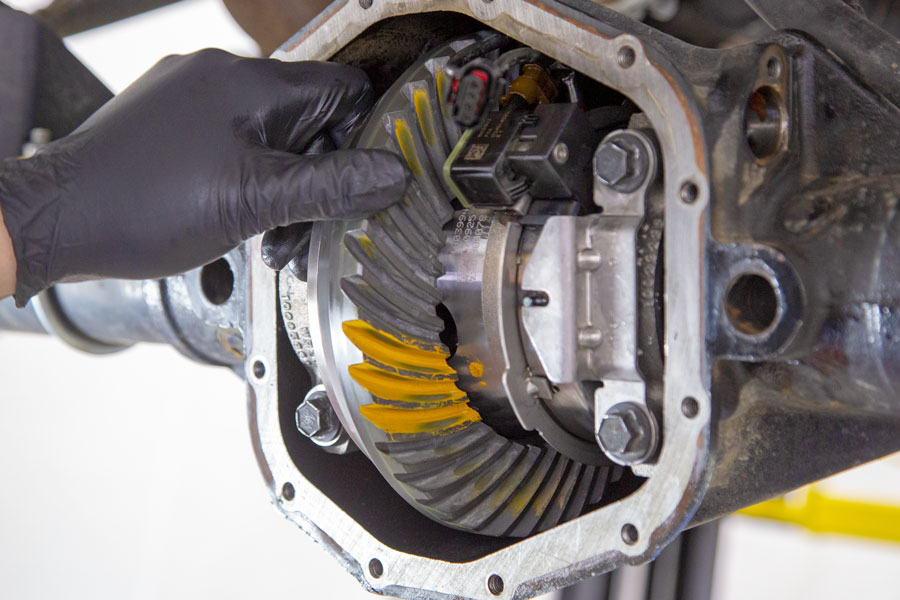
Gear Marking Compound is used to check the gear mesh pattern telling us how smooth the ring and pinion gear teeth will mesh with each other. This one is getting closer, needs a little more adjustment to get the pattern perfect and it’ll be ready to go.
Gear Adjustment Basics:
-
Shimming the pinion in increases the depth of the pattern deeper into the root of the tooth.
-
Pulling shims out from the pinion decreases the pattern depth.
-
Adding more shims to the left hand side of the locker moves the ring gear closer to the pinion. The gear pattern moves towards the toe of the gear and tightens up the backlash between the gears.
-
Adding shims to the right hand side of the locker moves the ring gear further from the pinion, moving the pattern towards the heel of the tooth and decreases the amount of lash between the gears.
-
It’s all a balancing act and can take a little bit of finesse to get them just right.
And so it goes, pulling it apart, adding and subtracting preload shims until we have the right pattern. We typically read the pattern on the ring gear. As you can see in the above photo, you can also read the pattern on the pinion teeth too… However, it will be opposite from the ring gear pattern.
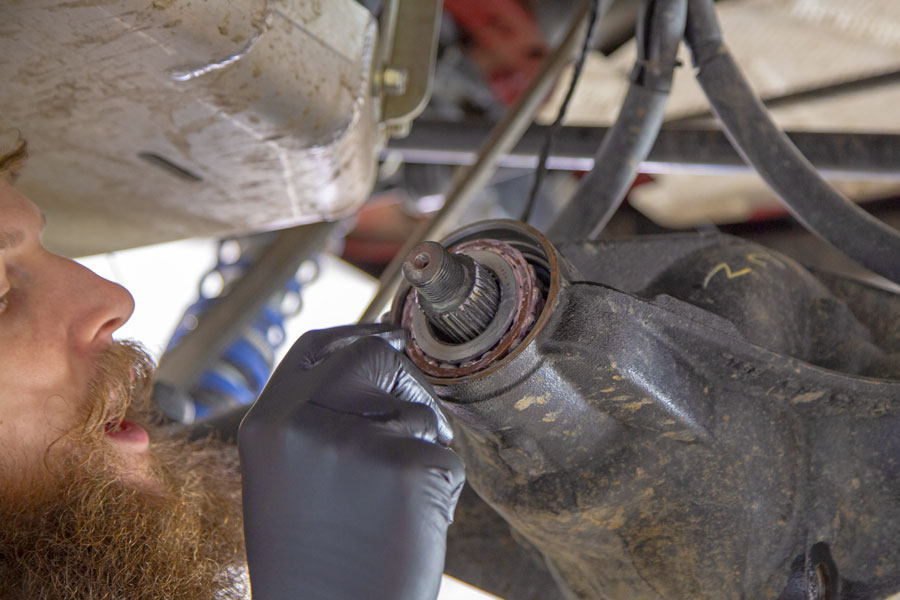
Once the pattern is set, we can do the final install. The pinion is set in place with a crush sleeve (for pinion bearing preload), the outer pinion bearing is installed and then the new pinion oil seal is installed.
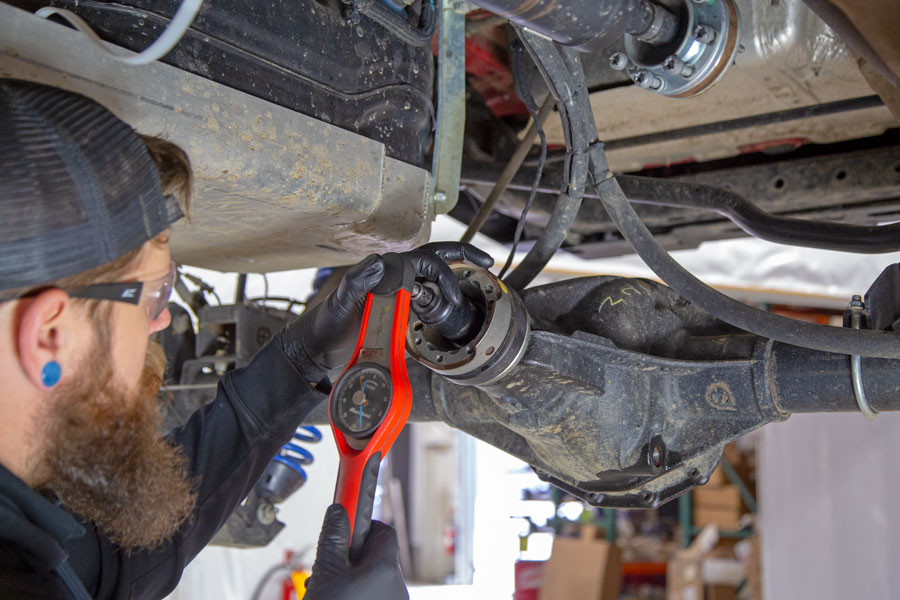
The pinion crush sleeve is then crushed until the proper bearing preload is reached.
Which is checked by using an inch-lbs. torque wrench. For the JL Rubicon M220 rear axle, the proper pinion preload is 12-20 inch-lbs. Yes… Inch-lbs, try to torque these to ft-lbs. and you’ll burn up the bearings!
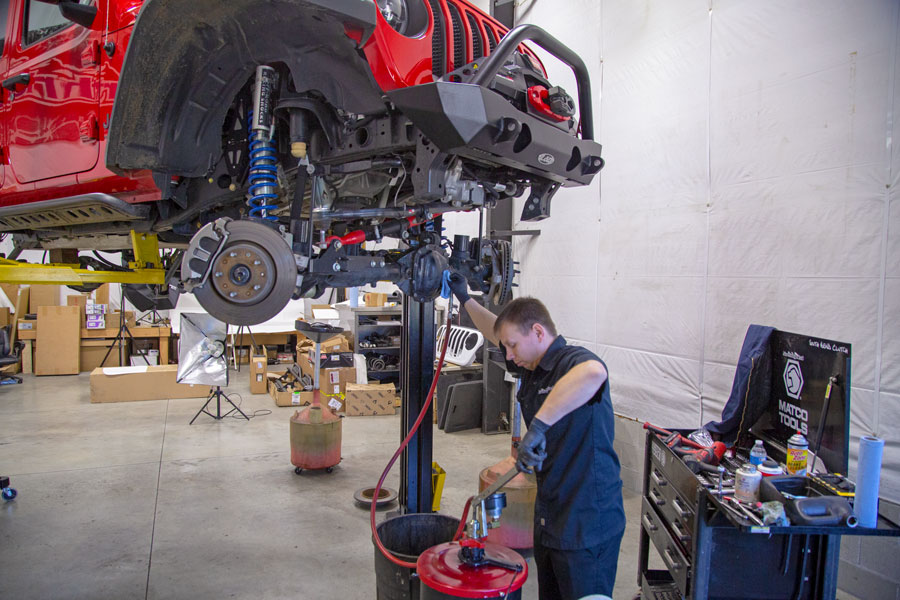
The axles are reassembled and diff fluid is added front and rear. We use Champion 80W90 for the gear break in and then recommend going to Royal Purple Max Gear Synthetic after that. We carry three different weights depending on your needs: 75W90, 75W140 and 85W140.
Gear Break-in?
After a new gear set is installed, you need to doing a few hot/cold cycles to get the gears seated in to each other. Along with a good install, a proper break-in will help give you smooth and quiet running gears that last a long time.
Break-in Procedure:
-
Head out to your local highway and get it up to speed for 10-15 mins.
-
Stop and let the gears cool down for 10-15 mins. – Repeat 4-5 times, each time going a little longer.
-
No heavy towing for the first 1,000 miles.
-
Change out the gear oil within the first 500-1,000 miles.
Test Drive:
Once they got it back on the ground, it was time for Eric to go run the JL on the highway to do our initial break-in drive and check out the difference the new Yukon 4.88 gears make with both the 37″s and the 40″ tires.
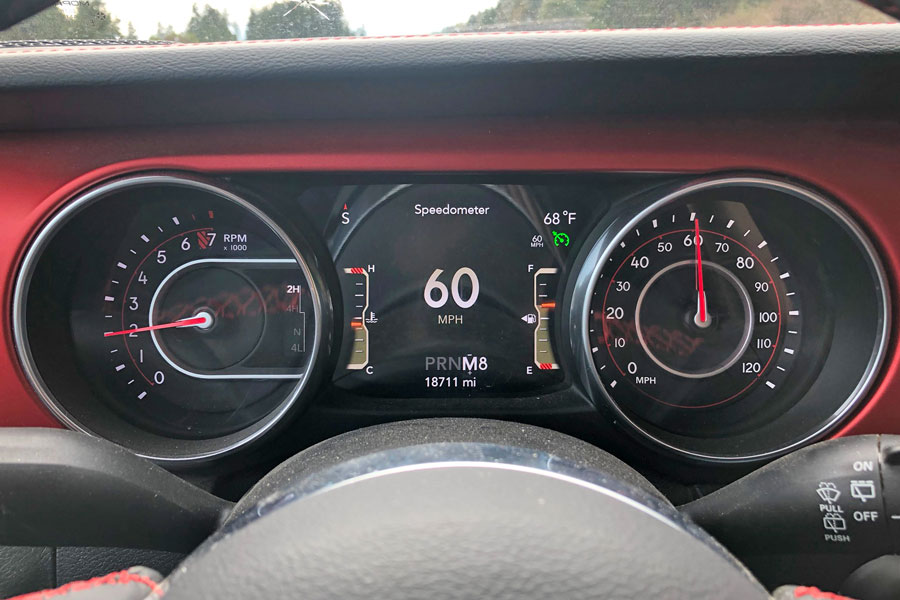
Here is the new 4.88 gears with the 37″ Patagonias at 60 mph. The JL is cruising at a mellow 2,000 RPM in 8th gear.
Bump it up to 70 mph with the 4.88s and 37″ Patagonias and we see an increase of a few hundred RPM and we’re still holding 8th gear. We then installed the 40″ Patagonias back on and ran it back out to check the performance:
Yukon 4.88 gears with 40″ Patagonias at 60 mph netted us about 1800-1900 RPM and we’re still running in 8th gear.
Nudging up to 70 mph, we see that we increase RPM to 3,000 RPM and we drop down to 6th gear to do it.
*** All testing was done on a fairly flat, smooth section of the highway. To get the gear selection to show clearly, we would bump it into manual only after it had settled into the needed speed***

