SET YOUR VEHICLE
TALK TO A PARTS EXPERT TODAY!
FREE SHIPPING ON ORDERS OVER $70 in the contiguous US lower 48 states
SPECIALS!
Browse By Category
- Auxiliary Lights
- Light Bars
- Fog/driving Lights
- Underhood/rock Lights
- 3rd Brake Light Solutions
- Back Up Lights
- Other Auxiliary Lighting
- Shop All
X Close Search
Results for
Filters:
Stock
Category
Brand
Rating
Price
Stock
Category
Brand
Rating
Price
OH NO!
We couldn't find any results
We couldn't find any results
Search Tips:
- Use different keywords
- Double check your spelling
- Start with something less specific - you can refine your search results later
- Try changing some of your filters below:
Search term:
The rear tailgate hinges on the Wrangler JLs are leaps and bounds better than the older JK model. That said, they still aren’t designed to handle added weight and JL owners can start seeing worn out hinges and bent tailgates as a result of carrying a full-size 37″ or bigger spare tire.
To help combat the problem, Rugged Ridge developed the Spartacus HD Tailgate Hinge Assembly and the Spartacus HD Tire Carrier for the 2018+ Wrangler JL. The Tailgate Hinge Assembly is a cast unit that has burly hinges designed to handle the weight of larger spare tires. The HD Tire Carrier is a fabricated welded steel assembly that bolts up to the HD Tailgate Hinge Assembly, replacing the OE plastic tire carrier.
Our test mule for today’s install is the 2018 JLU Sahara that belongs to Meg, Northridge4x4’s Customer Service manager. You’ve seen her black Sahara on Northridge Nation before, this is one more step closer to her goal of building a mild, yet capable trail and exploration Wrangler JLU for the family. What’s In The Box?
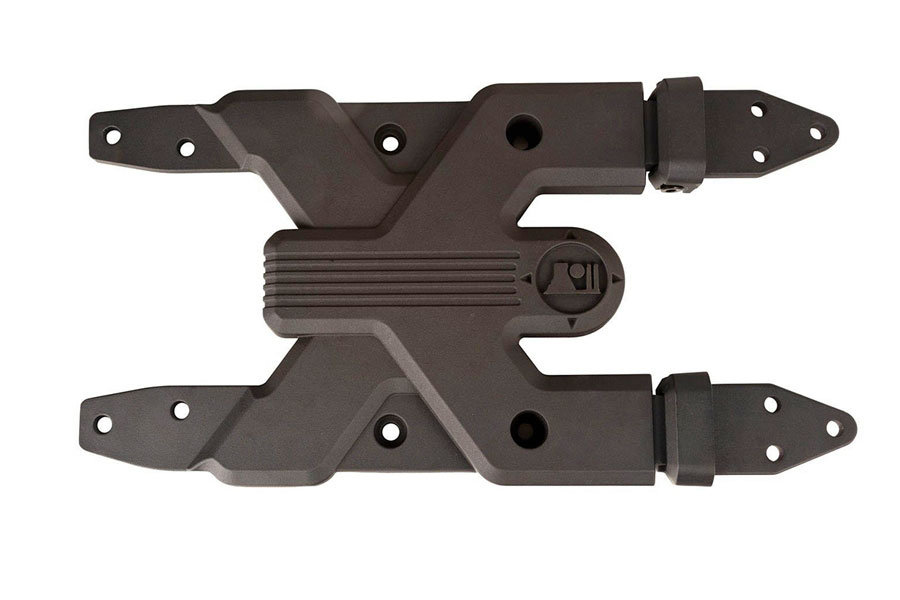
Rugged Ridge HD JL Tailgate Hinge Assembly
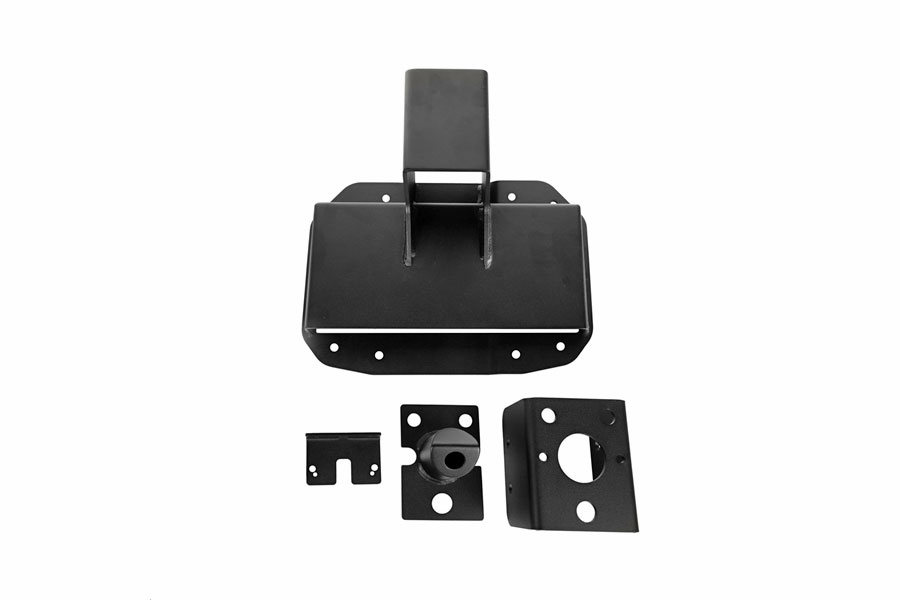
Rugged Ridge HD JL Tire Carrier
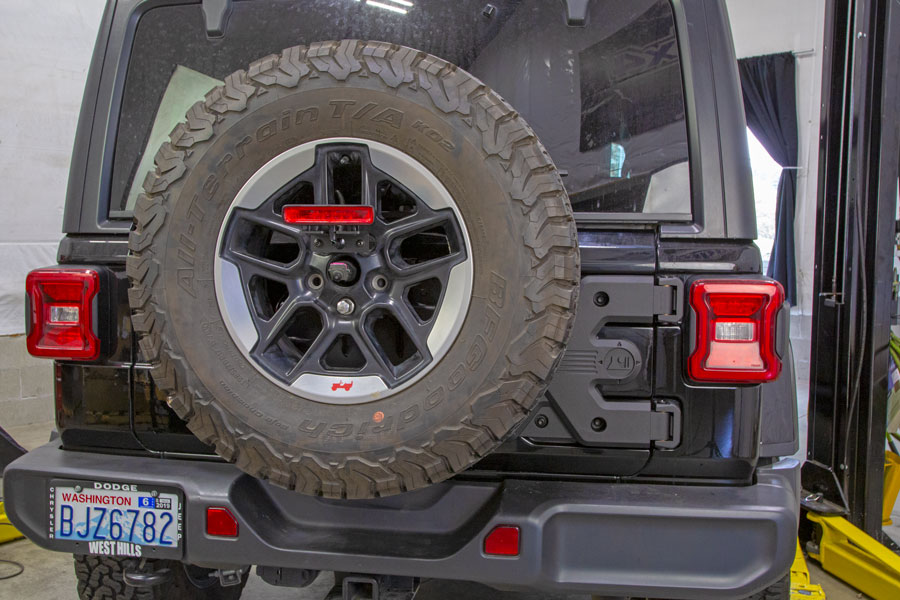
Go from this:
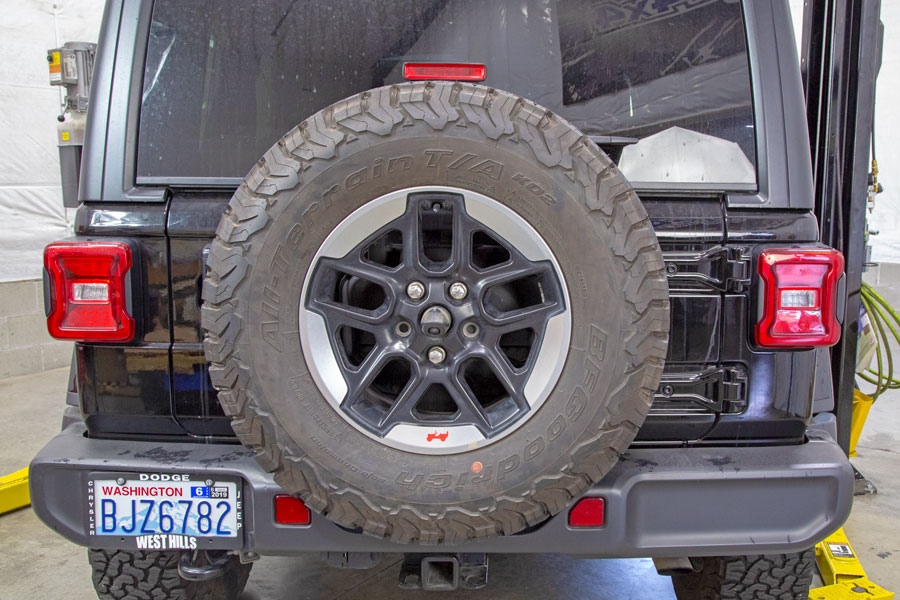
To this in less than an hour:
The How-To:
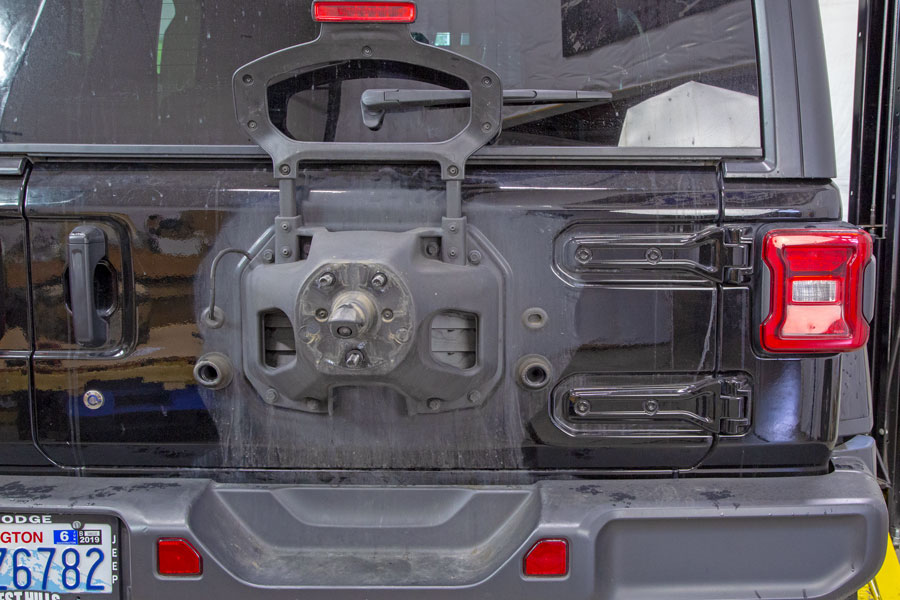
Start out by removing the spare tire from the OE tire carrier. Amazing to see how dirty it can get behind the spare tire.
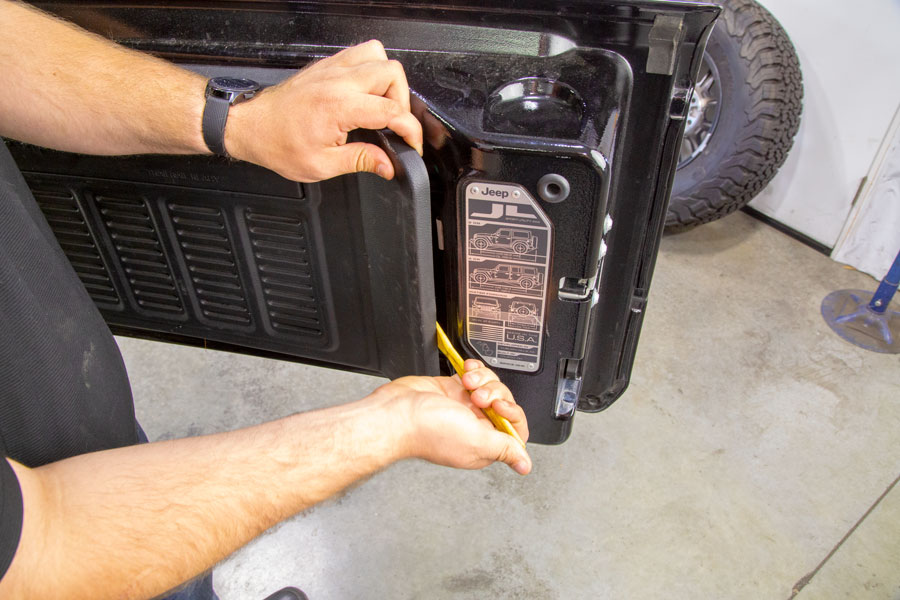
Use a plastic trim tool to pry up the edge of the inner trim panel of the tailgate and continue to work your way across the panel until the panel comes off, set it aside.
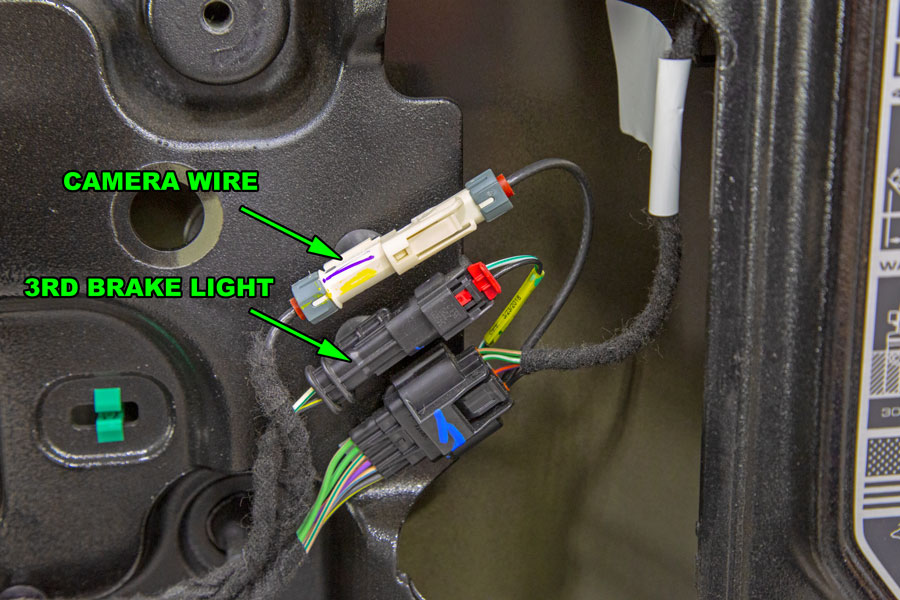
Unplug the top and middle wire plugs. These are for the third brake light and backup camera.
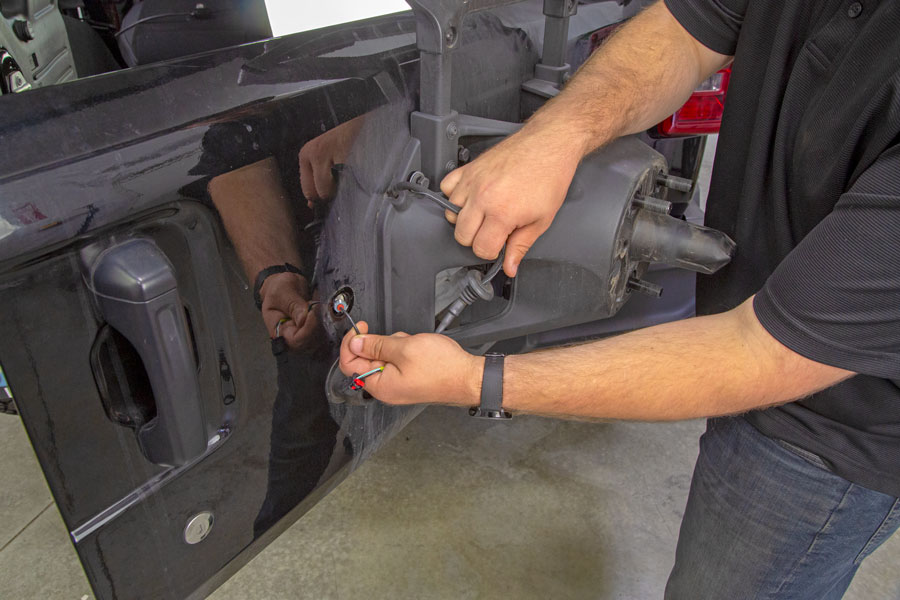
Pry the rear wire harness grommet from the tailgate and fish the wire harness and plugs out.
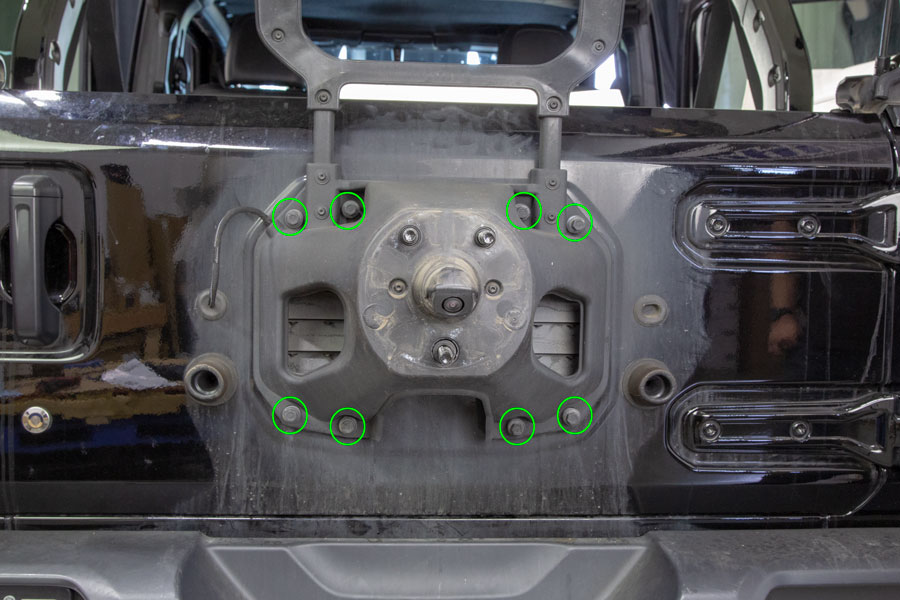
There are eight bolts that hold the stock tire carrier to the tailgate on a JL. The green circles are highlighting them.
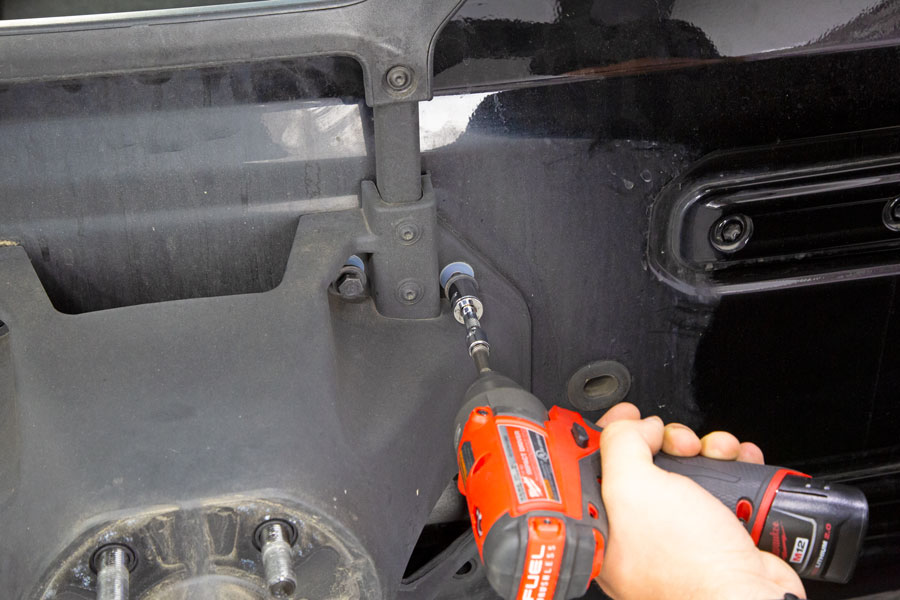
Use a 13mm socket to remove the bolts and set the tire carrier aside.
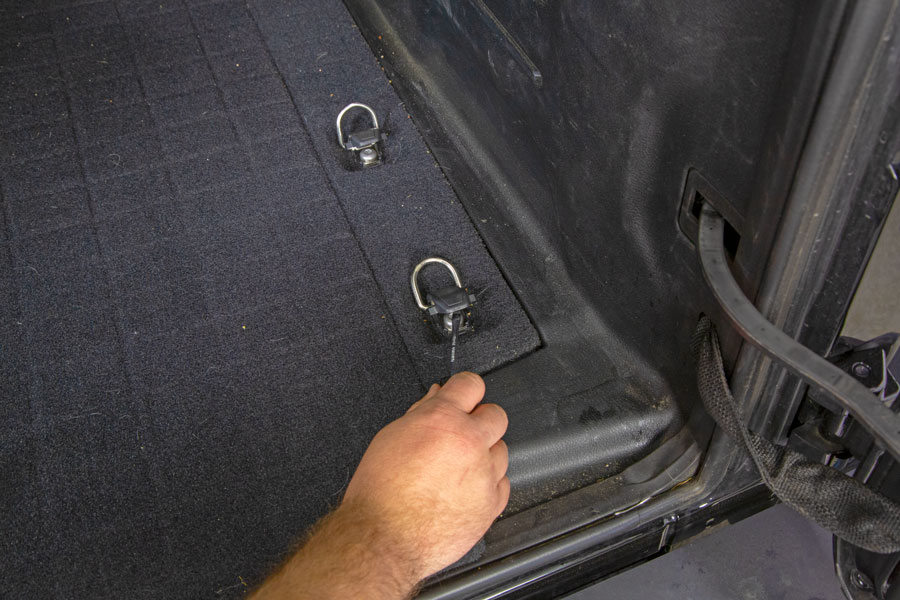
Move into the rear cargo area and pry up the covers on the cargo tie down loops on the left hand side. A flat blade screwdriver makes it easy.
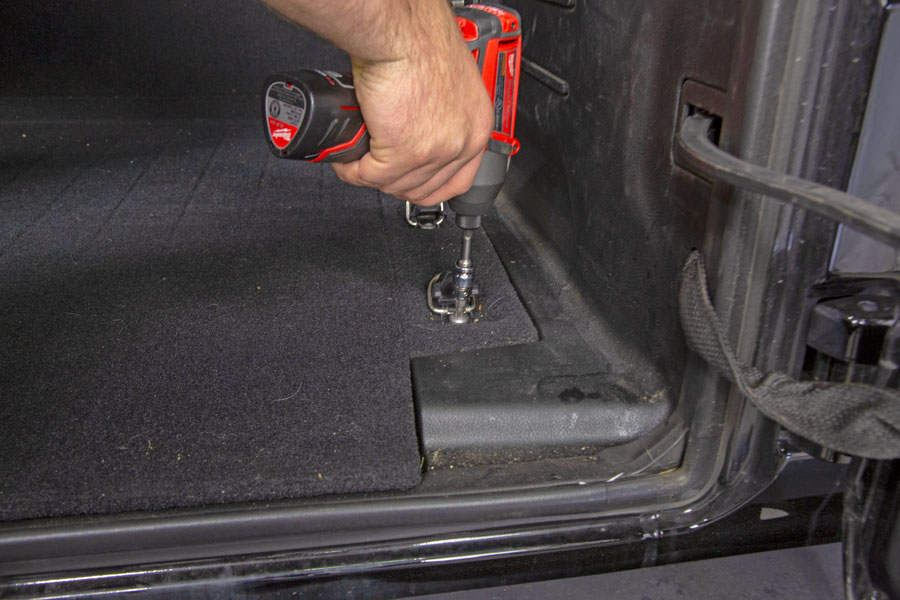
Use a T40 Torx bit and remove the screws holding the LH tie downs in place.
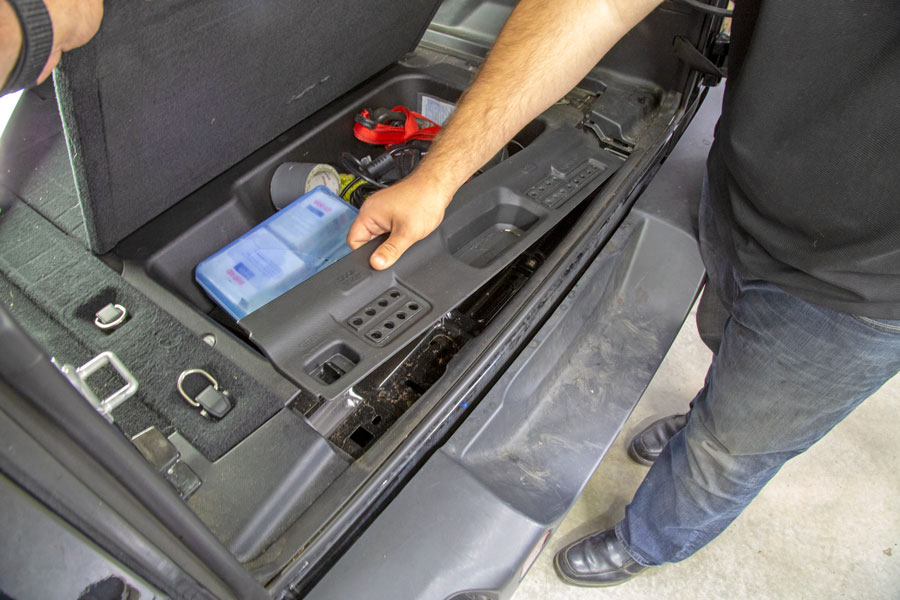
Lift up the rear center cargo deck and remove the factory jack trim cover.
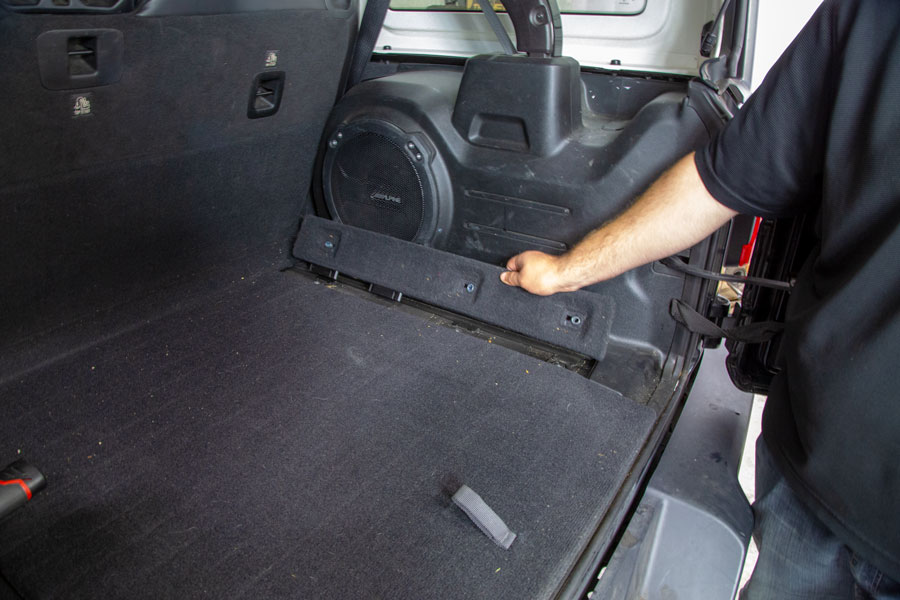
Lift the carpet trim panel up and move it out of the way.
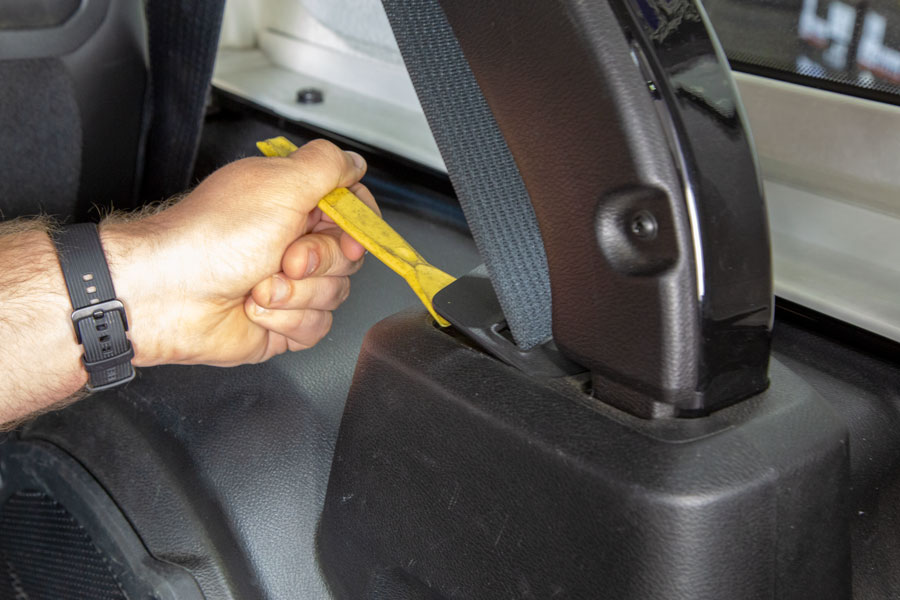
Use a small flat blade screwdriver or a plastic panel tool to lift up the rear seatbelt trim ring.
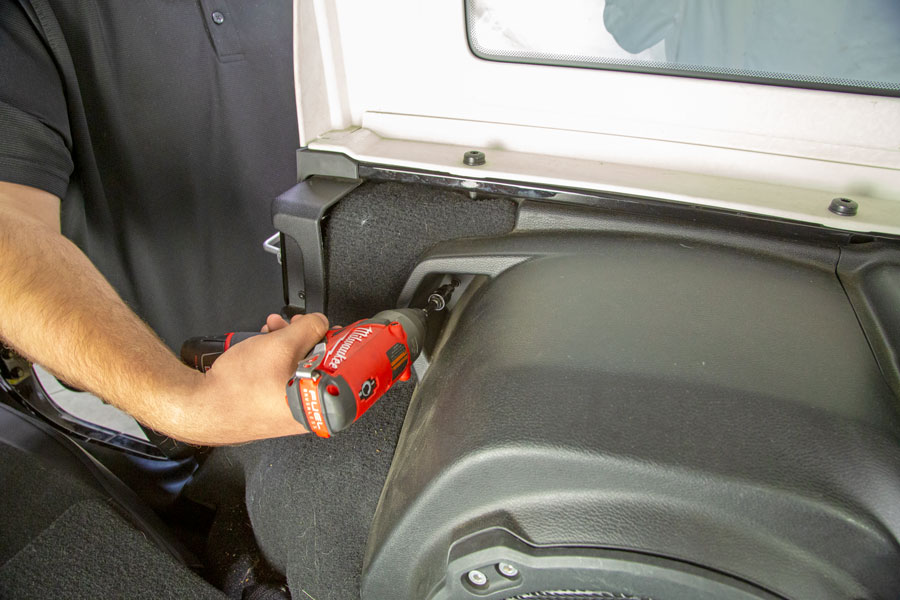
Remove the T25 Torx screw at the front of the LH quarter panel.
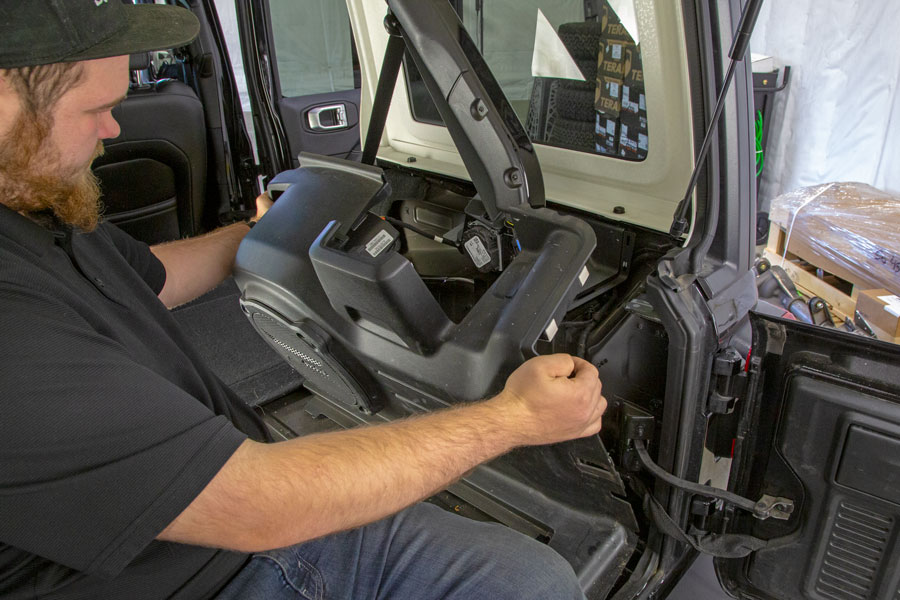
Grab the rear quarter panel and start pulling it away from the sidewall of the Jeep. The snap clips can be tight and will make lots of loud noises as your start to pop them from their locating holes.
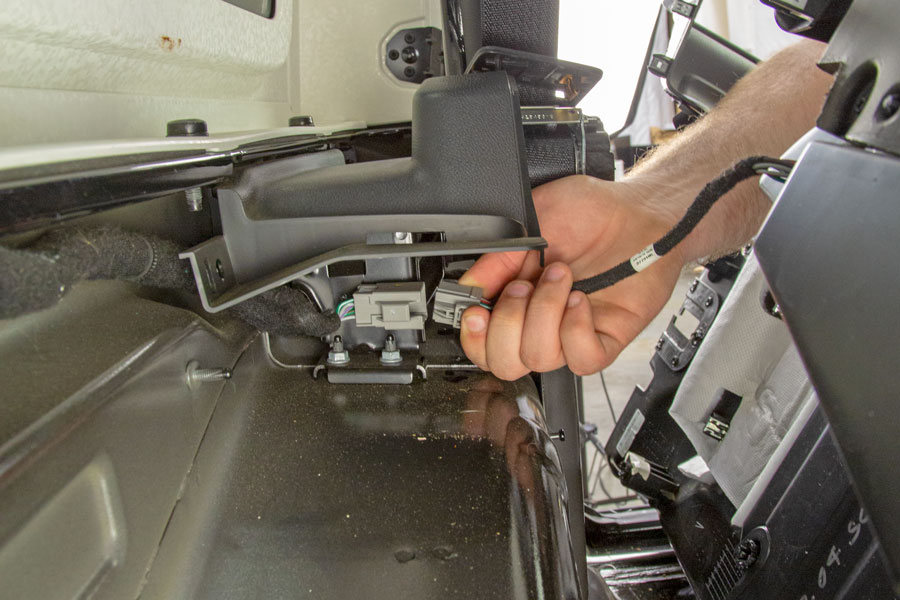
Unplug the sub-woofer pigtail by depressing the locking tab and operating the pigtail socket.
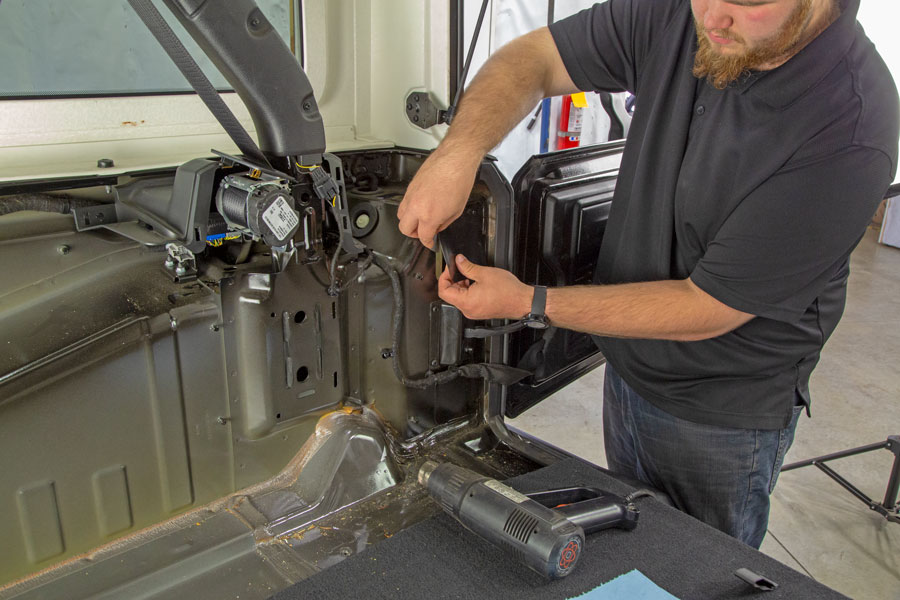
With the quarter panel out of the way, you can get at the hinge bolt covers. They are thick decals that cover the access holes, use a utility knife blade to carefully get behind the edges and pull them off. A couple minutes with a heat gun to soften the adhesive around the edges will make it very easy.
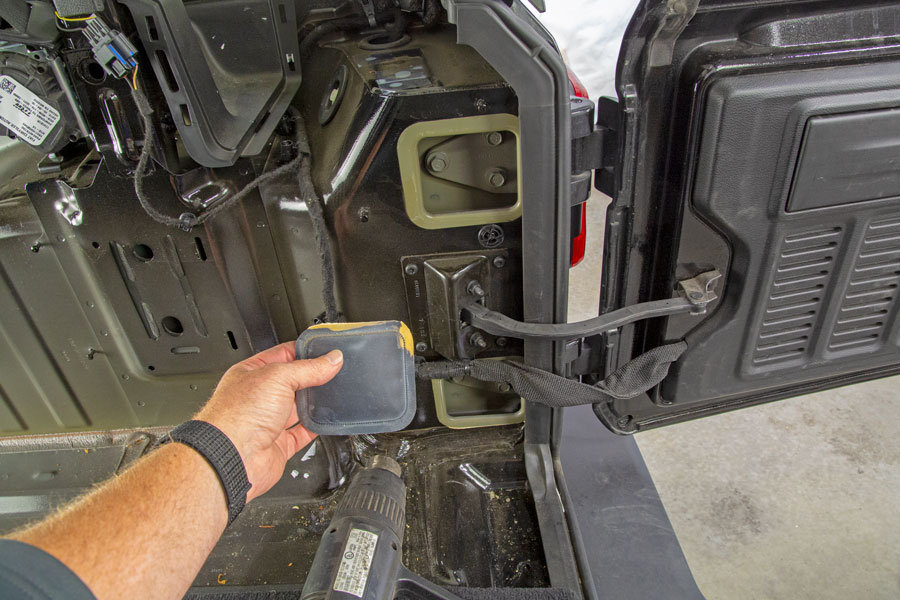
There is an upper cover and a lower decal cover, remove them both.
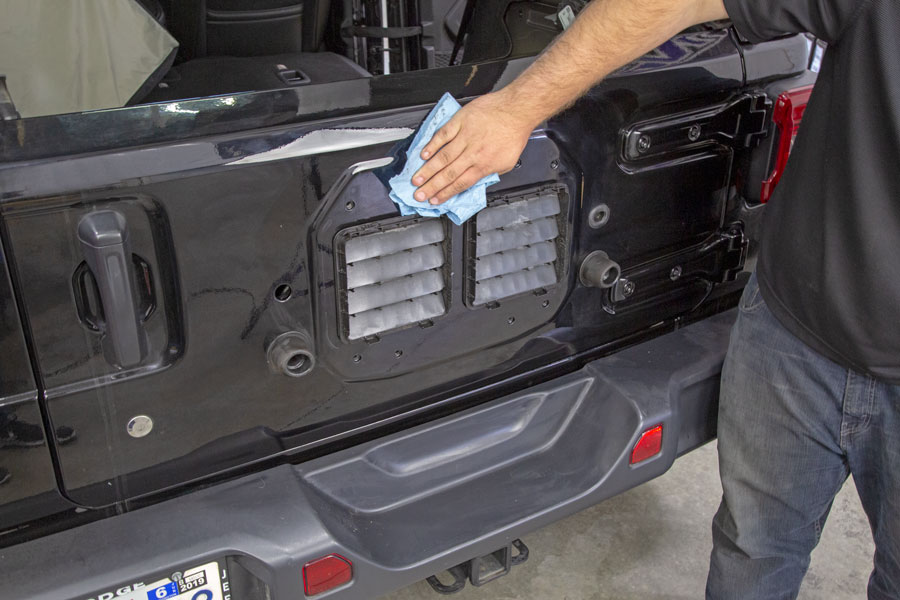
Shut the tailgate and take a moment to clean all the road grime from the tailgate.
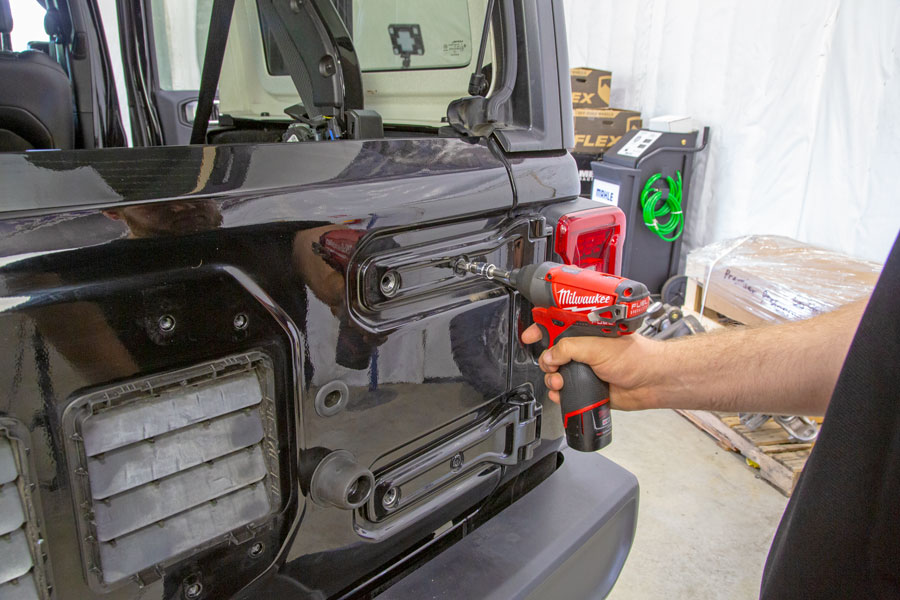
Use a T55 Torx bit to remove the four bolts securing the factory hinges to the tailgate.
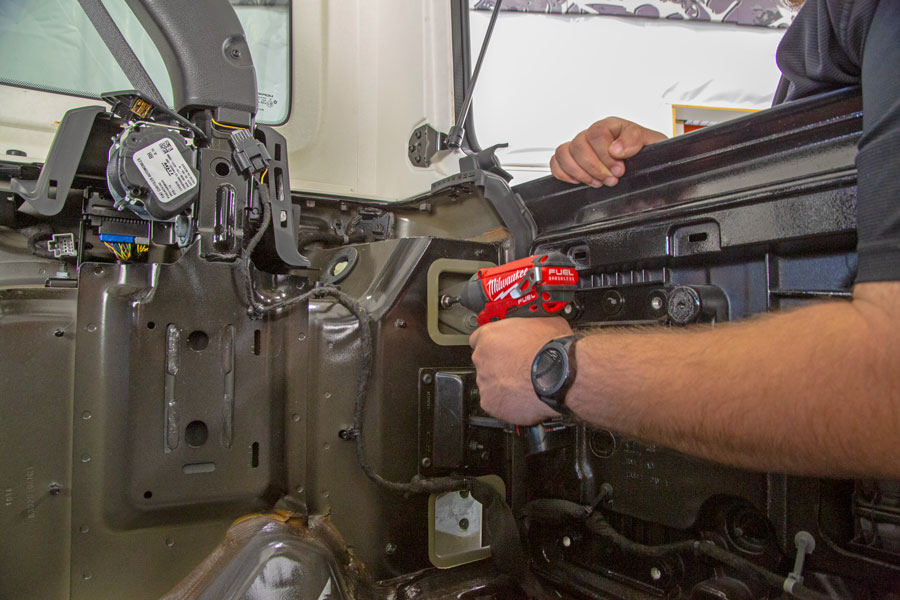
Leave the tailgate shut, reach in through the access holes and remove the six bolts holding the hinges to the JL’s body tub. Make sure you are holding onto the hinge.
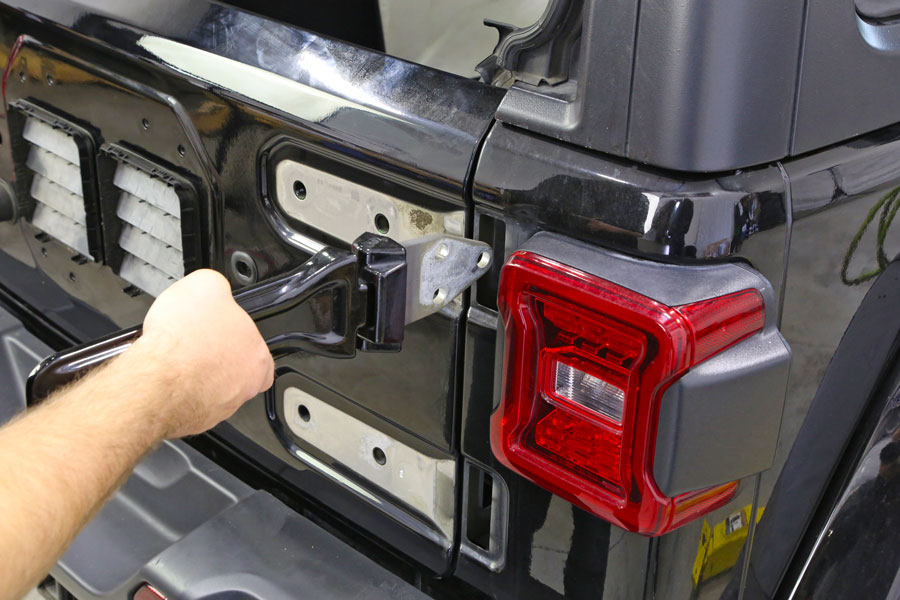
Once the bolts are removed, the tailgate hinges come right out.
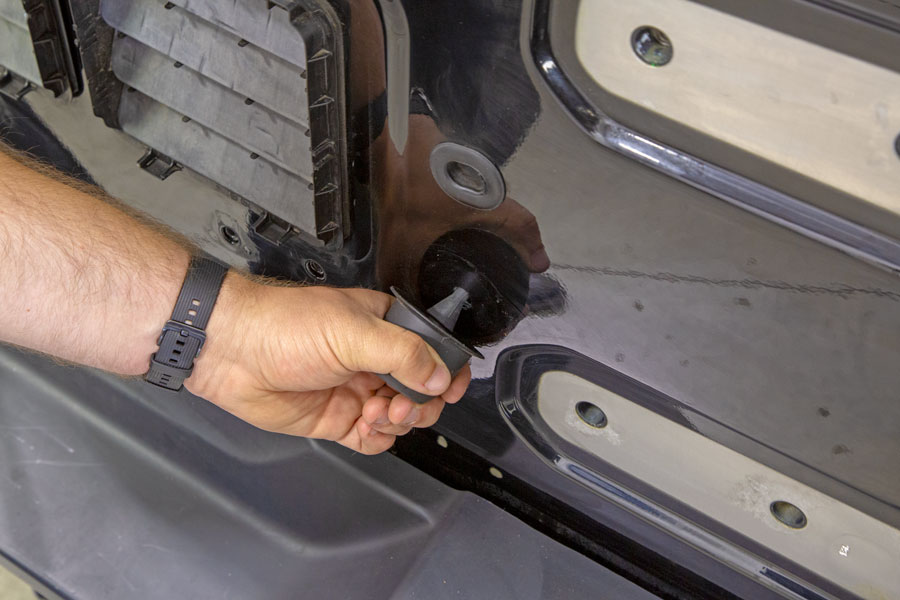
Remove the RH side rubber tire bumper.
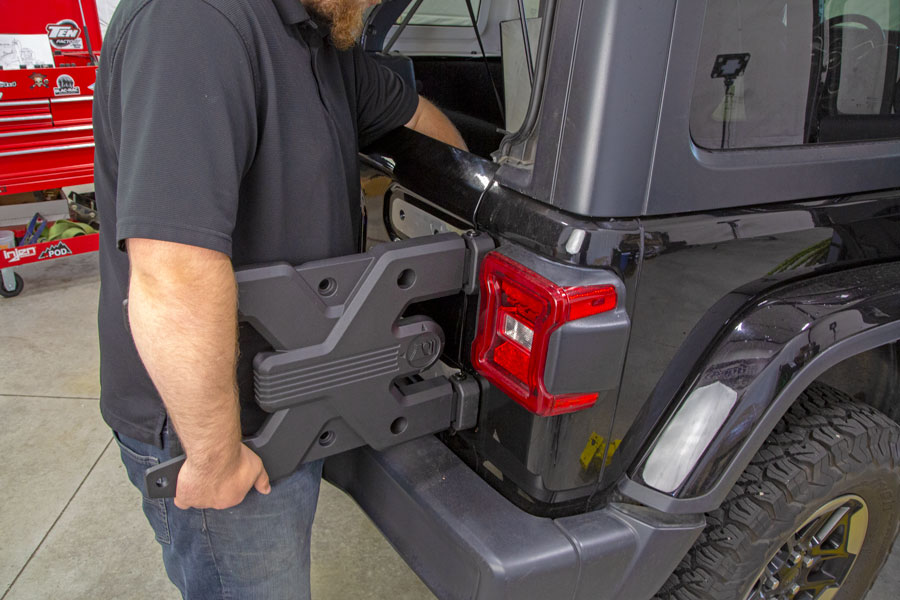
Slide the Rugged Ridge Spartacus HD Hinge Assembly into the hinge ports, reach through the back and reinstall the original hinge bolts. Do not fully tighten at this time, just snug them up.
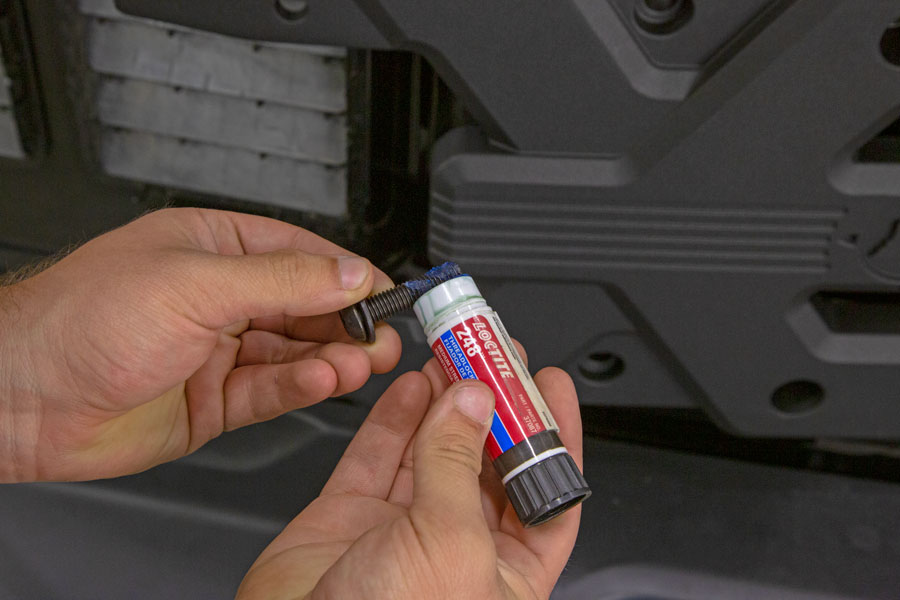
Don’t forget to use a little blue Loctite on all hardware to help keep them from coming loose.
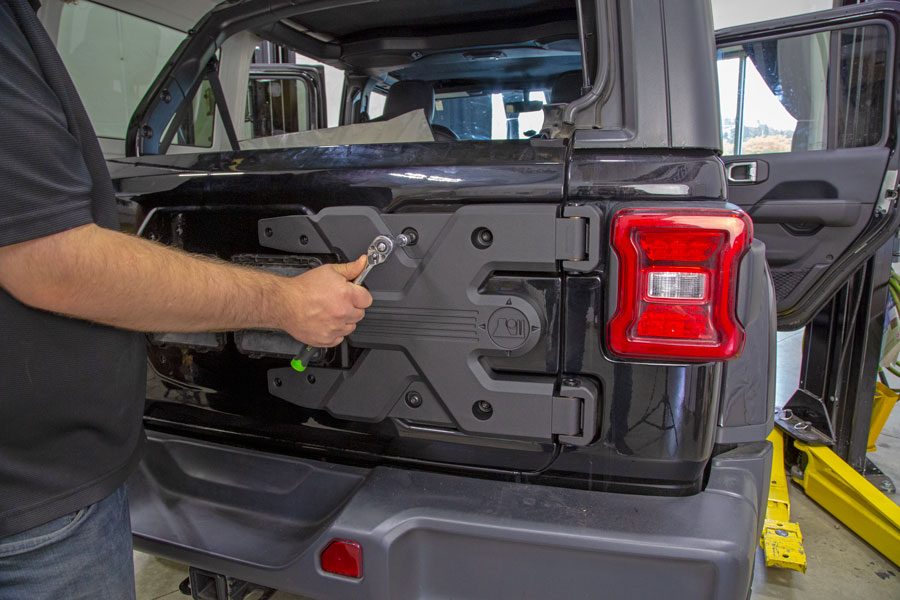
Close the Spartacus hinge assembly against the tailgate and install the supplied M10 hardware into the factory tailgate hinge bolt holes.
Once you have all the bolts installed, tighten all fasteners securely.
***Once you have the hinge assembly bolted up tight, you can reassemble the inside quarter panel assembly. Don’t forget to plug in the sub-woofer!
Do not reinstall the tailgate trim panel at this time.
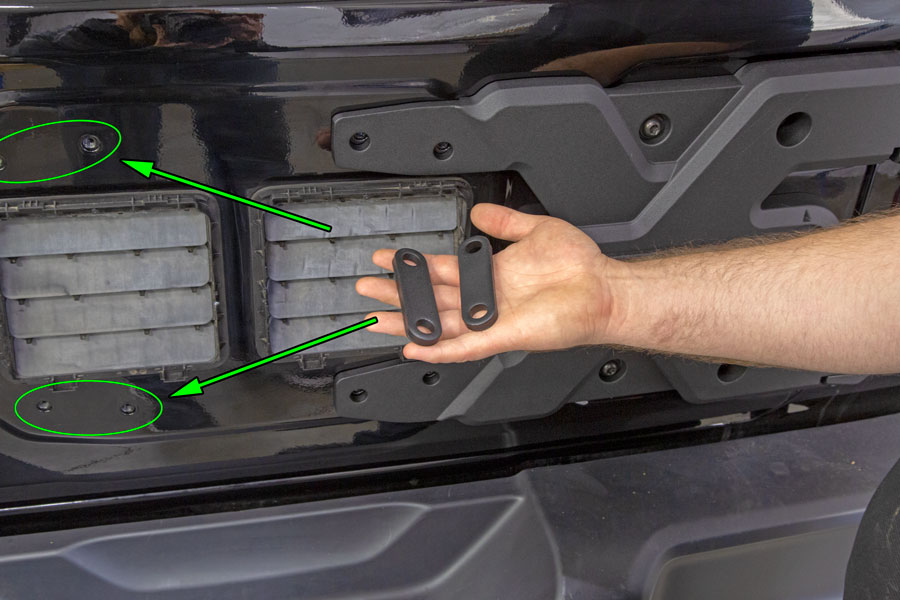
If you are going to use the stock tire carrier on the Rugged Ridge HD Hinge Assembly, you’ll need to use these two included spacers under the LH side of the OE tire carrier to even everything up.
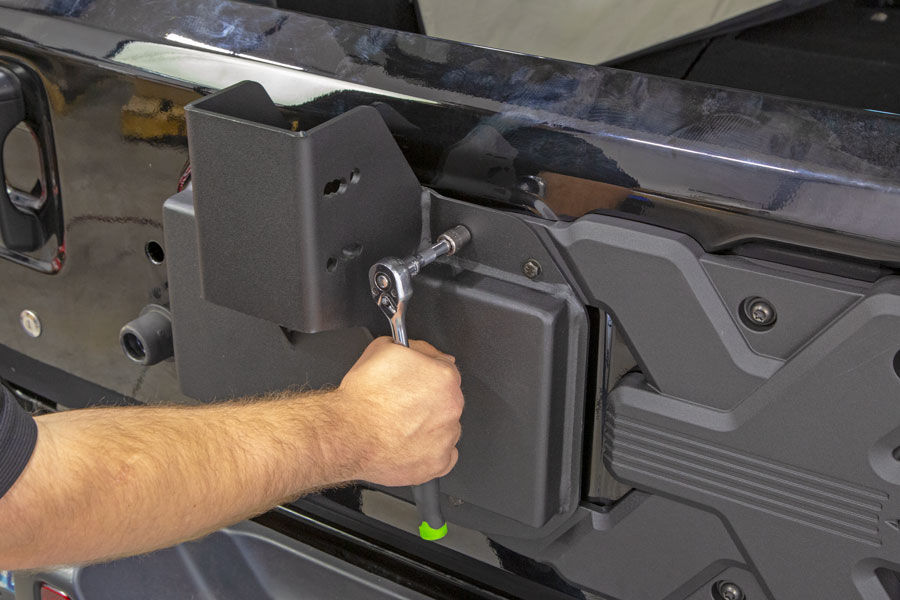
We’re going for the full meal deal and using the matching RR Spartacus HD Tire Carrier too. It bolts right up to the Spartacus HD Hinge Assembly using the supplied M8 hex bolts.
***If you are using the Rugged Ridge Tire Carrier, the spacers above are not needed.
Moving On To The 3rd Brake Light:
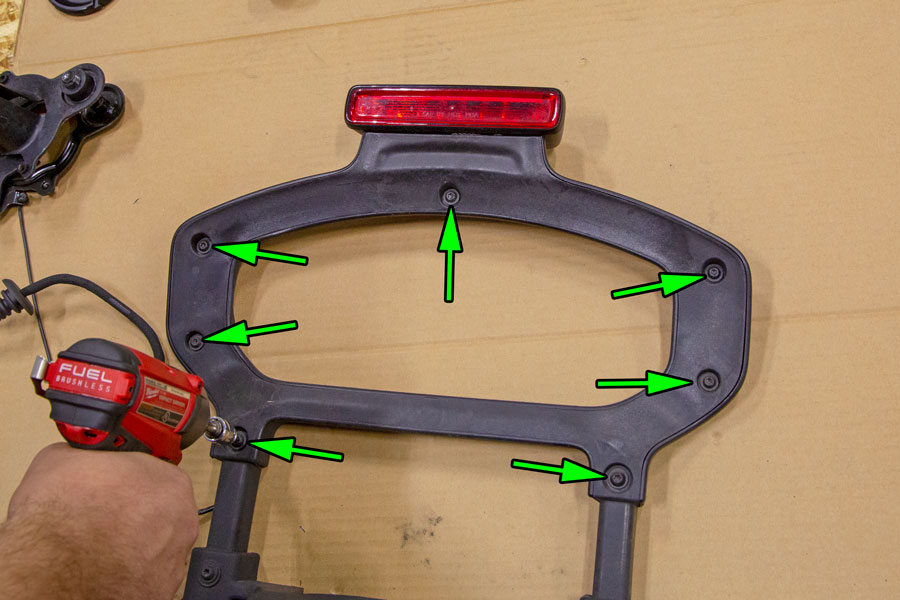
Remove the seven T25 Torx screws holding the 3rd brake light tower cover plate in place.
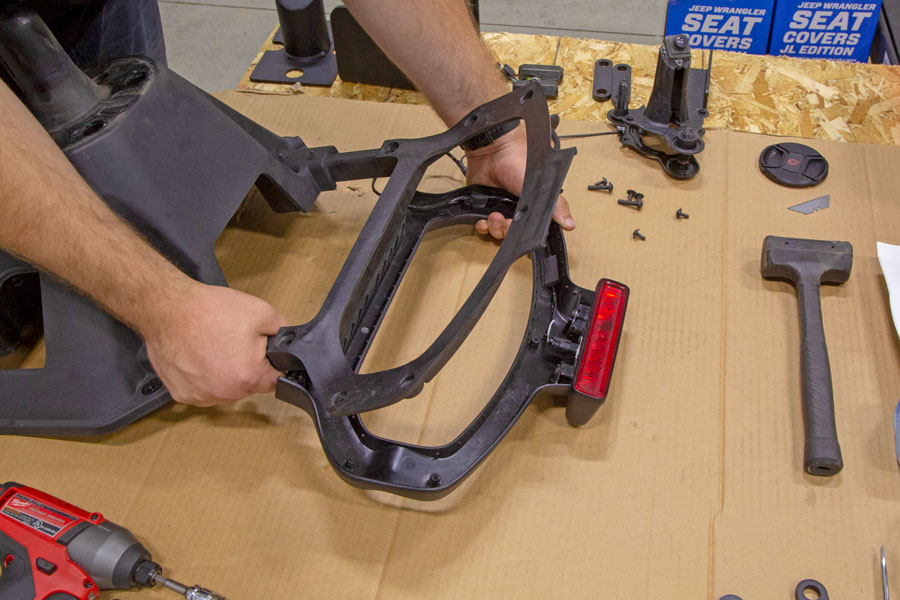
Separate the cover plate from the 3rd brake light tower.
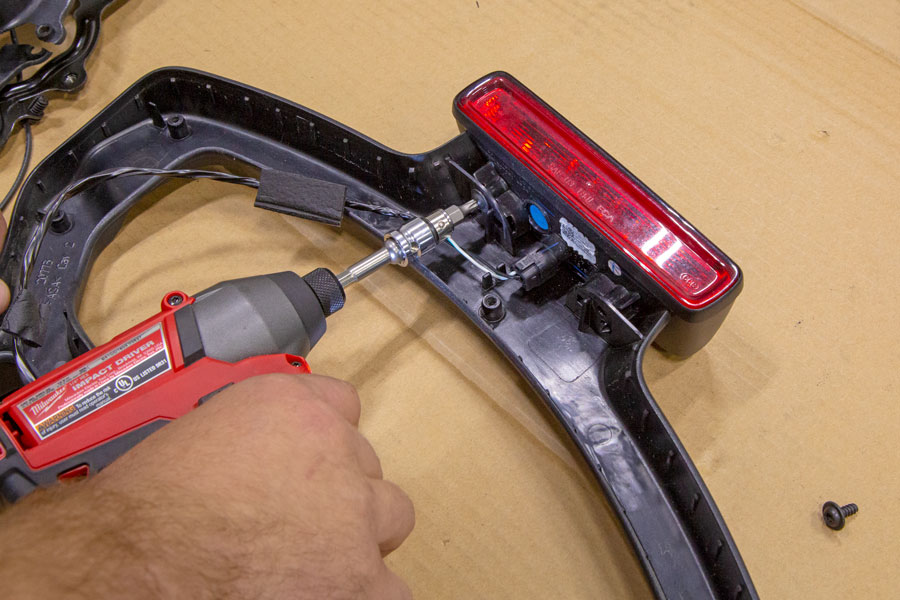
Remove the two T25 Torx screws holding the 3rd brake light to the brake light tower.
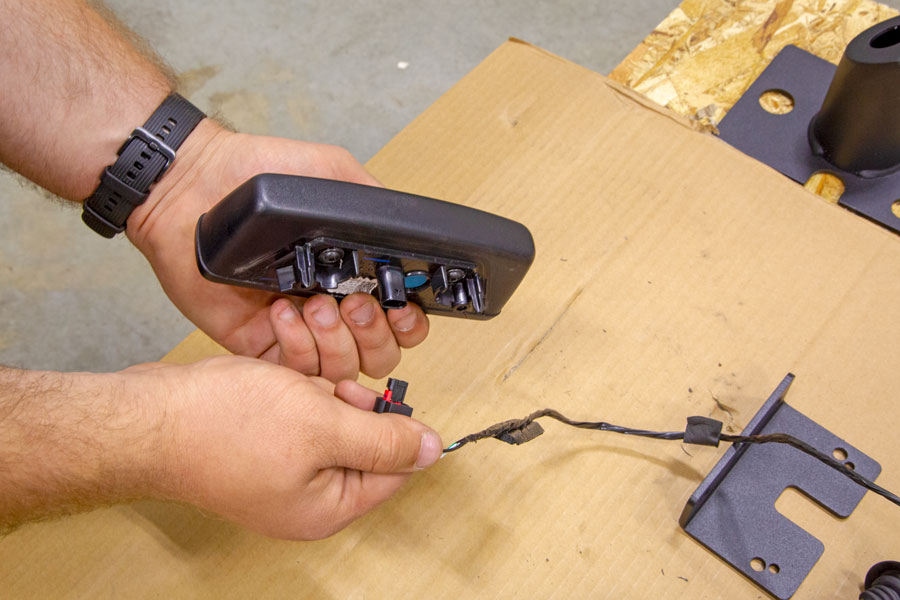
Unplug the 3rd brake light from the harness.
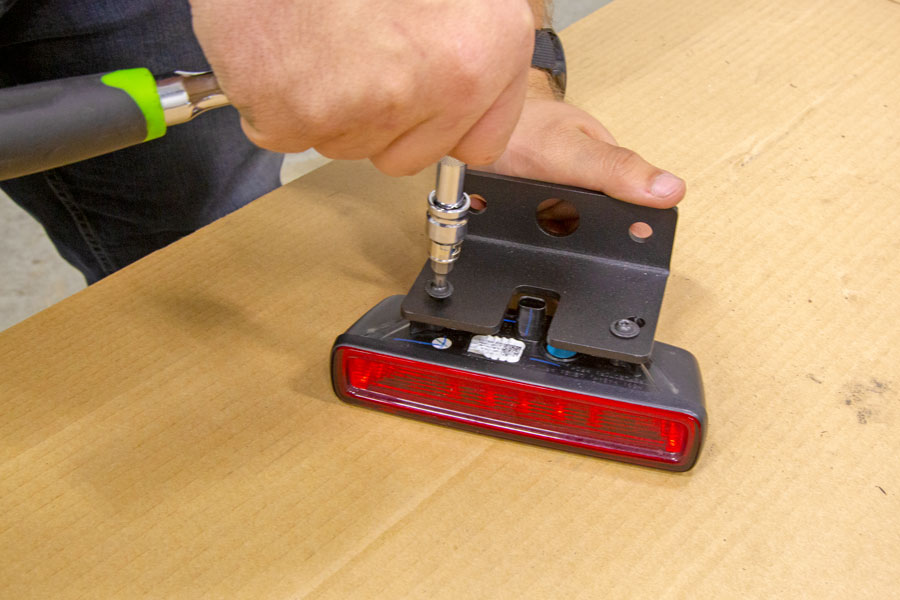
Install the 3rd brake light onto the Rugged Ridge brake light mount using the original hardware.
Mounting the JL Back-up Camera:
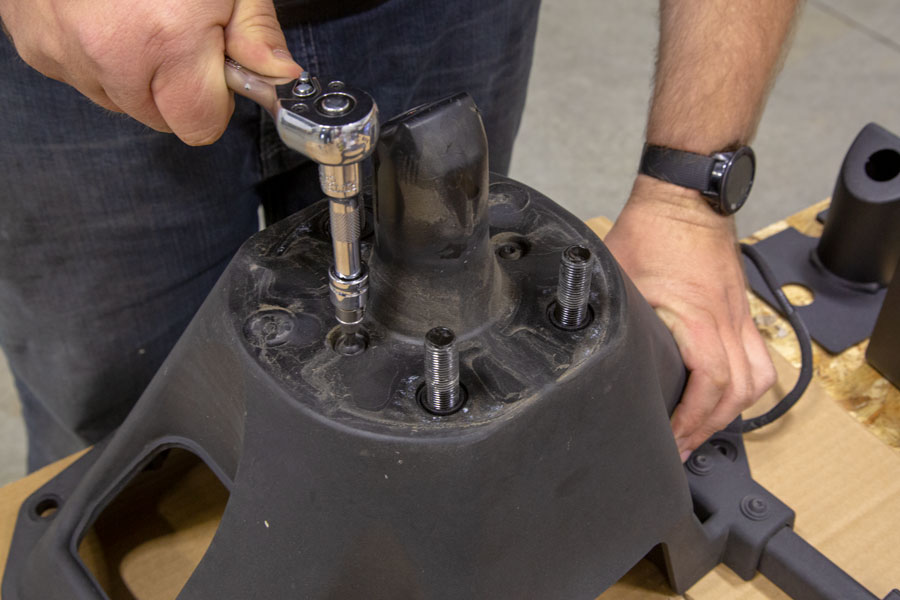
Take the factory tire carrier, set it down on a work surface and remove the two T25 Torx screws holding the lug stud assembly to the tire carrier base.
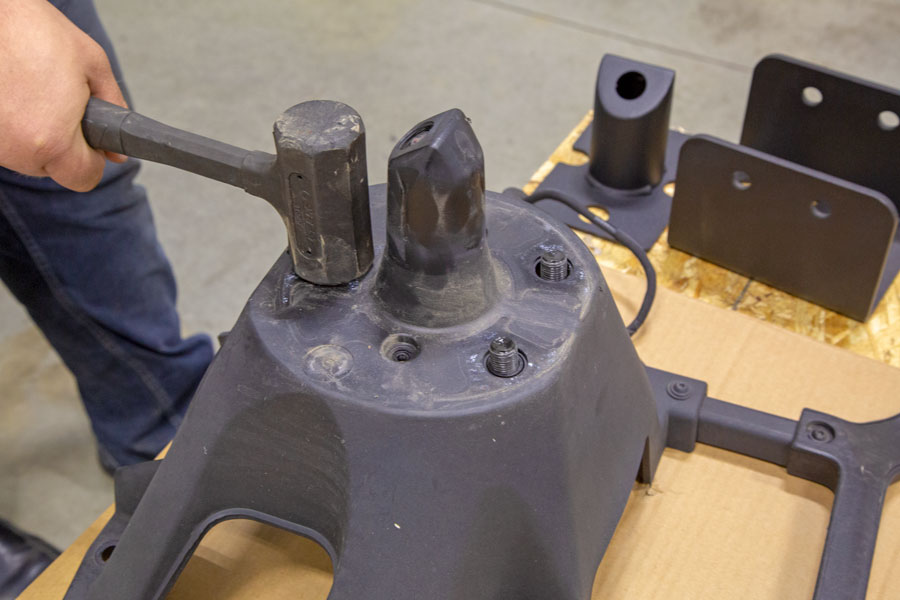
Use a rubber mallet to even tap down on all three lugs to drive the lugs (and lug/stud assembly) down and out the back of the tire carrier base.
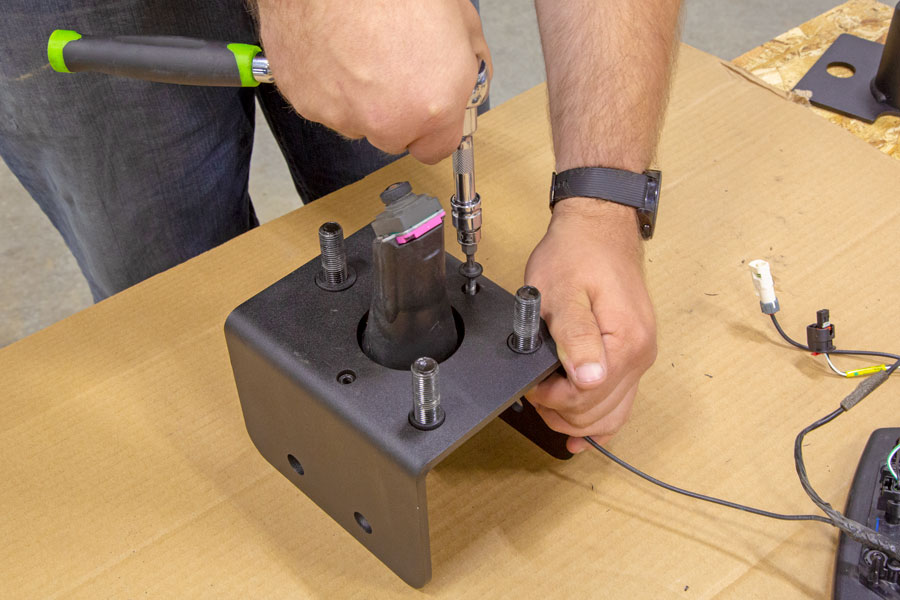
Install the OE JL lug stud assembly into the Rugged Ridge stud plate.
Onto The Tire Carrier Mount:
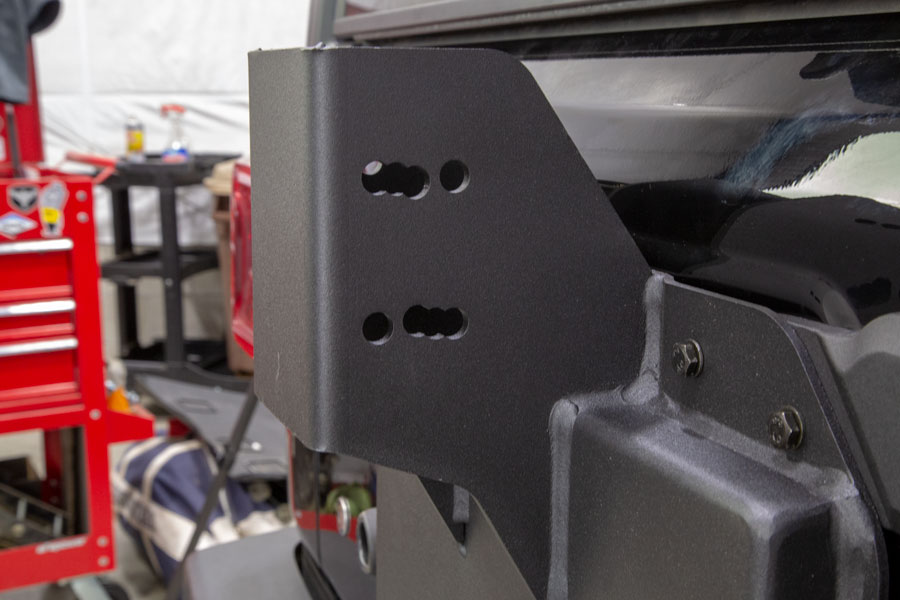
The Rugged Ridge Wheel Mount has multiple different mounting holes, choose the one that best fits the offset of your spare wheel/tire.
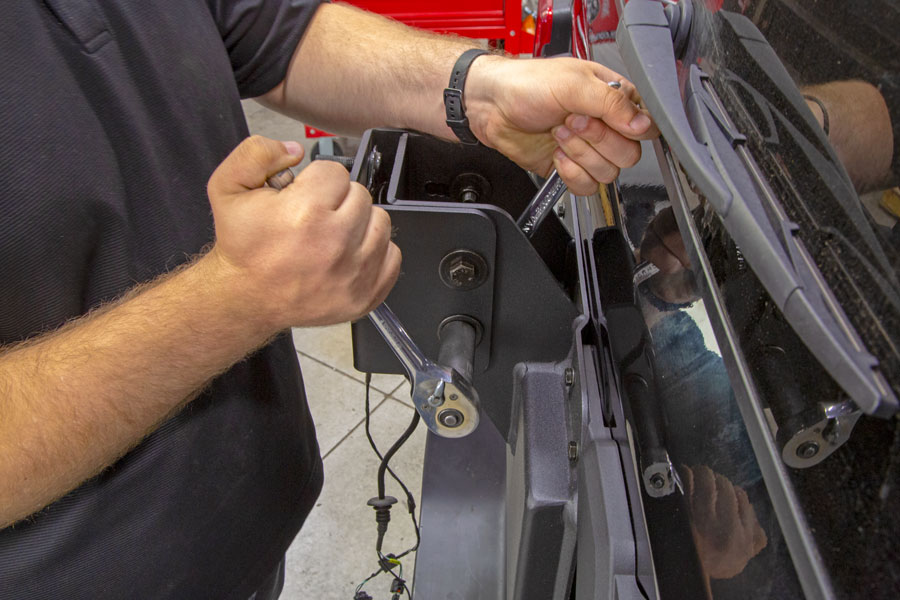
Install the Rugged Ridge Stud Plate onto the RR Spartacus Wheel Mount using the supplied M12 hardware.
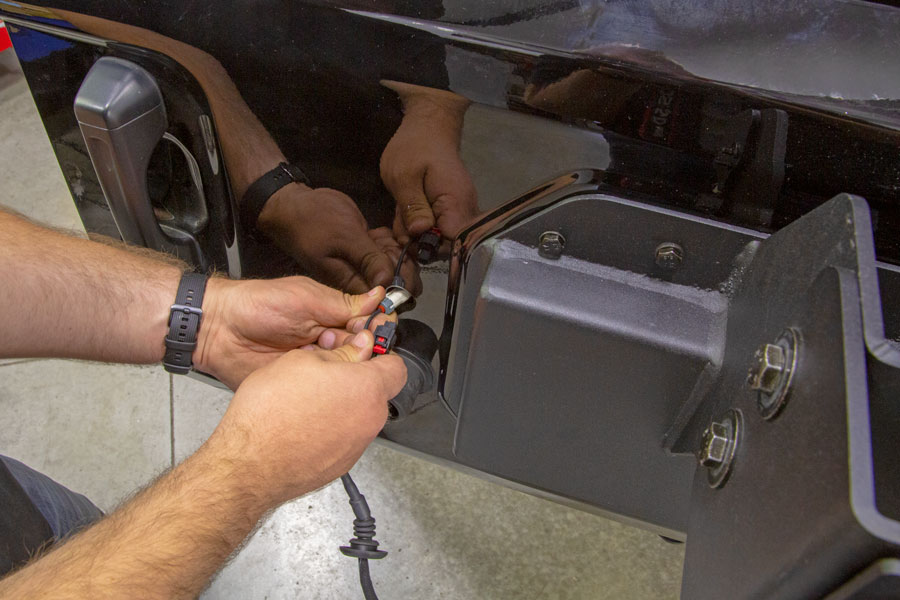
Route the camera and 3rd brake light wiring back through the original hole in the tailgate, plug the wires back into the harness, then reinstall the tailgate trim panel.
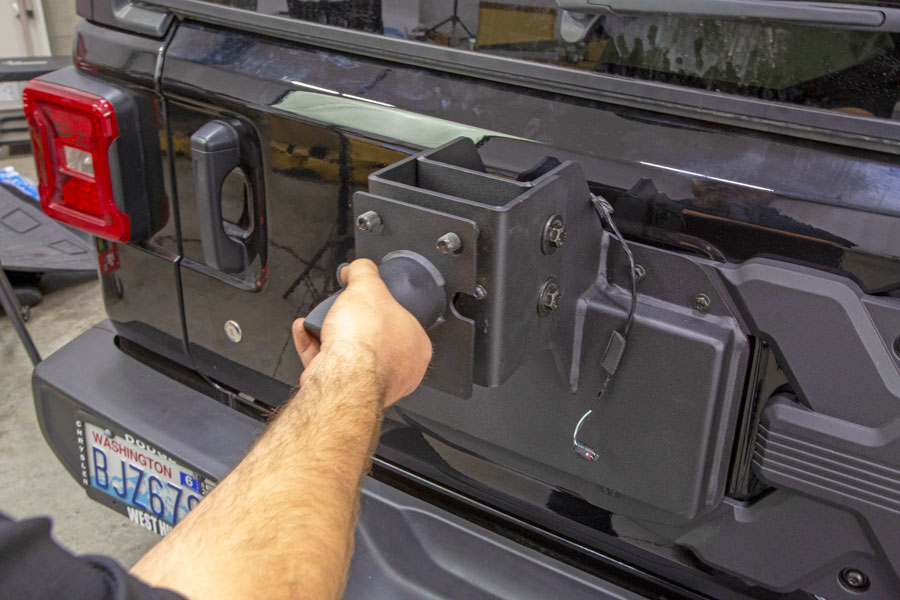
With the Stud Plate bolted into place, slide the Camera Shield over the lug studs.
***We do wish that Rugged Ridge had drilled and tapped the assembly so the camera shield could be bolted in place. Making for one less thing you would need to worry about when removing or replacing the spare wheel/tire. Mounting The Spare Wheel/Tire:
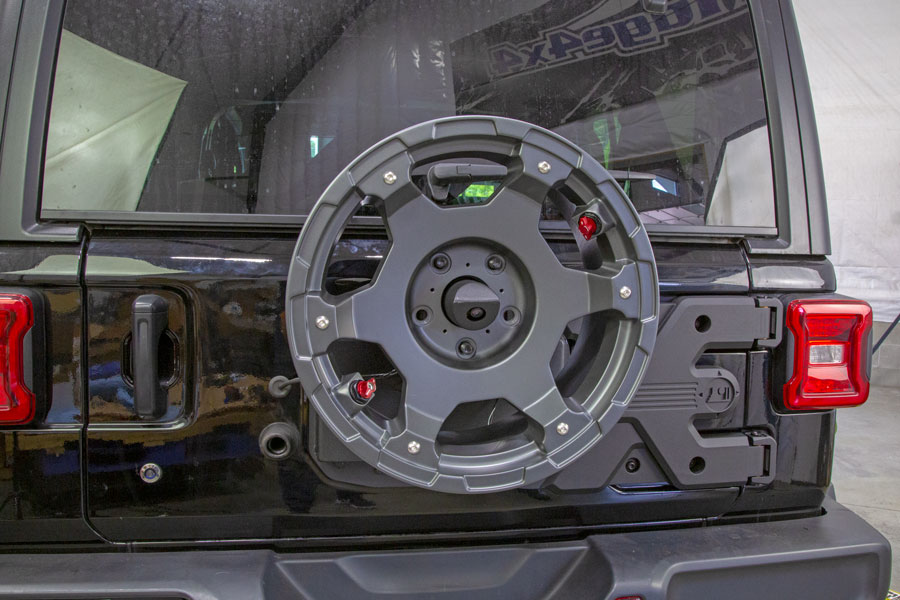
Aftermarket wheels have a large enough center bore fit over the Camera Shield…. but we were still running the OE Rubicon wheel/tire combo and the center bore is too small, so we had to leave the camera shield off on this install until we step up to a set of aftermarket wheels.
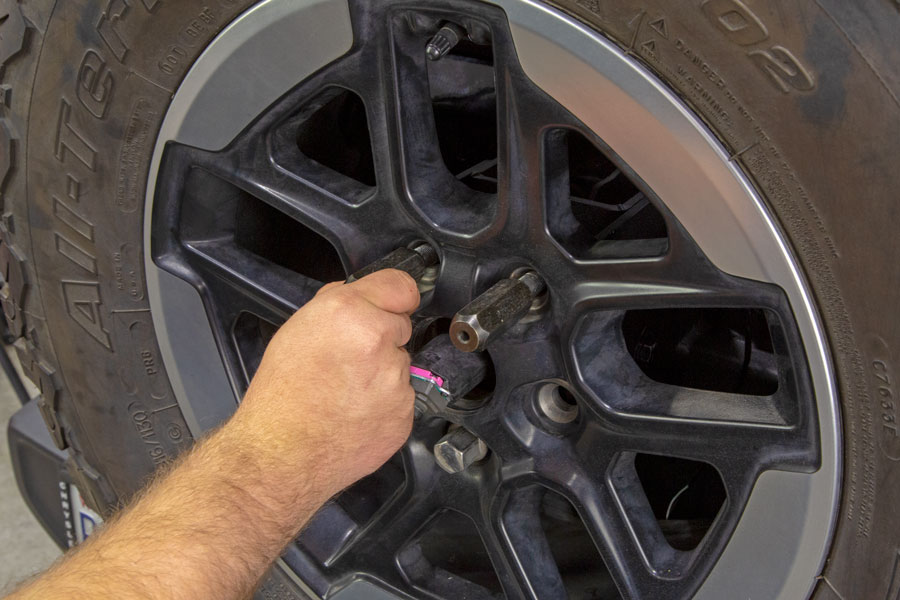
Lift the spare into place and install the two supplied Rugged Ridge lug nuts onto the top two lug studs. Note that the supplied Rugged Ridge lug nuts are drilled and tapped on the ends.
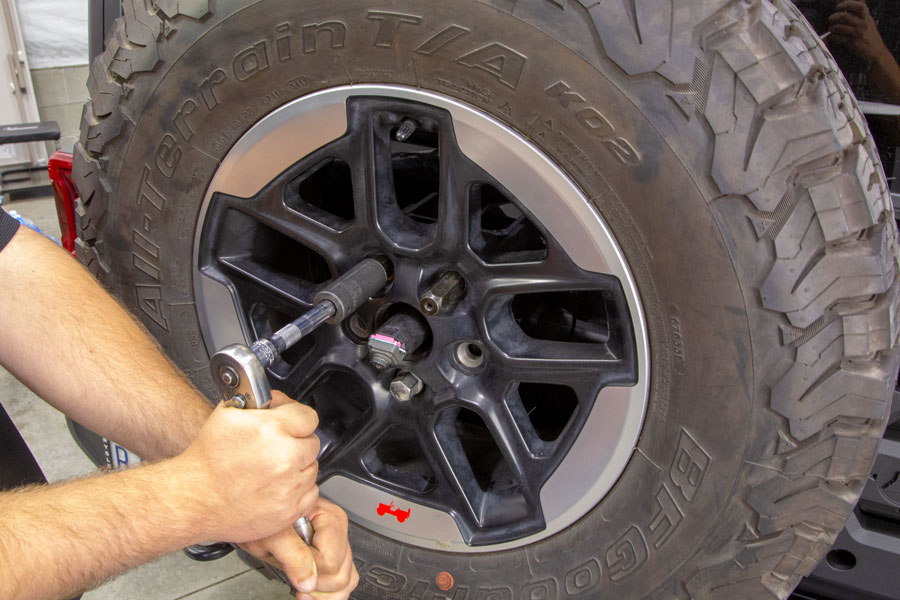
Tighten the spare tire lug nuts to 59 ft/lbs.
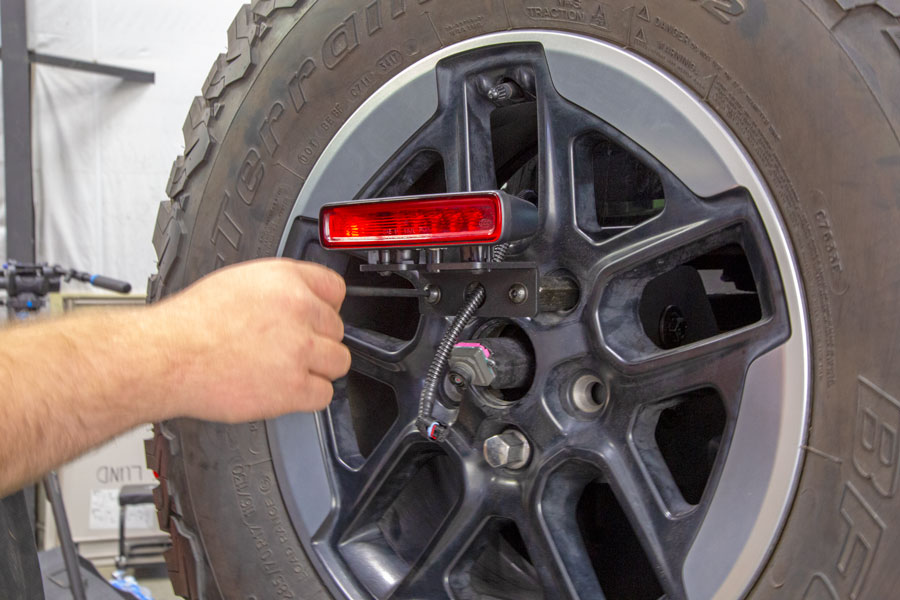
Use the supplied M8 Button Head bolts to bolt the 3rd brake light bracket to the ends of the Rugged Ridge lug nuts. To finish up the install, route the 3rd brake light wire through the wheel and plug in the 3rd brake light.
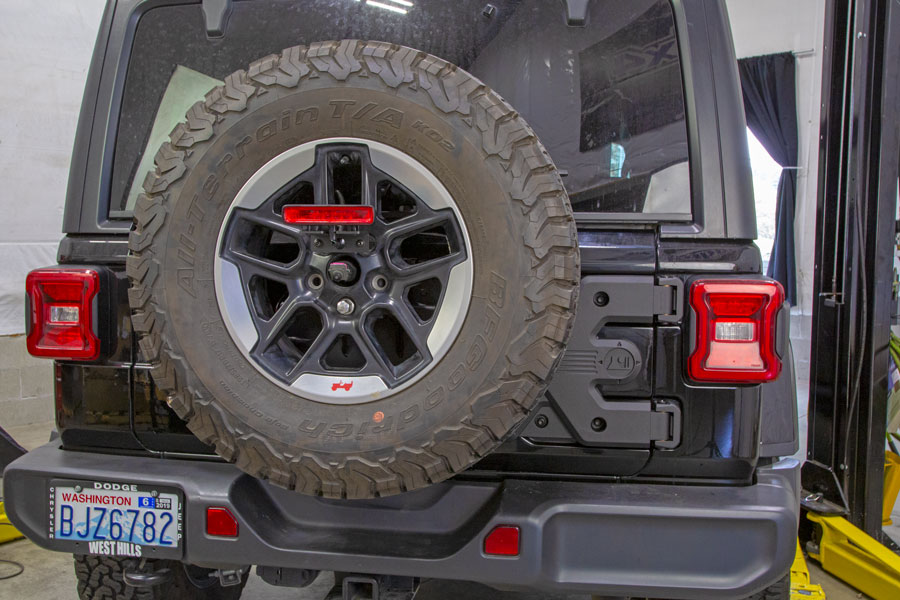
Now you can step back and take a look at your new Rugged Ridge Spartacus hinge assembly and spare tire carrier. You can now rest a little easier knowing that your new hinge and spare tire carrier can support a lot more weight than the OE set-up. It will look a little better when we get our aftermarket wheels and tires on and can use the RR camera shield, though the bare camera isn’t all that noticeable as it is.
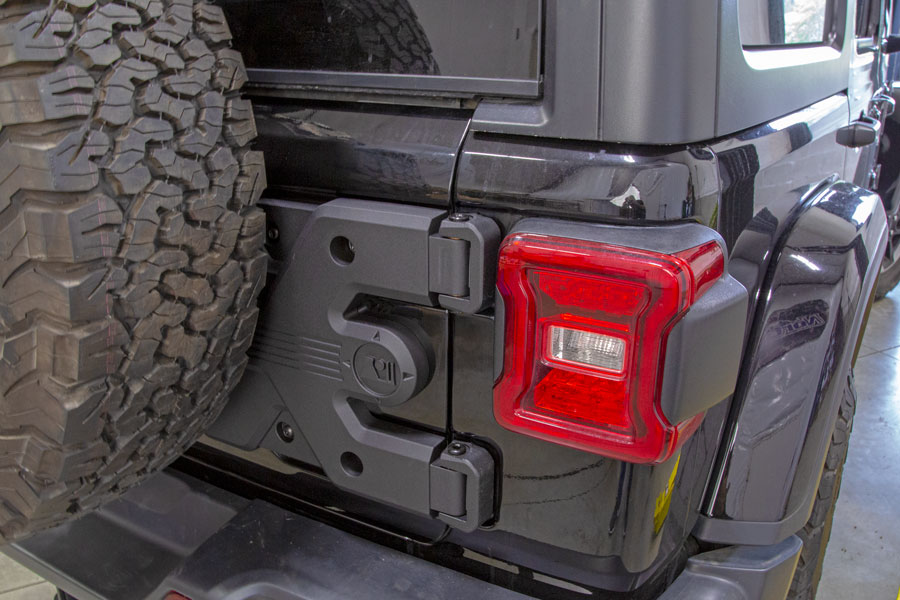
A closer look at the Rugged Ridge Spartacus HD Hinge Assembly (pn# 11546.56) installed on Meg’s 2018 JLU Wrangler Sahara.

