SET YOUR VEHICLE
TALK TO A PARTS EXPERT TODAY!
FREE SHIPPING ON ORDERS OVER $70 in the contiguous US lower 48 states
SPECIALS!
Browse By Category
- Auxiliary Lights
- Light Bars
- Fog/driving Lights
- Underhood/rock Lights
- 3rd Brake Light Solutions
- Back Up Lights
- Other Auxiliary Lighting
- Shop All
X Close Search
Results for
Filters:
Stock
Category
Brand
Rating
Price
Stock
Category
Brand
Rating
Price
OH NO!
We couldn't find any results
We couldn't find any results
Search Tips:
- Use different keywords
- Double check your spelling
- Start with something less specific - you can refine your search results later
- Try changing some of your filters below:
Search term:
S&B Filters give the 2.0 Turbos folk some love with the release of their new Cold Air Intake for the 2.0T Wrangler JL. Built to same exacting specs and high quality as their 3.6 Pentastar V-6 CAI kits. The new 2.0T Cold Air Intake kit is quick and super easy to install. You only need a few hand tools and an hour or less of your time.
S&B Filters has released two versions. One with an extended-use paper filter and one with a cleanable, reusable cotton filter (pn# 75-5129). We decided to go with the oiled cotton filter for this install.
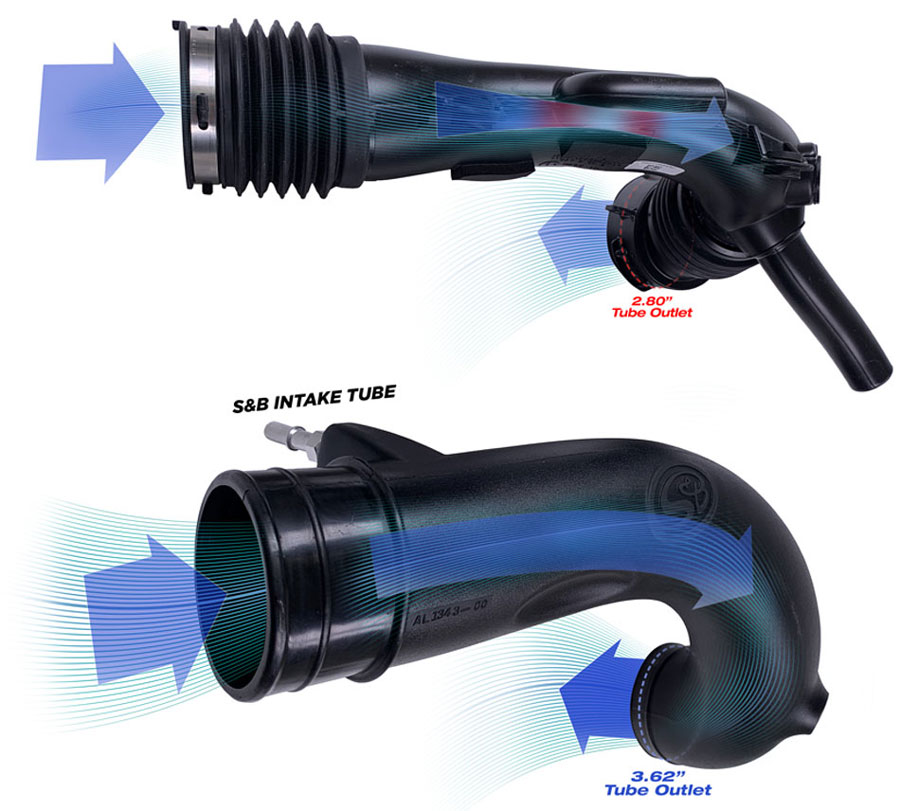
The OE intake flattens out in the center, slowing down incoming air. S&B uses an oversized intake tube that is much larger through the whole run. They picked up 50% better flow than the original air intake system! Just think how much better your turbo could be breathing…
*Picture courtesy of S&B filters.
What’s In The Box?
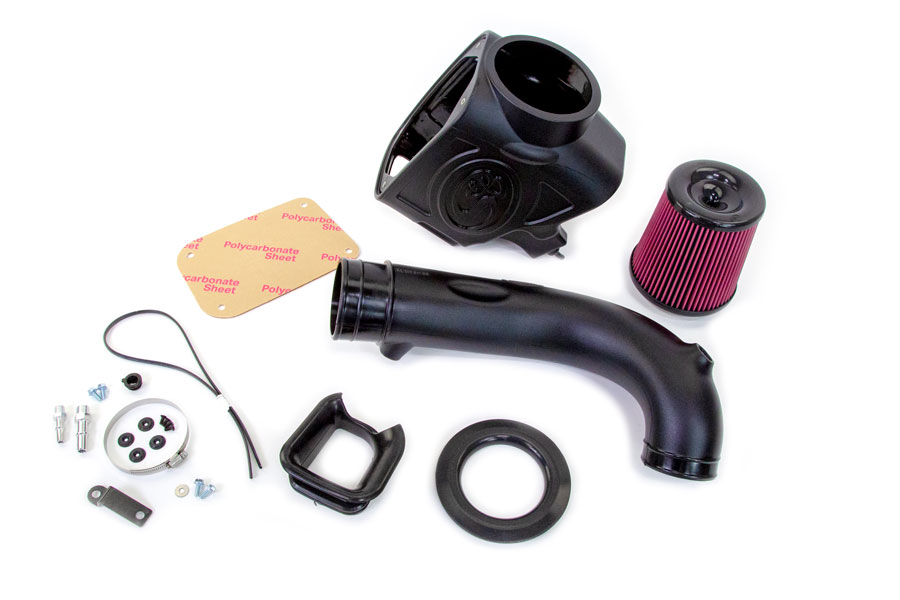
Tools Needed: Flat Blade Screwdriver
8mm, 10mm Socket Ratchet
Extension
10mm Wrench
5/8″, 3/4″ wrench
HD Diagonal Cutters
Removing The Stock 2.0T Air Intake Assembly:
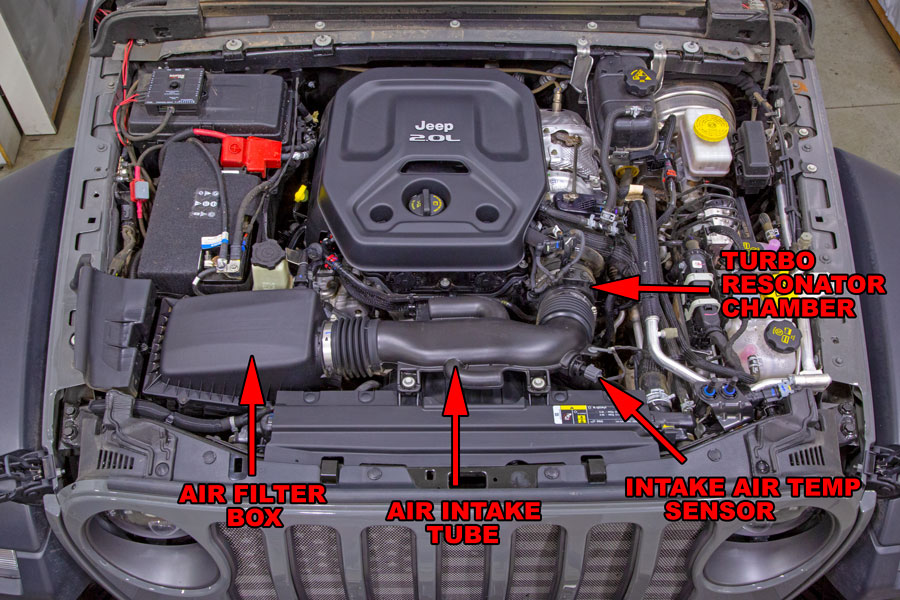
Lets first take a look at the anatomy of the stock Wrangler JL 2.0T Air Intake Assembly.
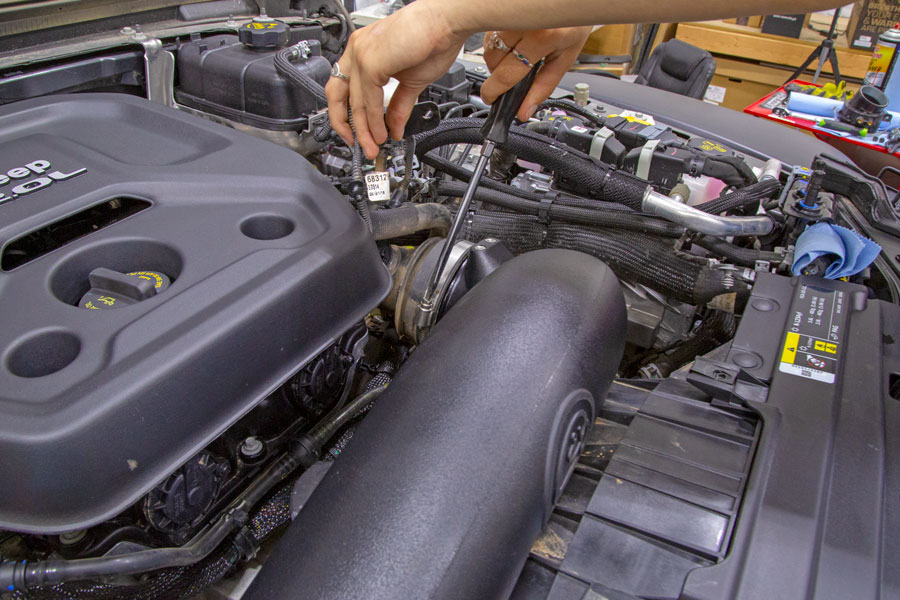
Remove the Christmas tree plug holding the wire harness for the IAT (Intake Air Temp) sensor. You can use a screwdriver or needle nose pliers or a specialty trim tool to pull the clip free.
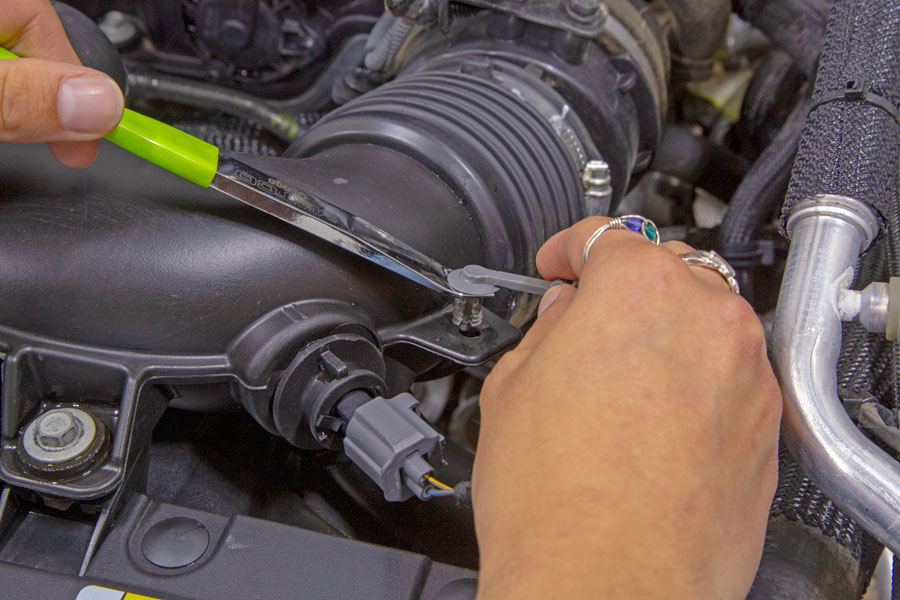
Remove the IAT sensor from the factory intake tube. Twist the sensor counter-clockwise to unlock and pull out.
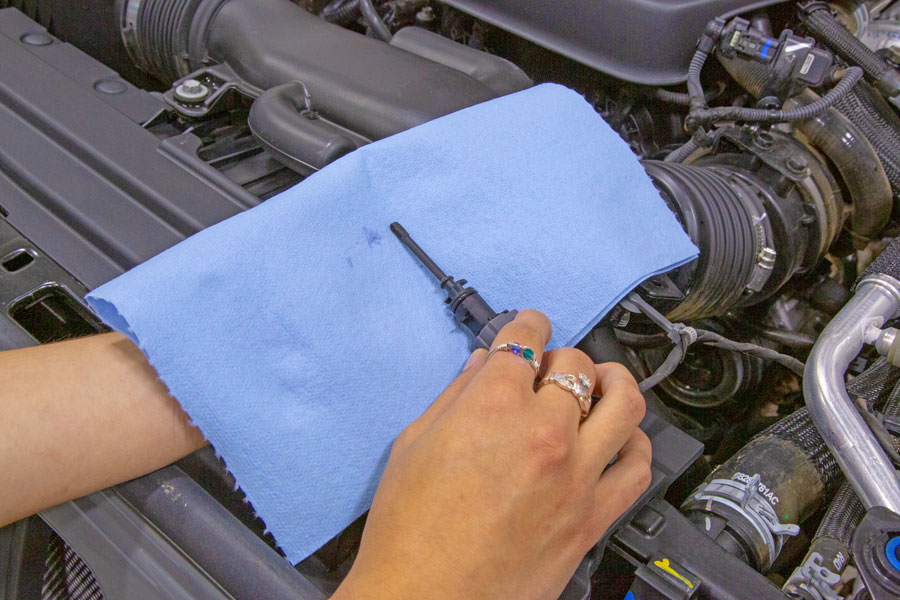
Set it on a clean shop towel….
Carefully wrap it up and set aside. **If you do not disconnect the IAT sensor from the harness, you will not need to disconnect the battery.**
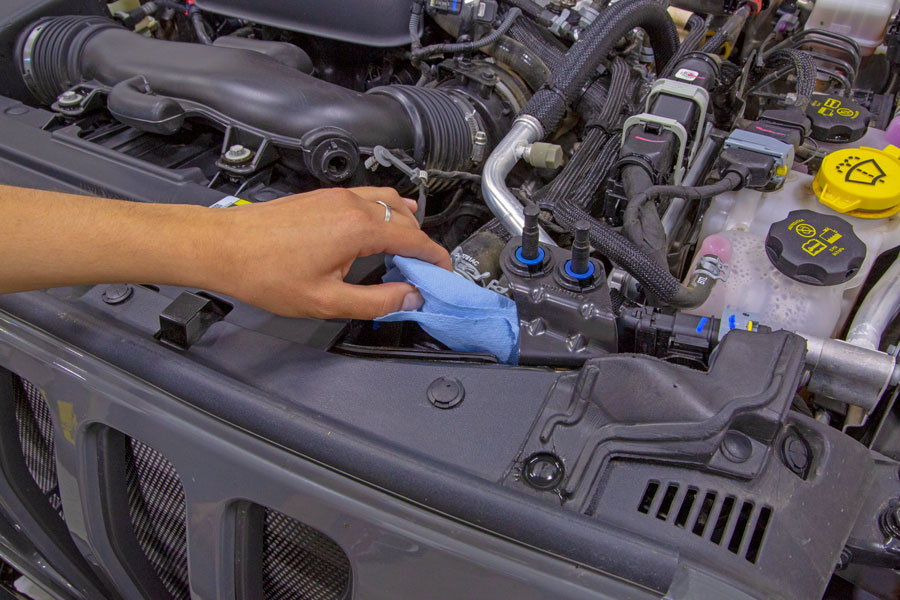
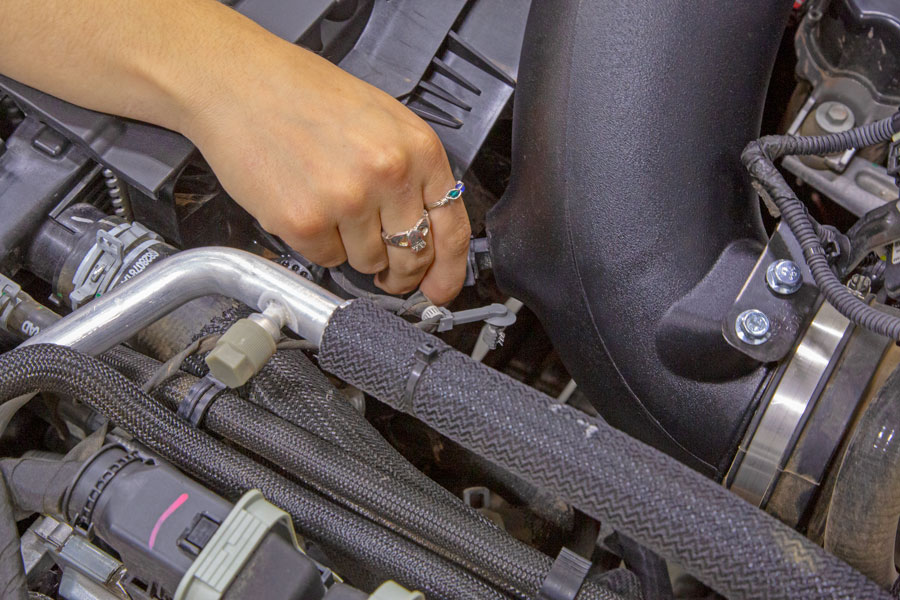
Disconnect the vacuum lines from the backside of the factory air filter box. Press in the gray clips and push/pull the fittings back until they come off.
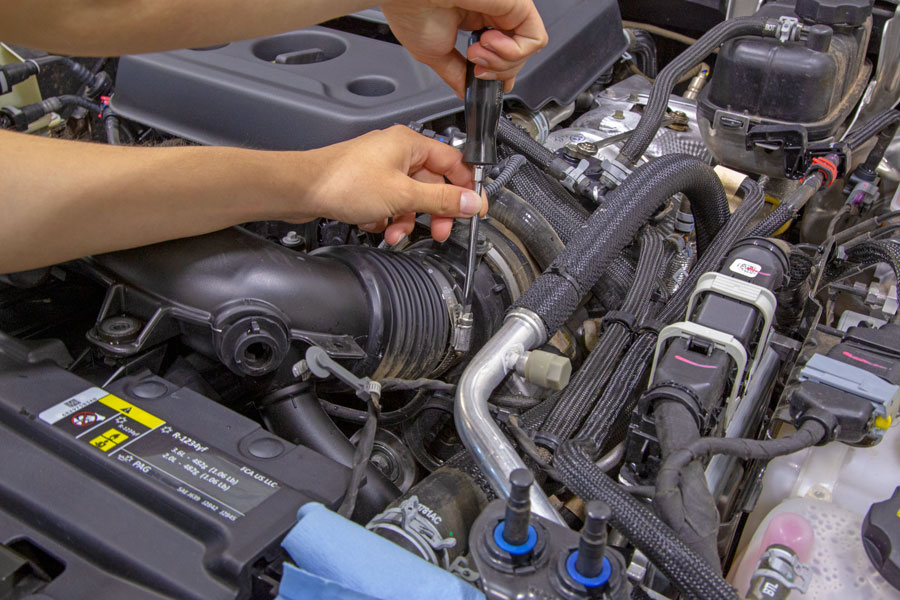
Use a flat blade screwdriver (or 8mm socket) to loosen the hose clamp holding the factory intake tube to the turbo resonator.
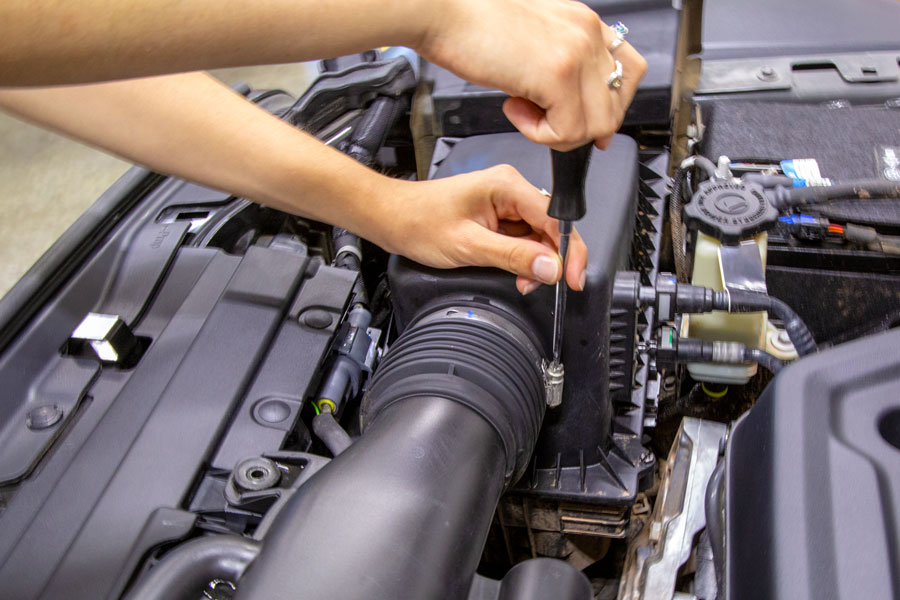
Then loosen the hose clamp at the air filter box.
Use the 10mm socket and ratchet to remove the two screws that hold the factory air tube in place.
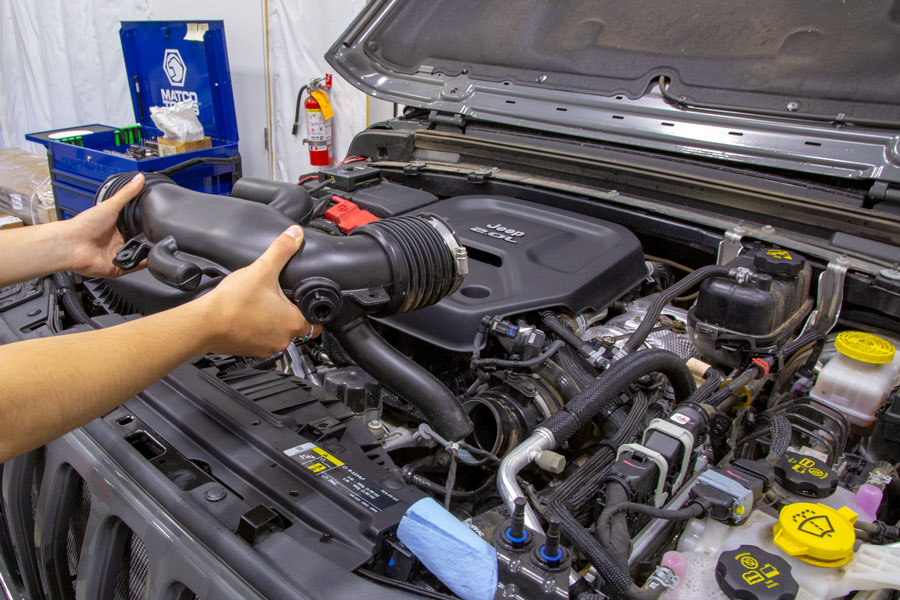
Pull the factory 2.0 turbo air tube from the Jeep and set aside.
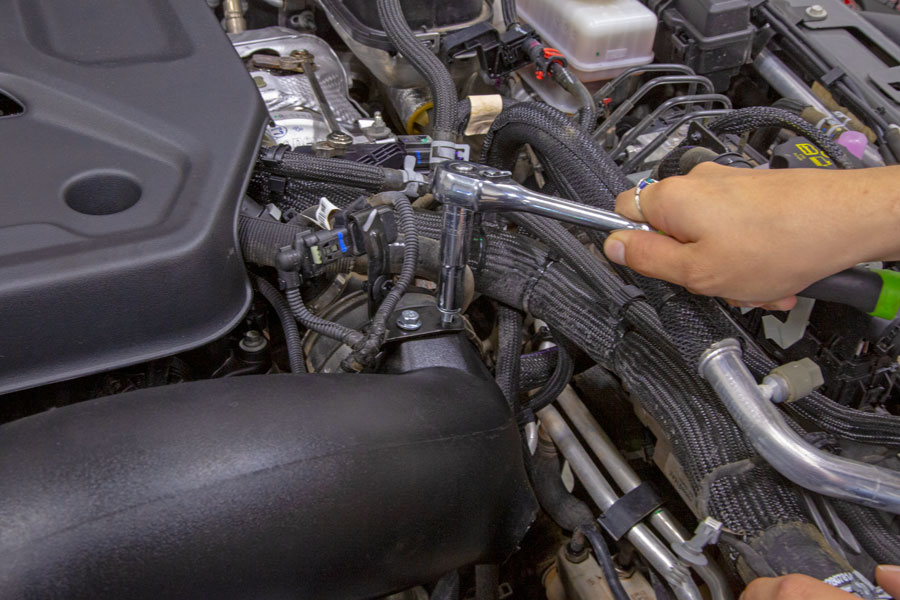
Remove the two bolts holding the wire harness bracket to the turbo resonator.
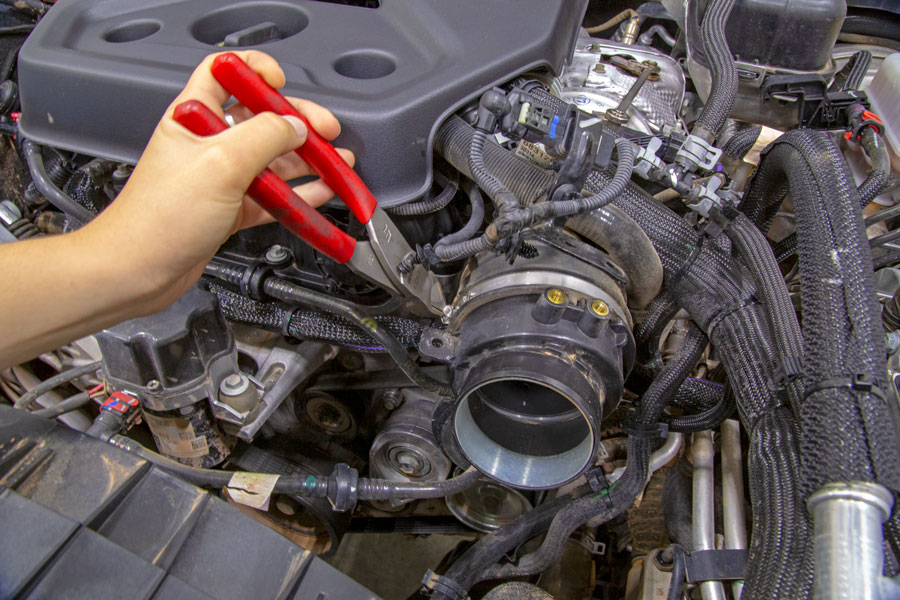
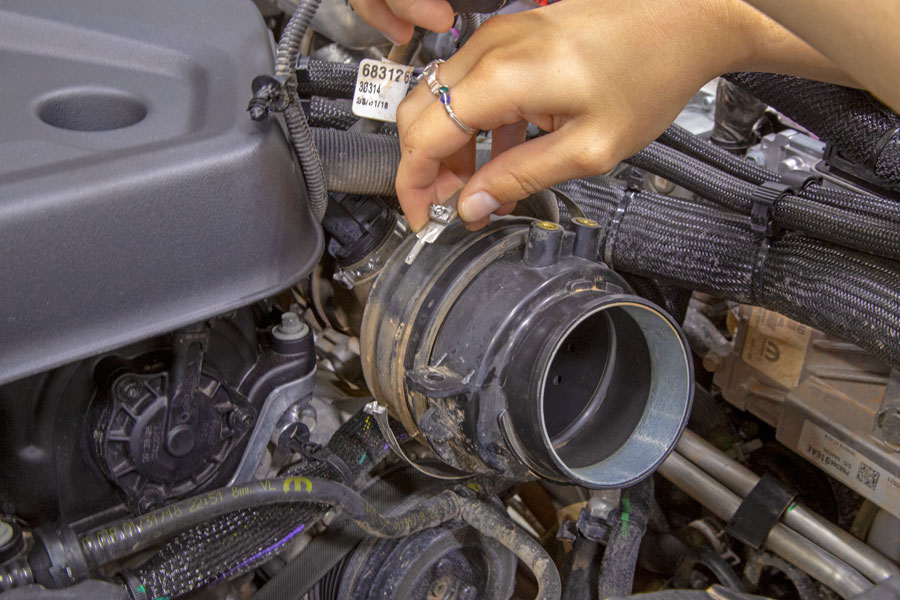
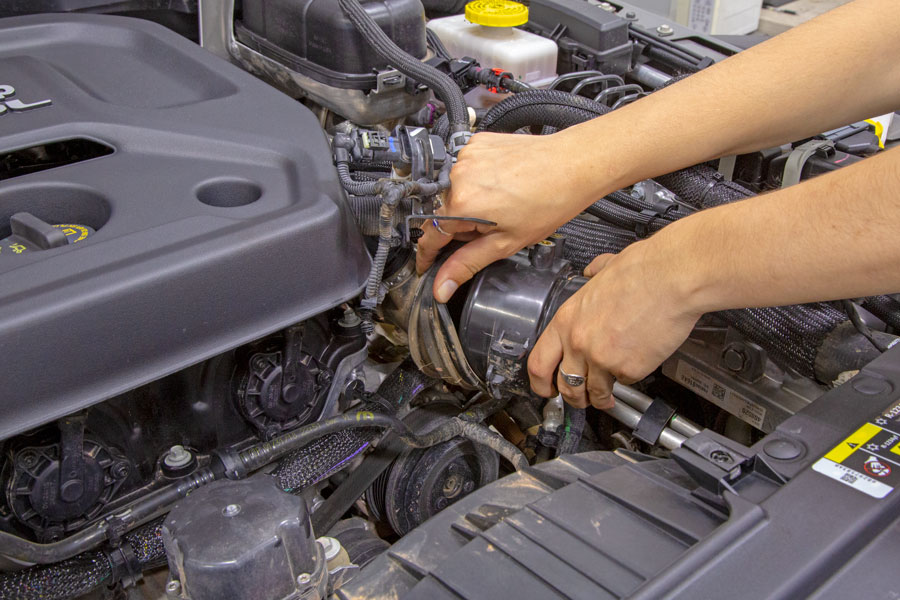
Remove the factory clamp holding the turbo resonator in place. It is not adjustable, so you need to cut the clamp to remove it. We found it easiest to use a sharp pair of diagonal cutting pliers and cut the clamp right at the OE tighten bulge.
The clamp then comes right out.
Remove the turbo resonator.
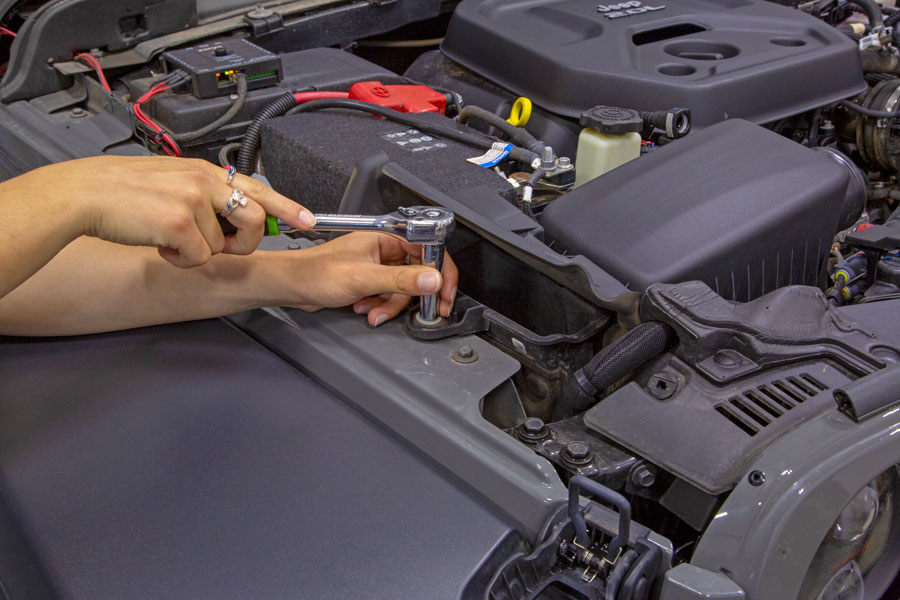
Remove the 10mm bolt that holds the factory air box to the fender.
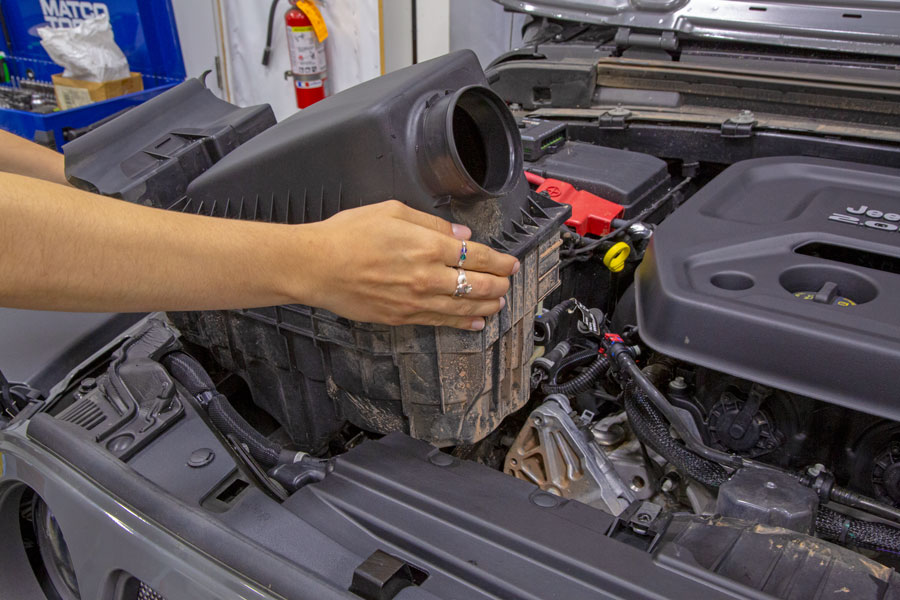
Grab a hold of the factory air box, give it a good pull and it should lift right up and out.
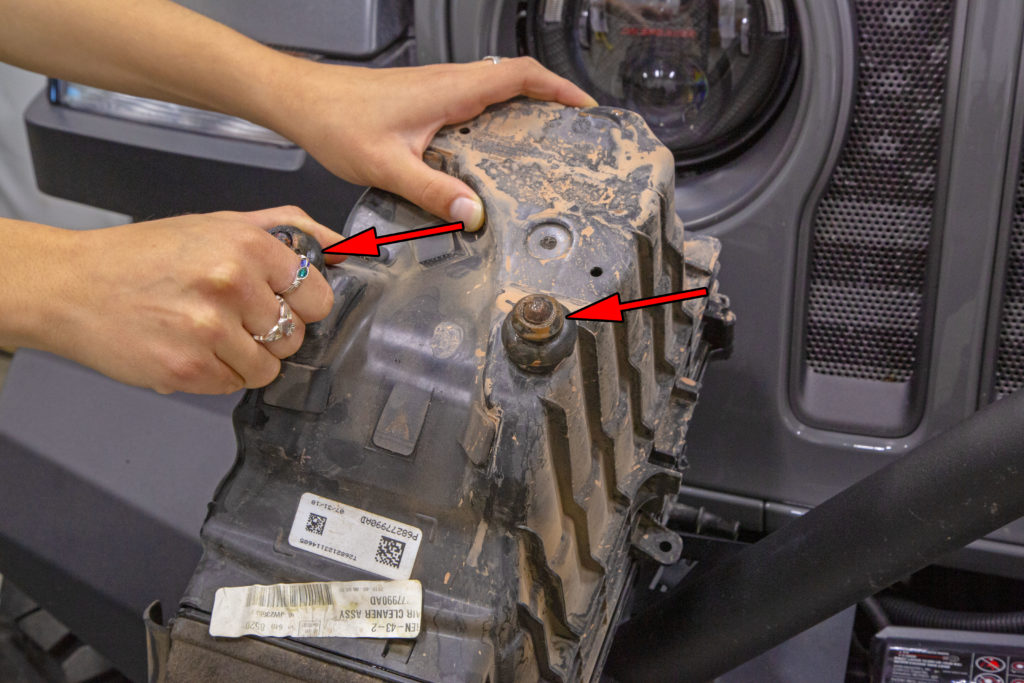
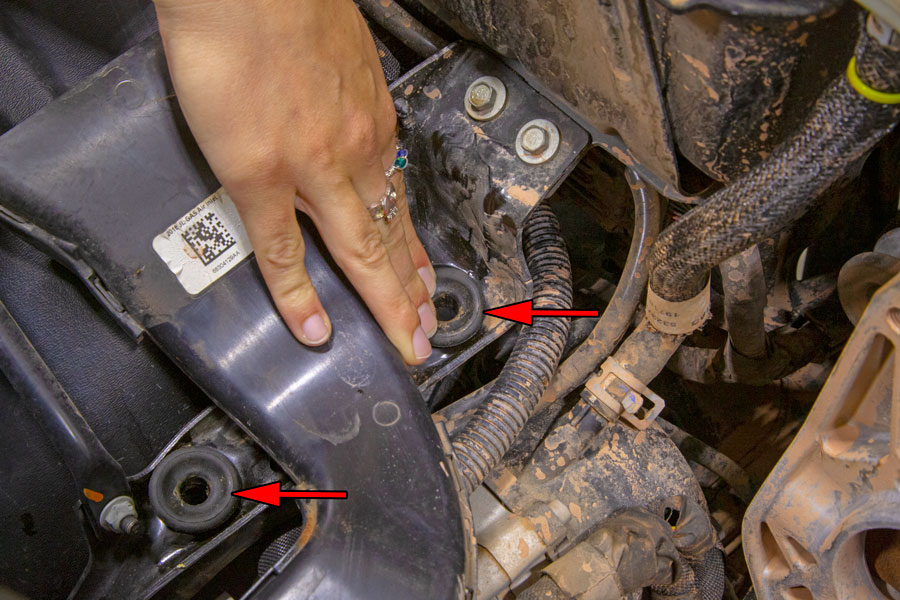
Flip the air box upside down and remove the air filter box location grommets from the locating nipples on the bottom. Sometimes they stay in place in the mounting brackets, but most of the time, they come out still attached to the bottom of the filter box.
Clean up the grommets (if dirty) and reinstall them into the location holes on the inner fender well.
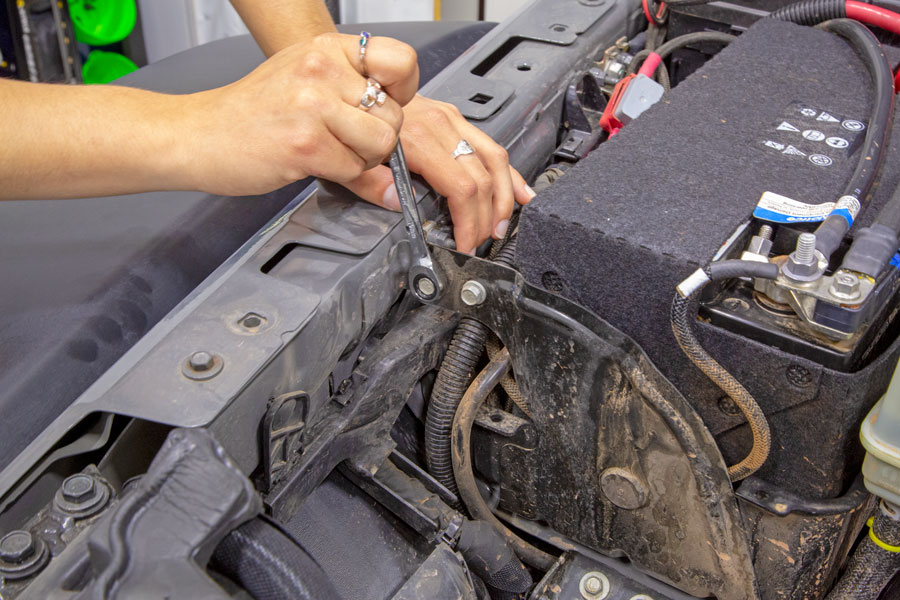
Remove the outermost 10mm bolt on the battery support bracket.
Installing the S&B Filter 2.0 Turbo Cold Air Intake:

Install the airhorn into the matching hole on the side of the S&B air filter box.
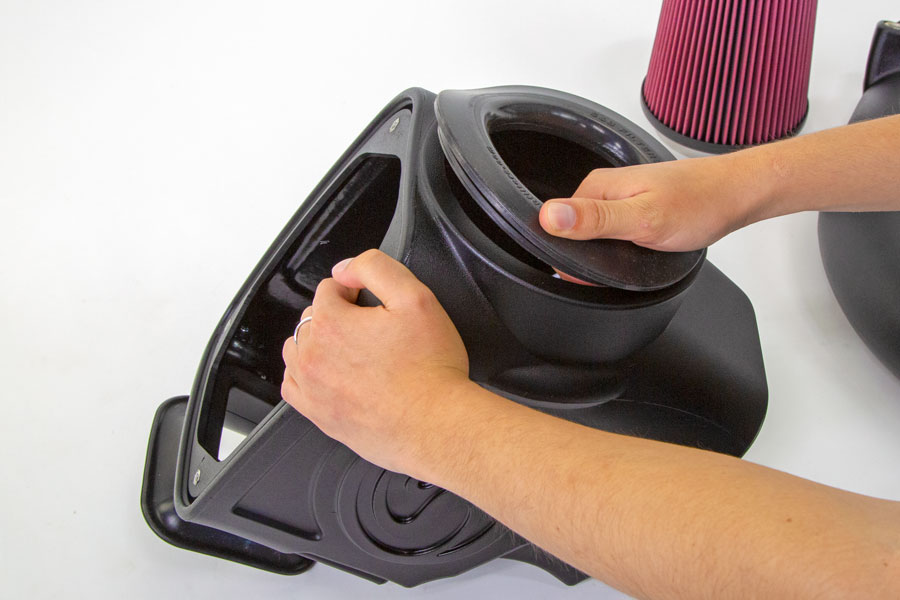
Install the tube seal into the other end of the S&B filter box.
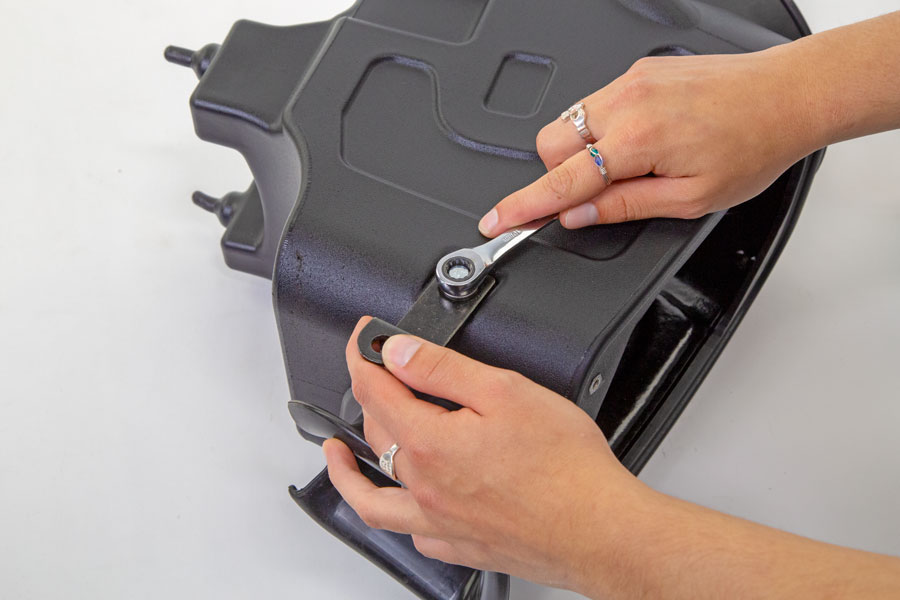
Install the S&B filter box mounting bracket using the supplied 10mm mounting bolt.
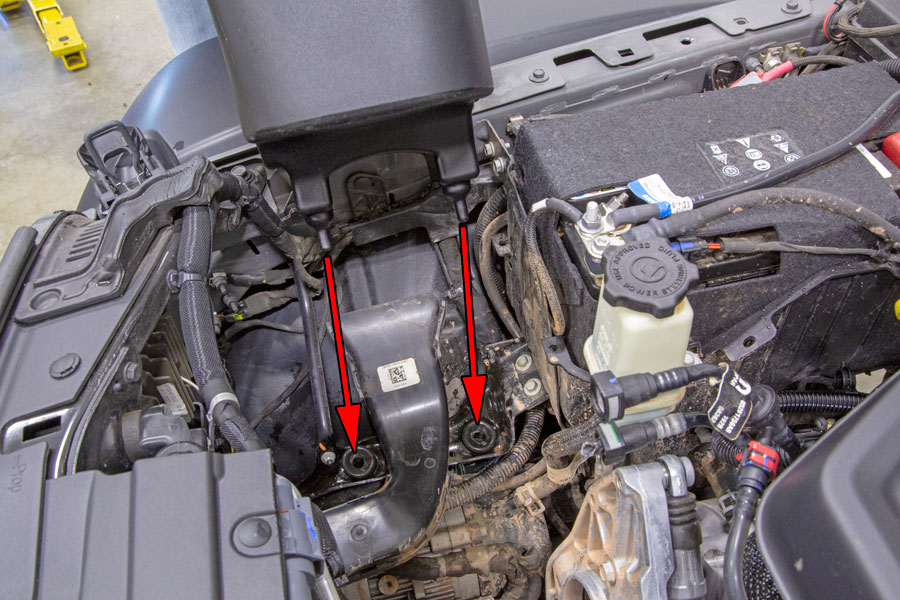
Align the nipples on the bottom of the S&B filter box with the locating grommets on the fender well.
Set the new S&B Filters air filter box into place and push down to lock the nipples into the locating grommets.
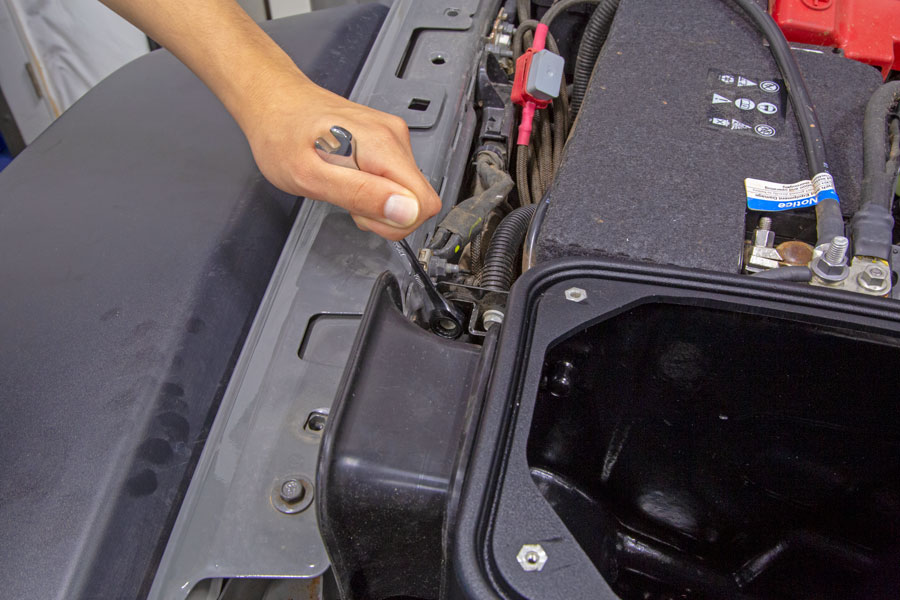
Bolt the S&B filter box mounting bracket to the battery support bracket.
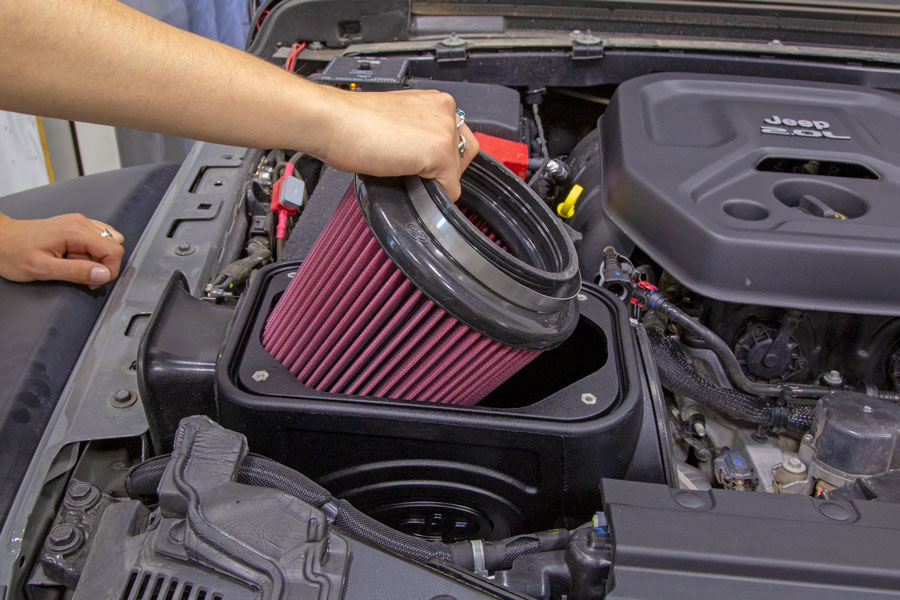
Install the new S&B air filter and clamp through the top of the S&B air filter box.
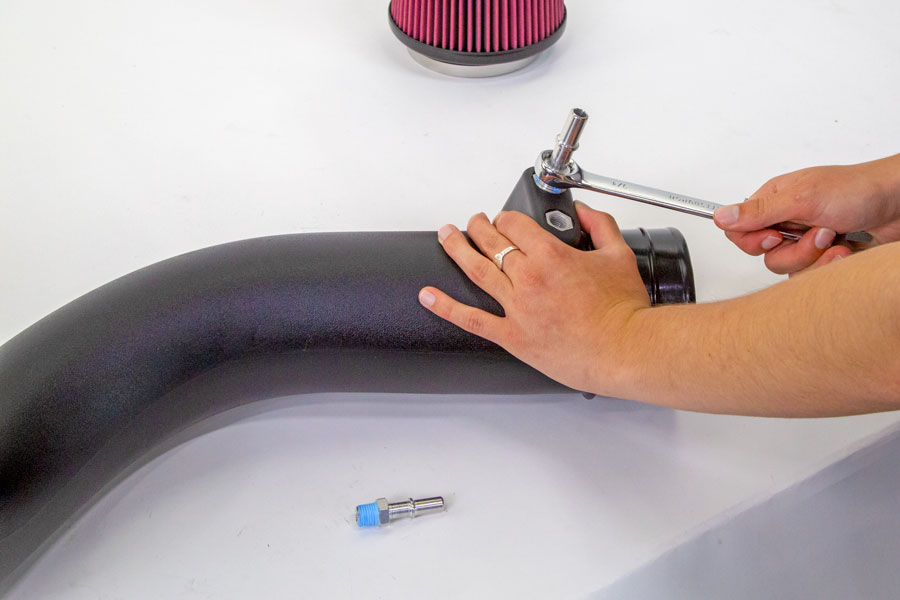
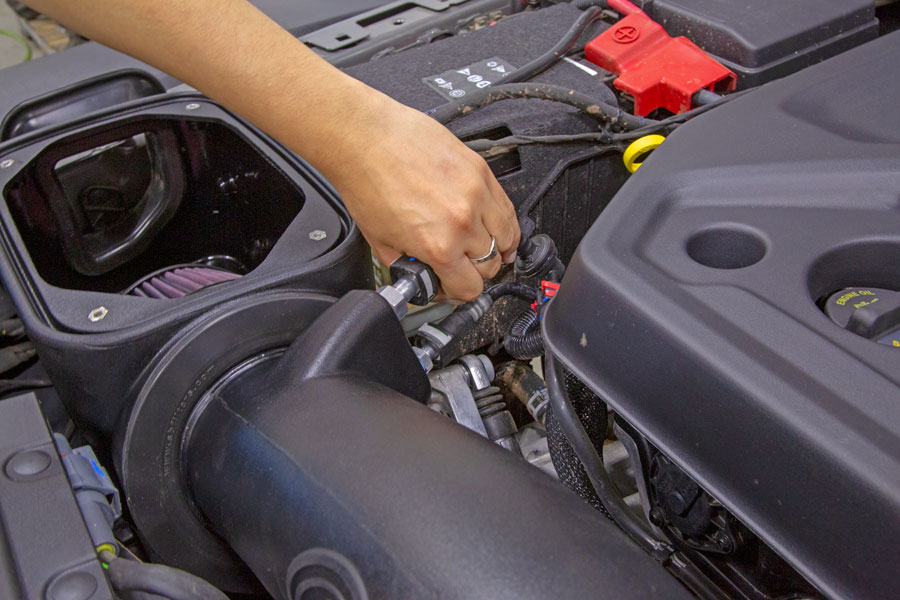
Install the supplied vacuum fittings into the S&B intake tube. We used some teflon tape to seal the threads and then a 3/4″ and 5/8″ wrench and screwed them in tight.
Install the IAT sensor grommet into the S&B intake tube.
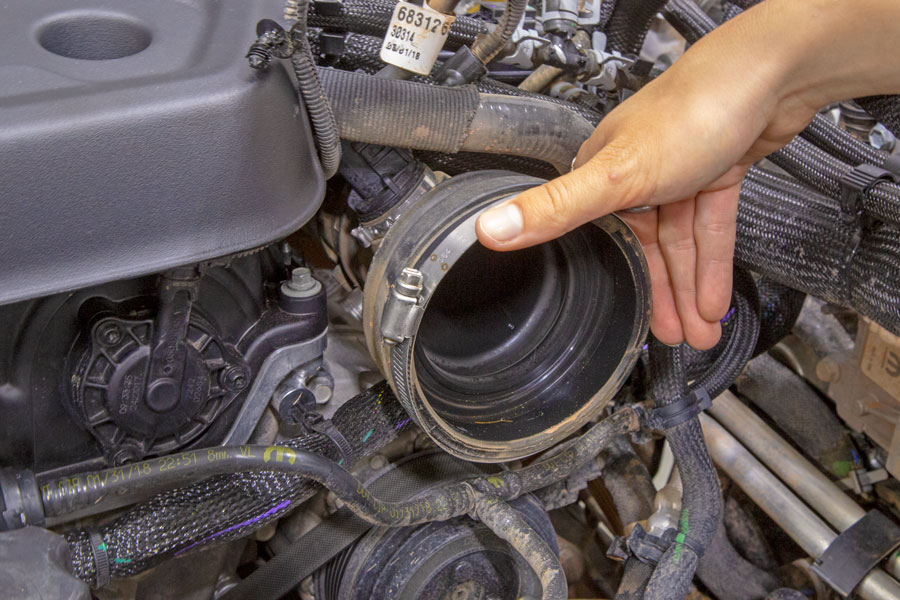
Install the new clamp onto the turbo resonator coupler.
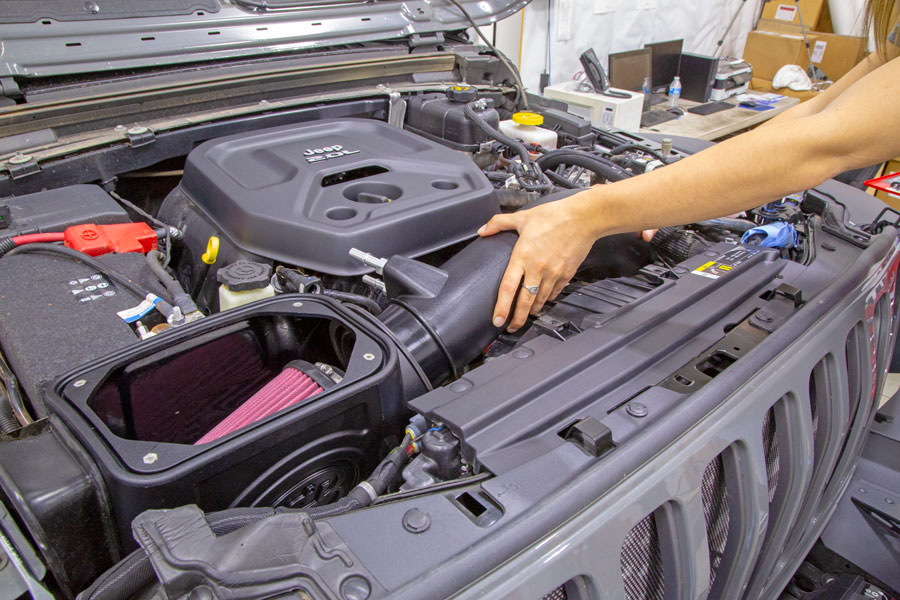
Slide the intake tube in through the tube seal and into air filter first, then align and install the other end into turbo coupler hose.
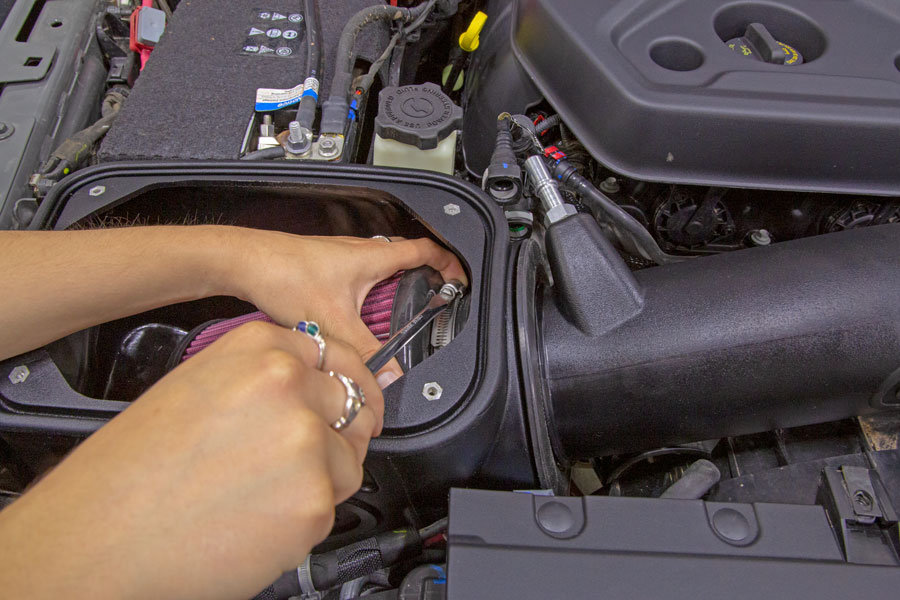
Tighten the hose clamp on the air filter. PRO TIP: Place your index finger behind the worm body of the clamp to hold it in place as you tighten the clamp.
Tighten the hose clamp on the turbo coupler hose.
Push the vacuum lines onto the new S&B vacuum nipples. Push them in until they click into place.
Set the wire harness bracket onto the S&B intake tube and use the supplied 10mm screws to bolt it in place.
Plug the IAT sensor into the IAT sensor grommet on the S&B intake tube.
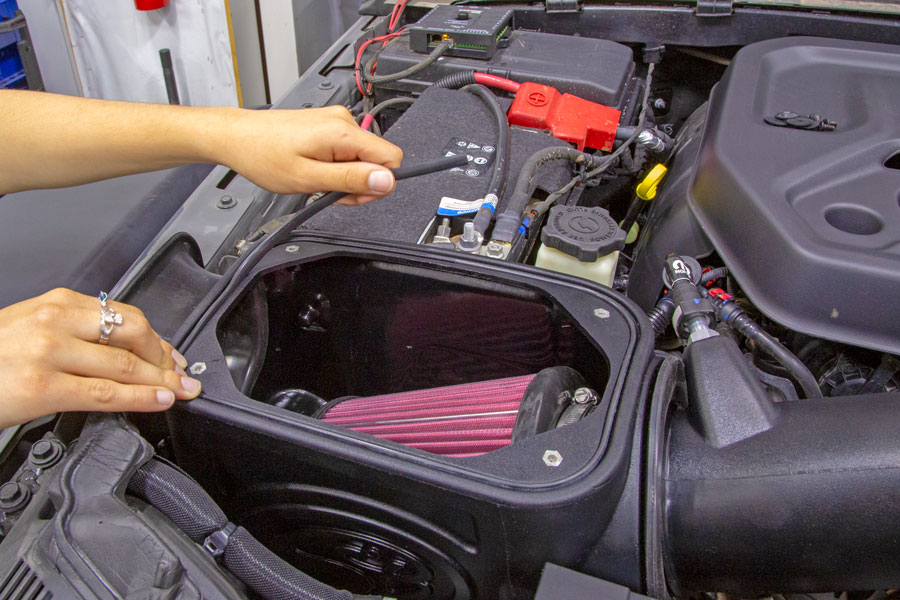
Install the air box cover seal.
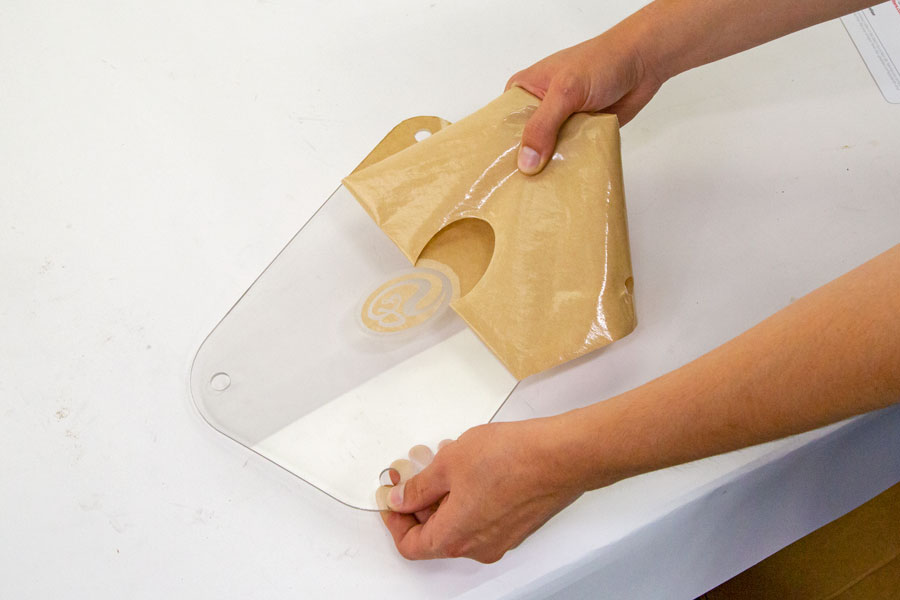
Peel the protective cover off of the filter box lid.
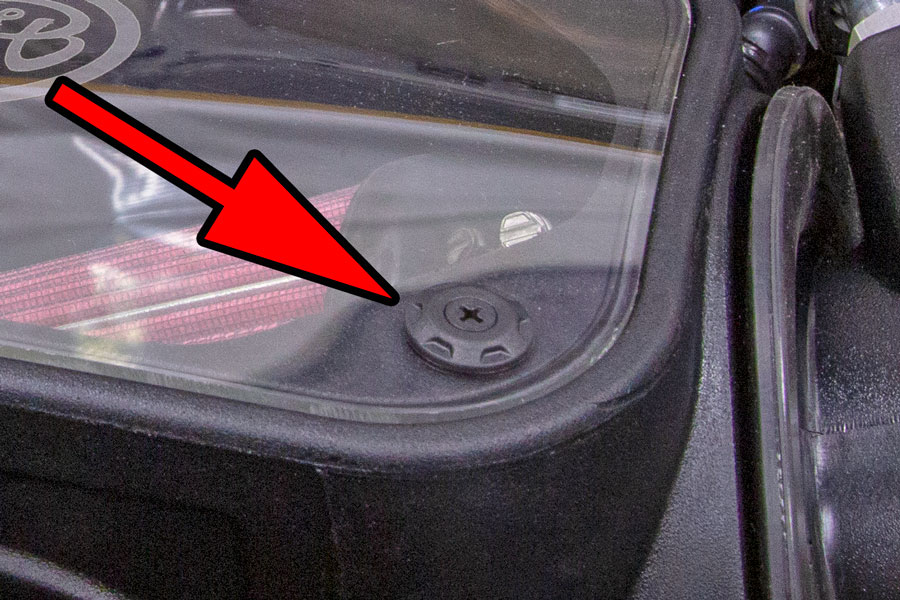
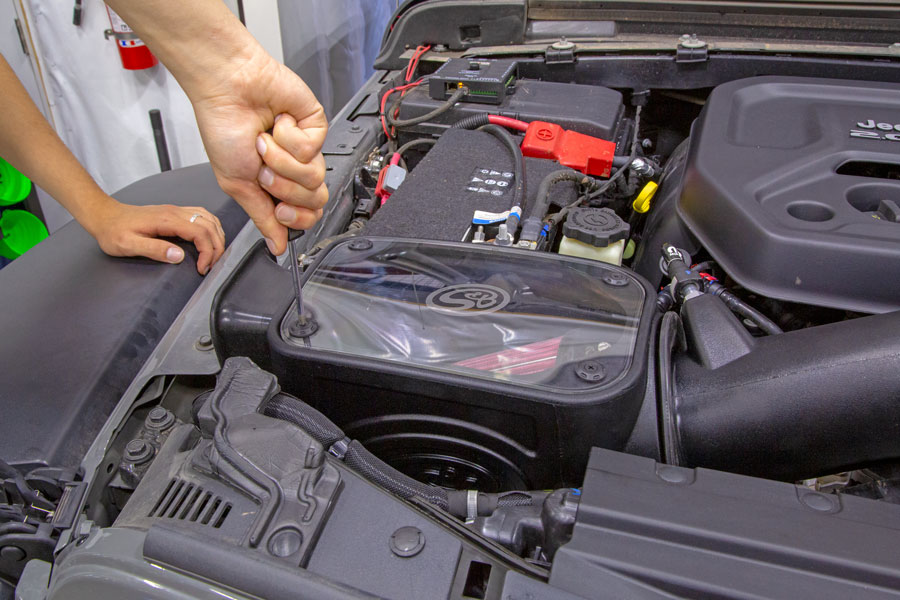
Use the supplied screws and plastic washers to….
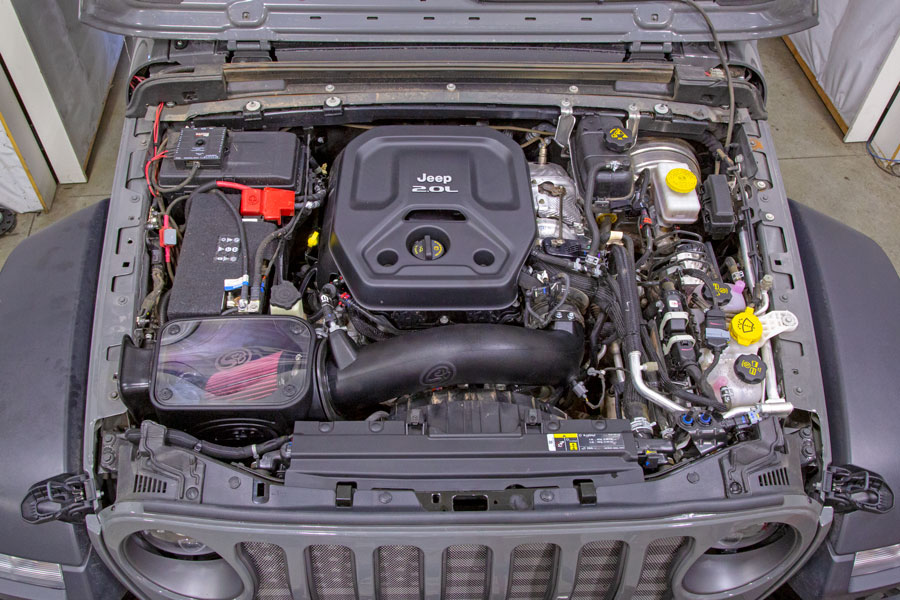
Install the clear lid on top of the S&B air filter box. S&B Filters 2.0 Turbo CAI Finished!
The S&B Filters Cold Air Intake looks damn good under the hood of this Wrangler JL.

