SET YOUR VEHICLE
TALK TO A PARTS EXPERT TODAY!
FREE SHIPPING ON ORDERS OVER $70 in the contiguous US lower 48 states
SPECIALS!
Browse By Category
- Auxiliary Lights
- Light Bars
- Fog/driving Lights
- Underhood/rock Lights
- 3rd Brake Light Solutions
- Back Up Lights
- Other Auxiliary Lighting
- Shop All
X Close Search
Results for
Filters:
Stock
Category
Brand
Rating
Price
Stock
Category
Brand
Rating
Price
OH NO!
We couldn't find any results
We couldn't find any results
Search Tips:
- Use different keywords
- Double check your spelling
- Start with something less specific - you can refine your search results later
- Try changing some of your filters below:
Search term:
STOP Your Jeep Now!
It’s the same old story…. Get a Jeep, lift it, put bigger tires on it, outfit it with a bunch of bumpers, armor and gear and then get it out on the road and you soon find that the stock brakes just don’t cut it when it comes to bringing a built Jeep to a stop. You aren’t going to take gear off or go to a smaller tire….So what do you do?
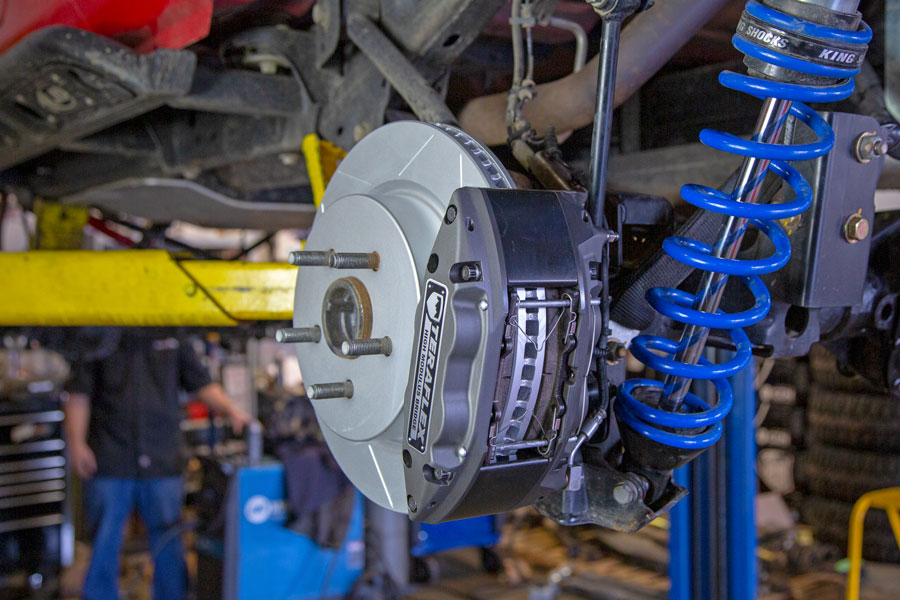
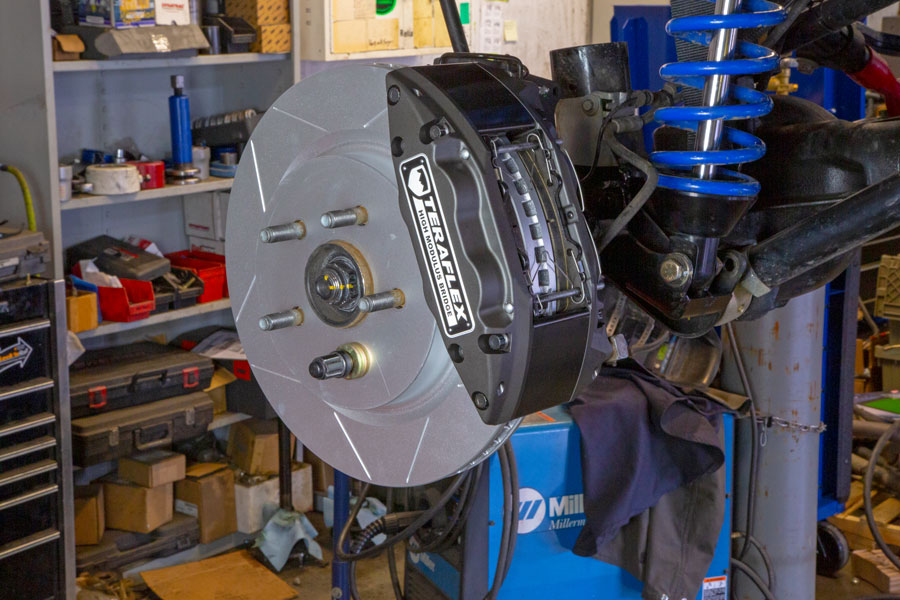
You are going to take a hard look at the new TeraFlex Delta Brake kit for the JL/JT & JK and the TeraFlex Delta Brake kit with J8 booster kit for the JK. Billed as the ultimate upgrade brake package for your JL or JK, the Delta Brake kit is designed for Jeeps with bigger tires and/or are heavily loaded, like a Jeep built for serious Overlanding.
The TeraFlex Delta Brake kit comes with four replacement high performance rotors, four replacement calipers with a high-modulus bridge and all the hardware you need to install them. No welding or adapters are needed to install this badass brake kit. The only mods needed is some slight trimming of the OE brake backing plates.
What is a High-Modulus Bridge?
The high modulus designation refers to the stiffness of the 4140 forged chromoly steel center that “bridges” the distance between the aerospace grade T6 6061 forged aluminum piston housings. Flex is a huge problem with brake calipers, they are basically a hydraulic clamp with brake pressures ranging from 500 to over 2,000 psi! As you apply the brakes, the brake piston clamps the brake rotor to slow the vehicle down. As the pressure gets higher, the piston bodies want to flex away from the caliper. Keep flex to a minimum across the caliper and the brake will perform better.
Other benefits include:
-
Balanced front to rear brakes tuned specifically for lifted vehicles.
-
Brake bias & piston sizes optimized for Wrangler/Unlimited.
-
Designed to work w/ stock proportioning valve & ABS.
-
Opposed 4-piston caliper design w/ 2” pistons.
-
Same flow rate as factory 2-piston calipers – 4 pistons move each side half the distance. instead of 2 pistons only moving one side the full distance.
-
Improved stiffness = consistent brake feel/modulation during brake application & release.
-
Built-in auto bleeding check ball, valve, & spring for easy bleeding.
-
Larger diameter rotors offer more mechanical advantage for more stopping power.
-
Also available in the 8×6.5″ one ton bolt pattern!
OK, let’s get on with this install…
What Do You Need:
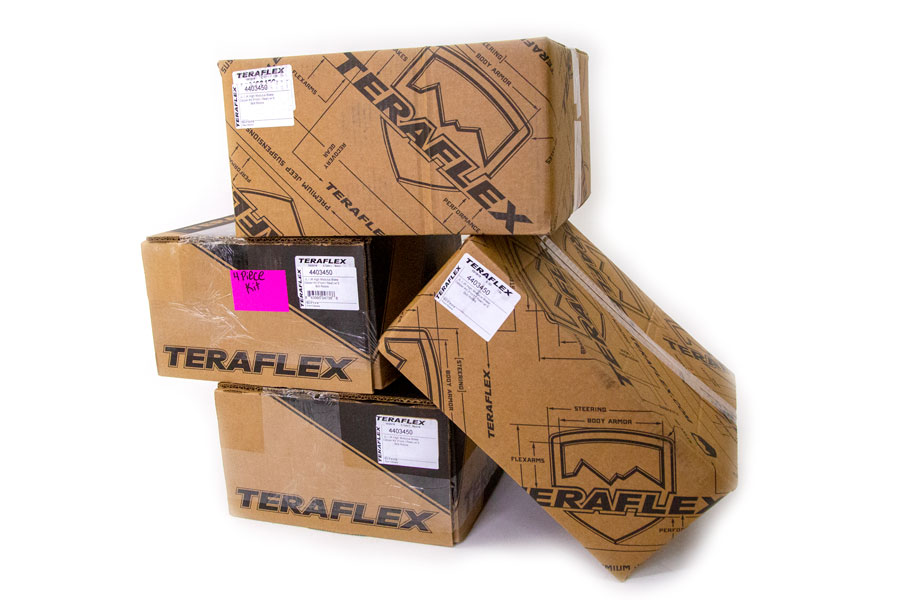
The TeraFlex Delta Brake Kit comes in four boxes. Two rotors and two calipers in each box.
What’s in the Boxes?
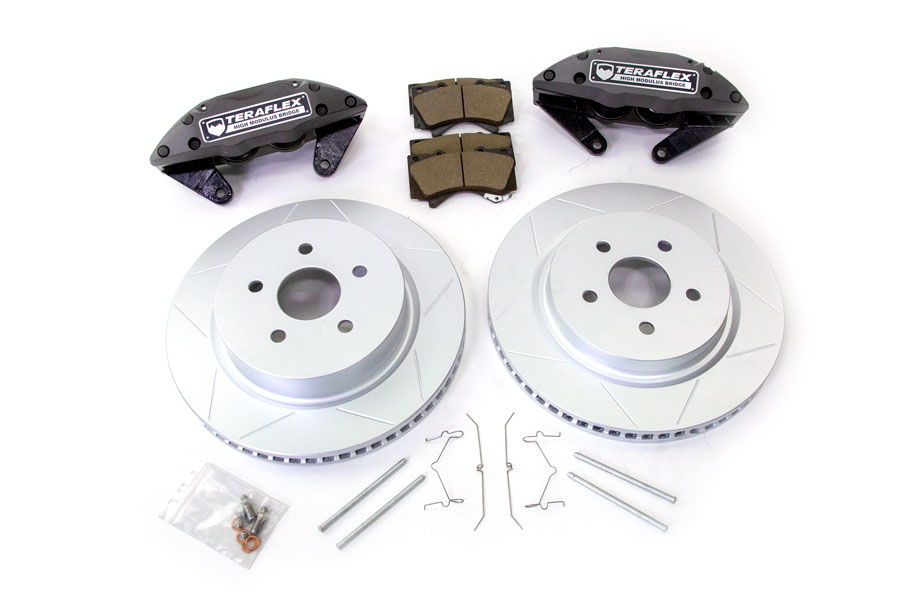
The TeraFlex Delta Brake kit comes with front and rear calipers, front and rear rotors, brake pads and hardware… all that you see in the picture X2!
Disassemble OE JL Brakes:
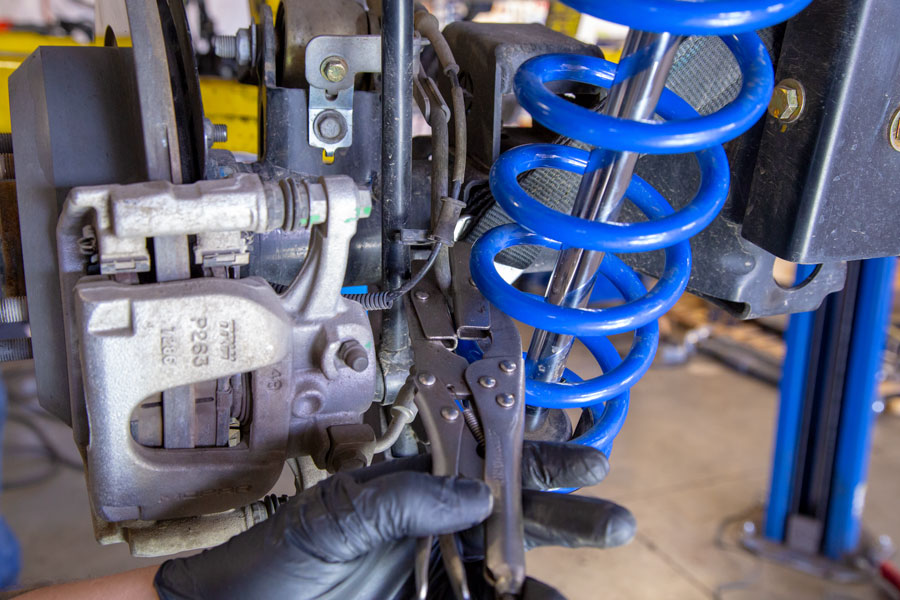
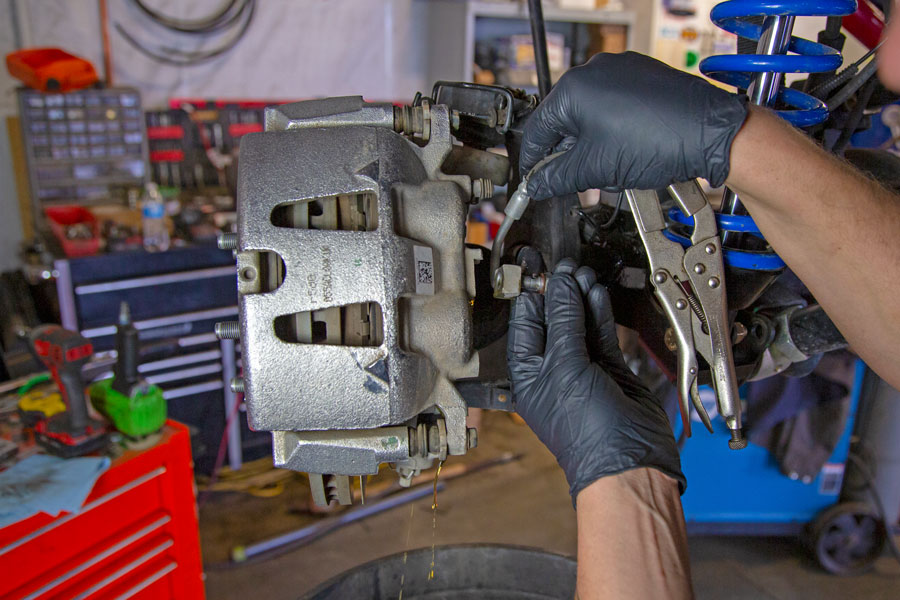
We started out in the rear of this JLUR and the first step was to clamp the OE rubber brake hose to keep from draining the master cylinder. You don’t have to do this step, though it is much easier than refilling and bleeding the entire system. We used a hose clamp tool from the local auto parts store. These are pretty handy to have for radiator hoses, transmission hoses, fuel hoses and of course brake hoses.
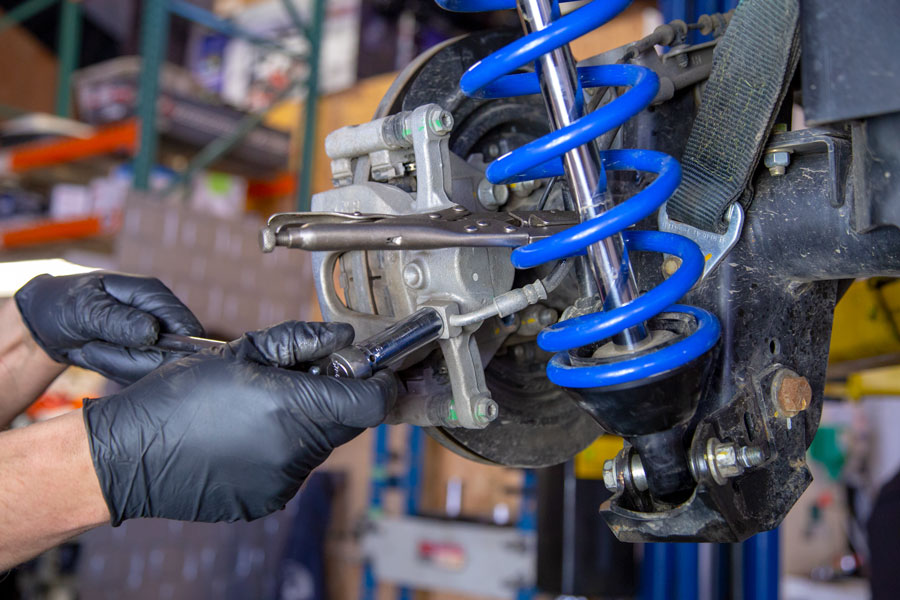
Use a 15mm wrench or socket to remove the banjo bolt holding the brake line to the caliper. Have a catch can of some sort ready to catch the brake fluid that will drain from the open hose end.
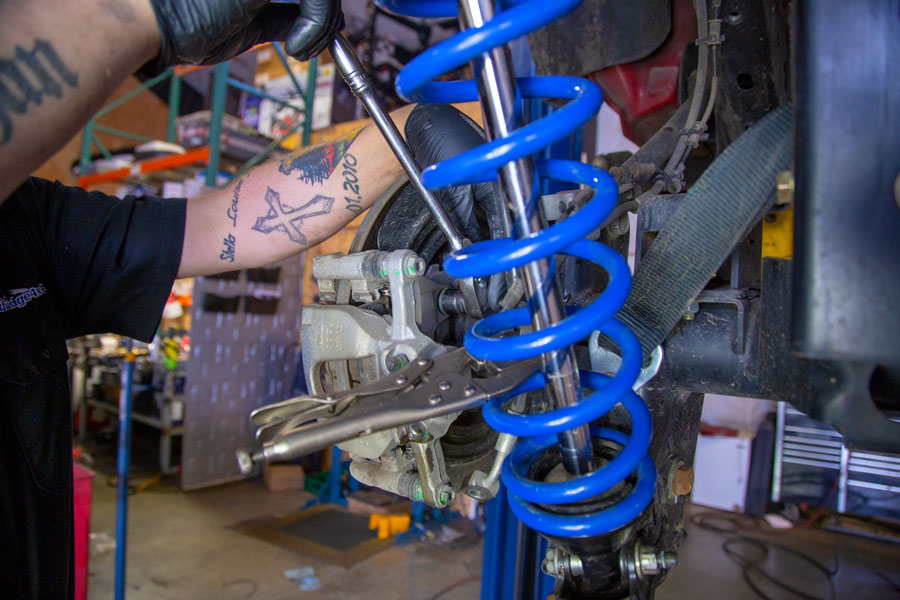
Use a 18mm socket to remove the brake caliper bolts. They can be pretty tight, so a long handled ratchet will come in handy to get the leverage needed to break the bolts loose.
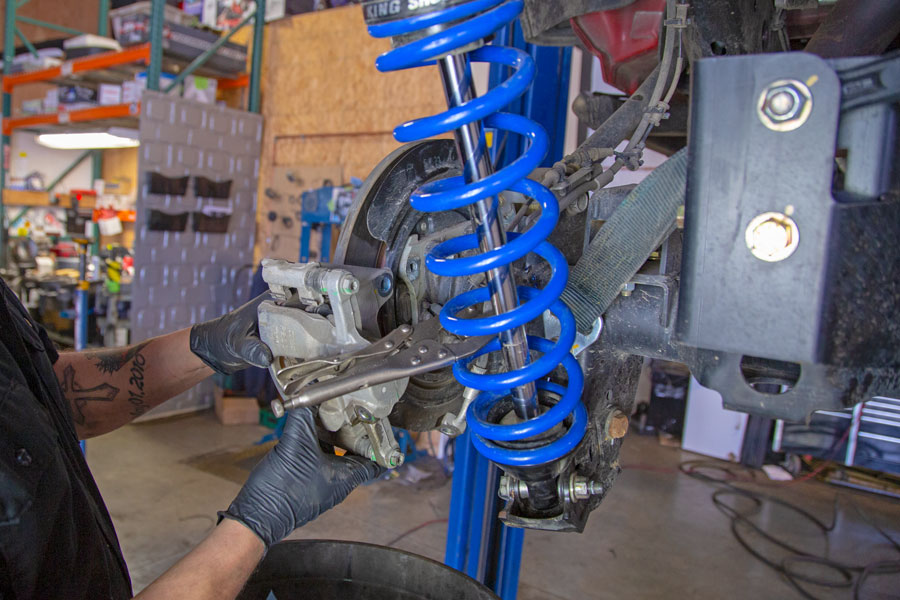
Remove the rear brake caliper and set it aside.
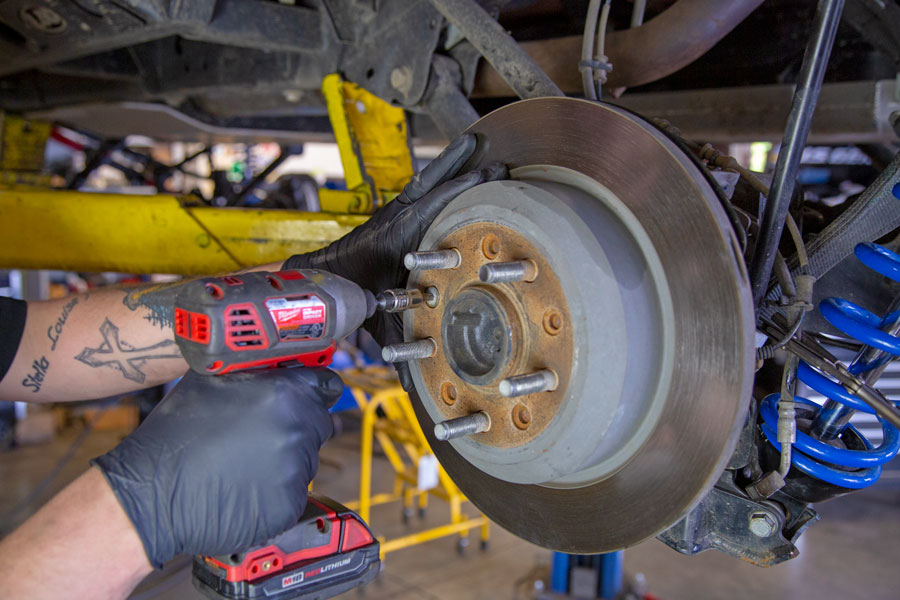
Use a T-30 bit to remove the JL’s brake rotor retaining screw.
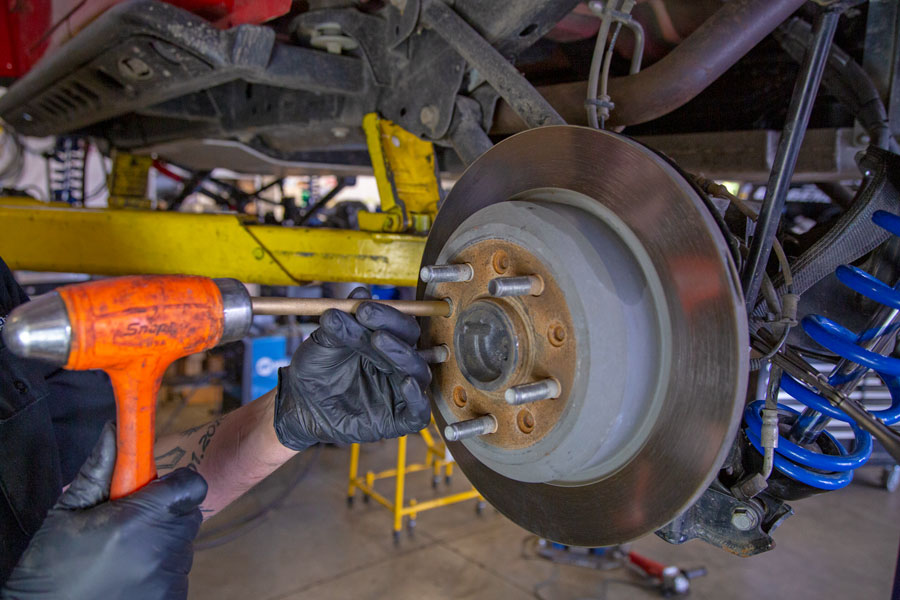
If you find the rotor retaining screw hard to break loose, use a brass punch and give it a couple good solid hits with a hammer to shock load the threads. You’ll find they will often come loose pretty easy.
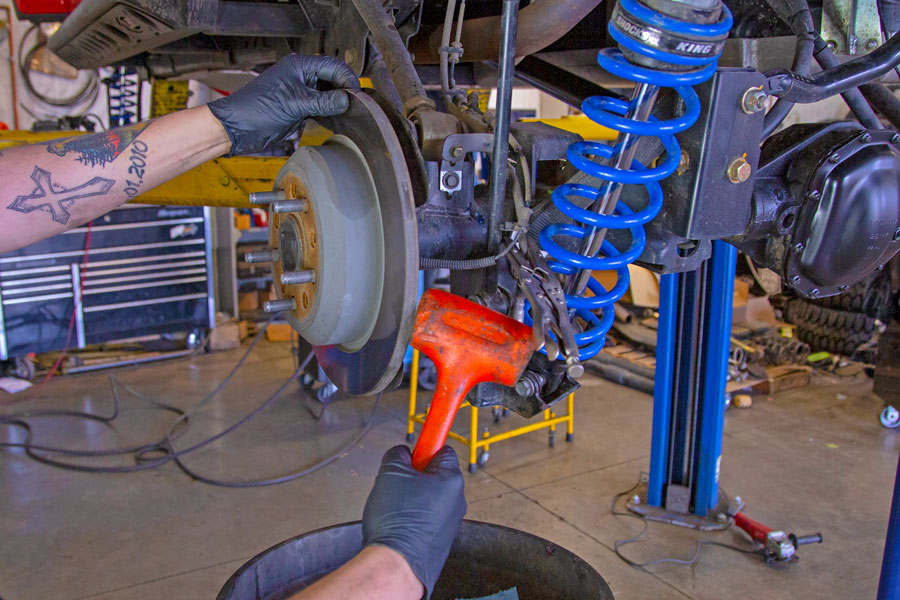
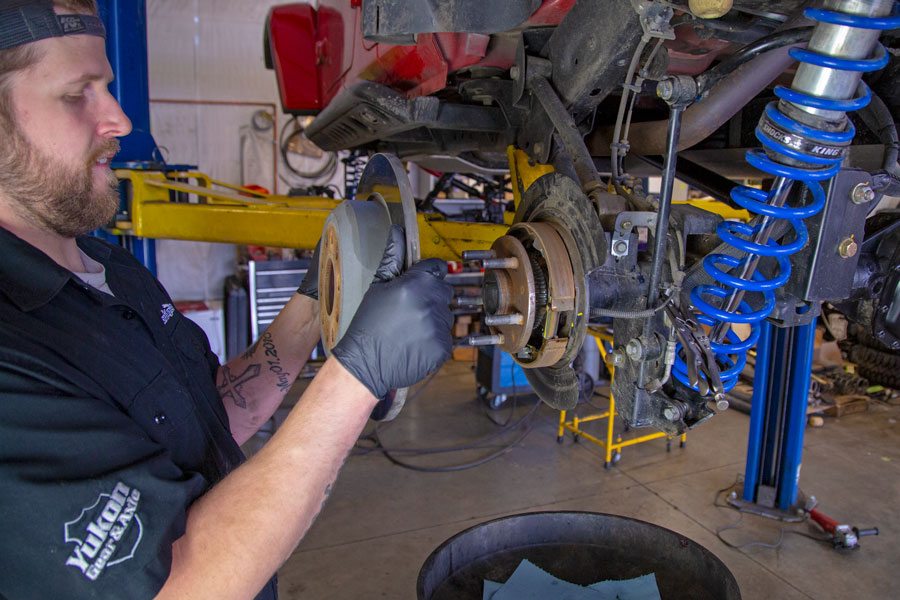
Give the back side of the brake rotor a couple good wacks with a plastic hammer or rubber mallet to loosen it from the axle shaft flange.
Remove the rear brake caliper from the JL axle and set aside, you won’t be needing them any more.
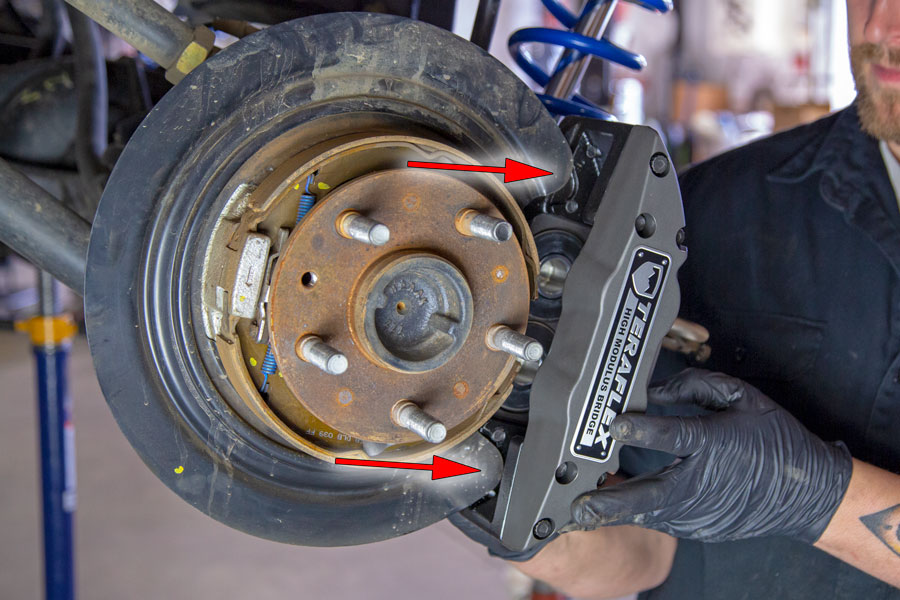
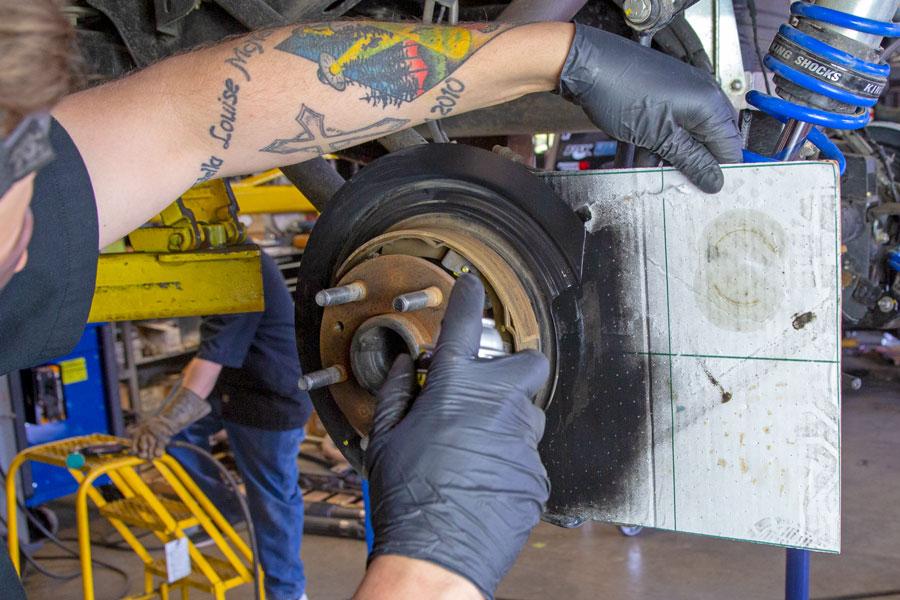
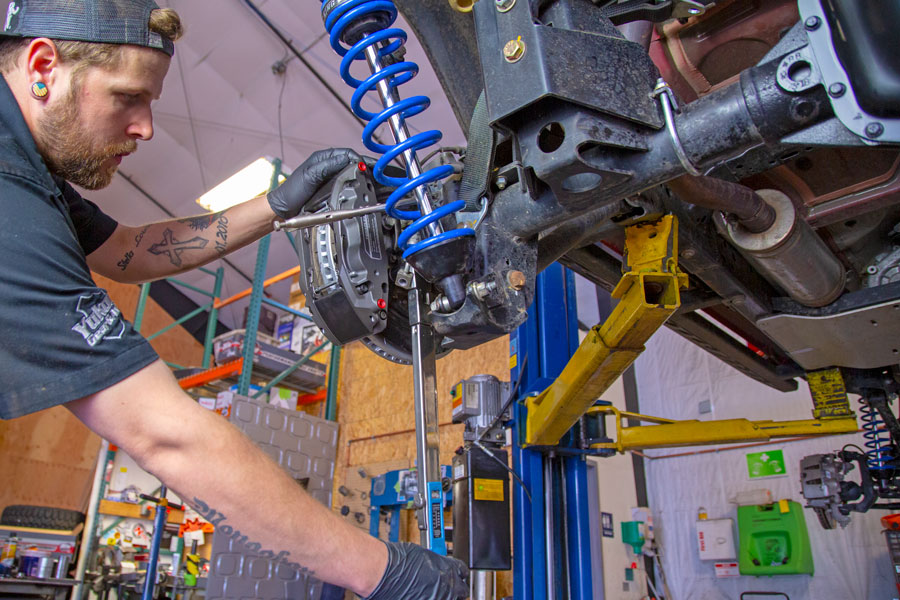
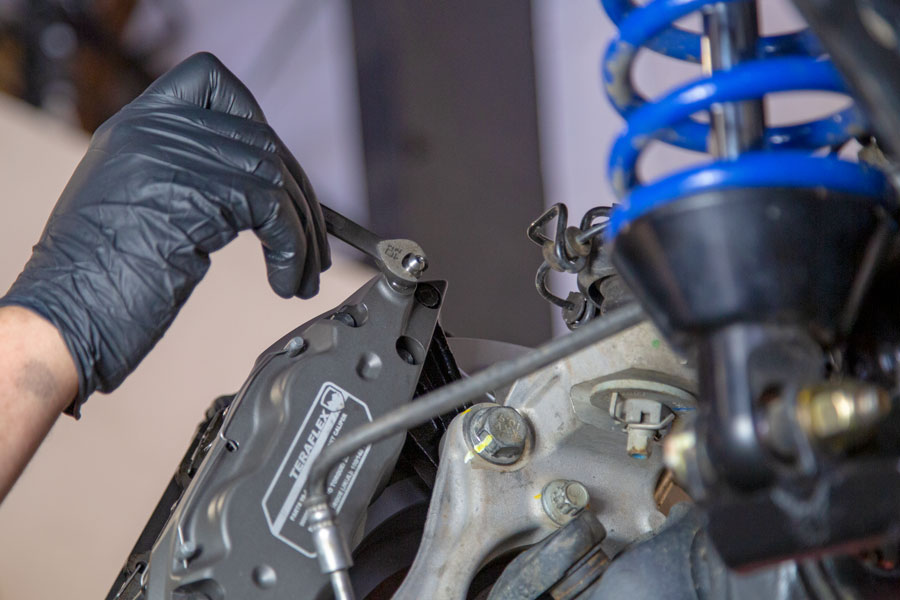
Holding the new rear Delta Brake Caliper up against the brake backing plate will show where they need to be trimmed for the Delta Brake calipers to fit.
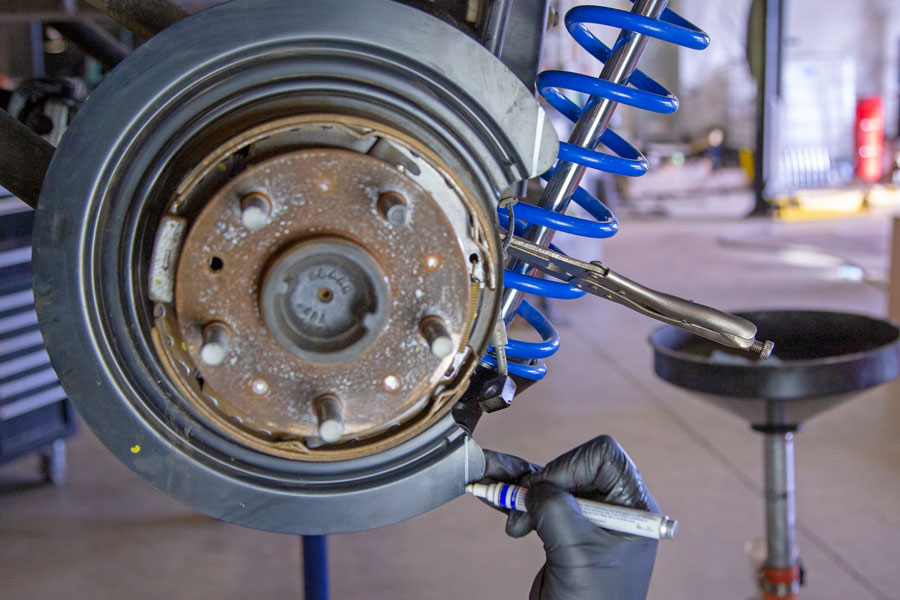
Draw lines where to trim the brake backing plates. Basically just need to trim the curved ends off flat.
TECH NOTE: During our test drive we found we had a slight clicking noise when taking a sharp corner at a fast pace; almost a baseball card in bicycle spokes type clicking. We disassembled the brakes only to find we had to trim another 1/8″ off the lower corner of the rear left side backing plate. That little bit caused the noise that was driving us nuts trying to find.
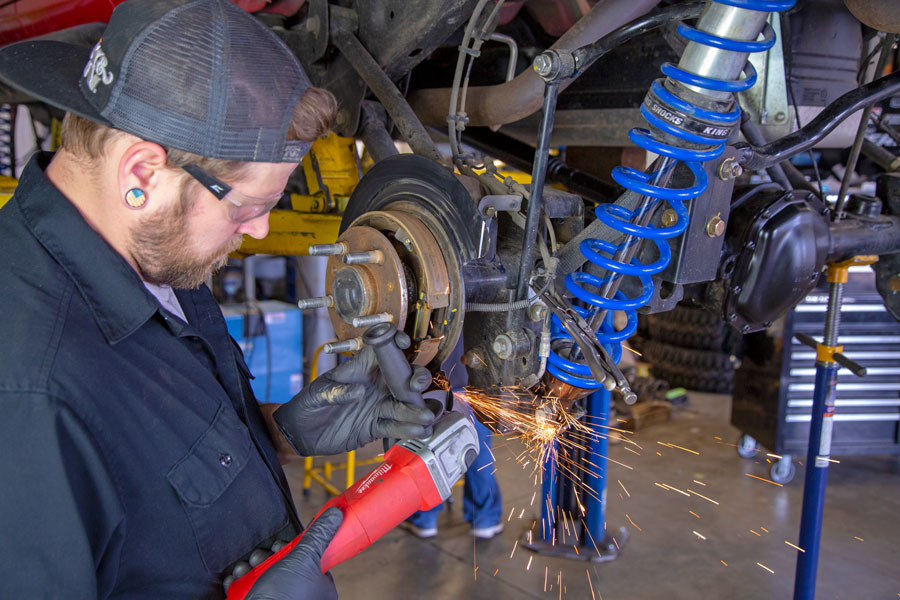
Cut the JL’s backing plates so the new Delta Calipers will fit without any interference. The JL’s backing plates are made from thin sheet metal, we find it easiest to use a cut-off wheel to trim them.
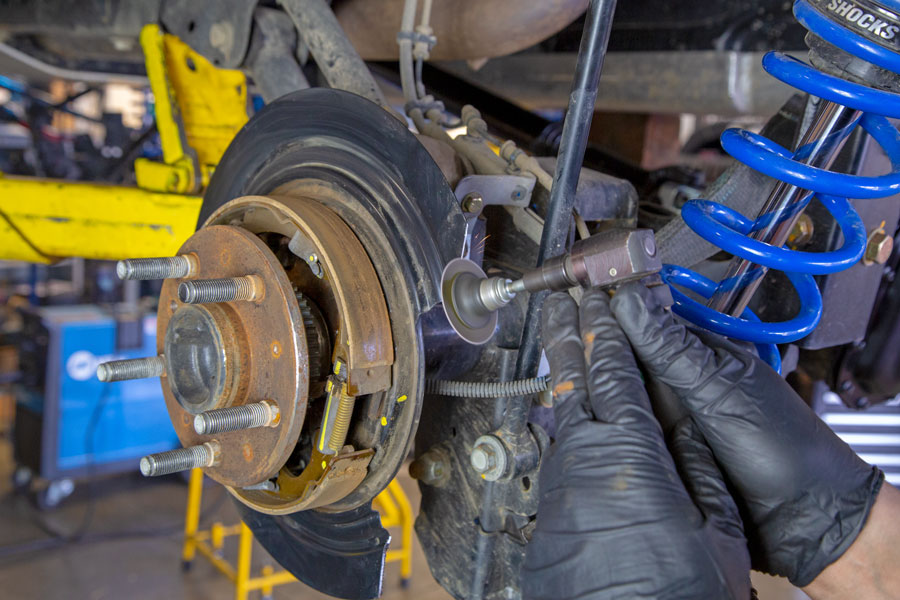
After trimming the curved ends off and double checking the calipers for clearance, sand down any sharp edges.
Use a little black paint to cover the bare metal edges.
Install the new TeraFlex rear Delta Brake Rotor. Notice that the new Delta brake rotors are vented, these will keep a lot cooler under high braking forces than the OE solid rotors. ***This would be a good time to replace the rear parking brake shoes and hardware if needed**
Prep the New TeraFlex Delta Calipers:
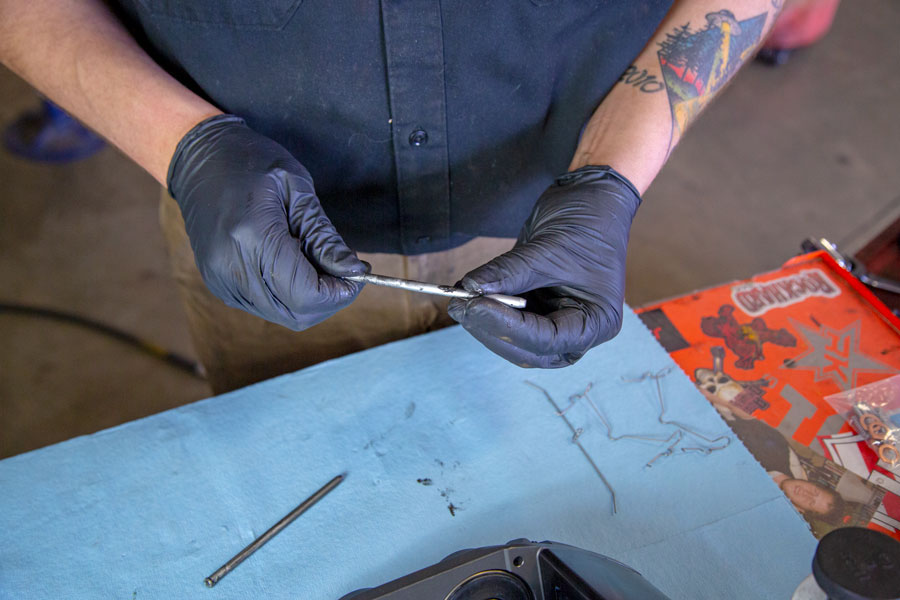
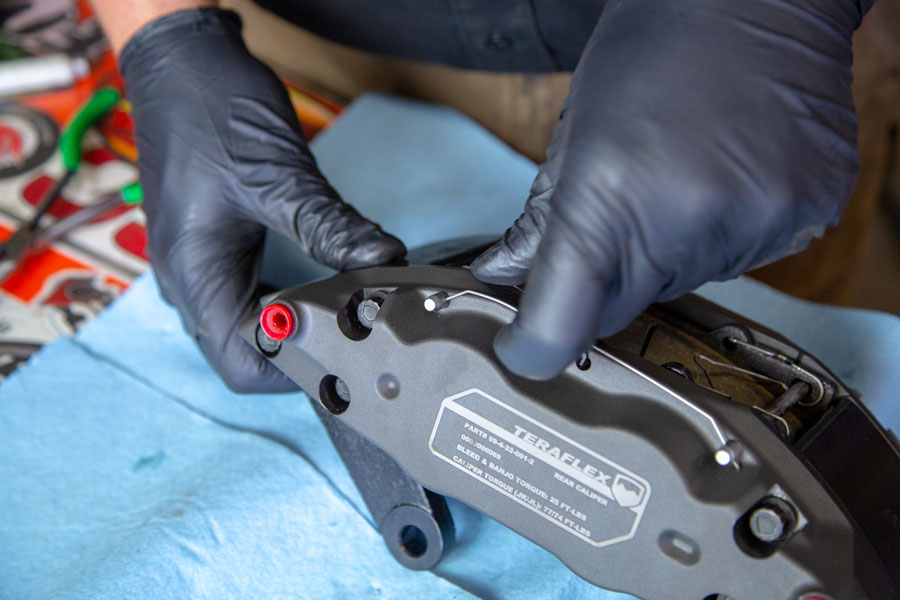
Add a little anti-seize to the new Delta brake pad pins and spread it out along the surface.
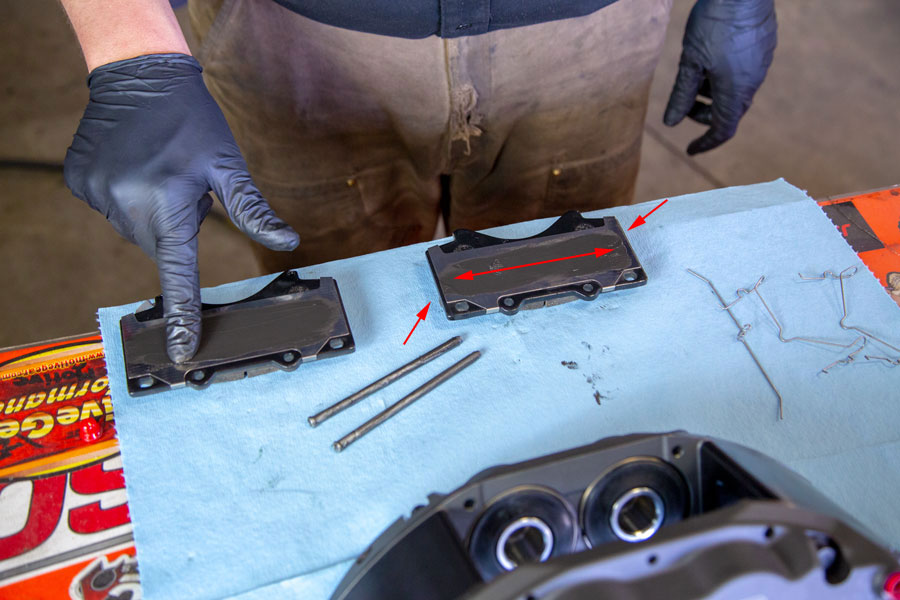
Add a little anti-seize to the back of the Delta brake pads and spread it across the piston contact plates and then a little on the side edges of the metal backing plates. This will help keep them from squealing during braking.
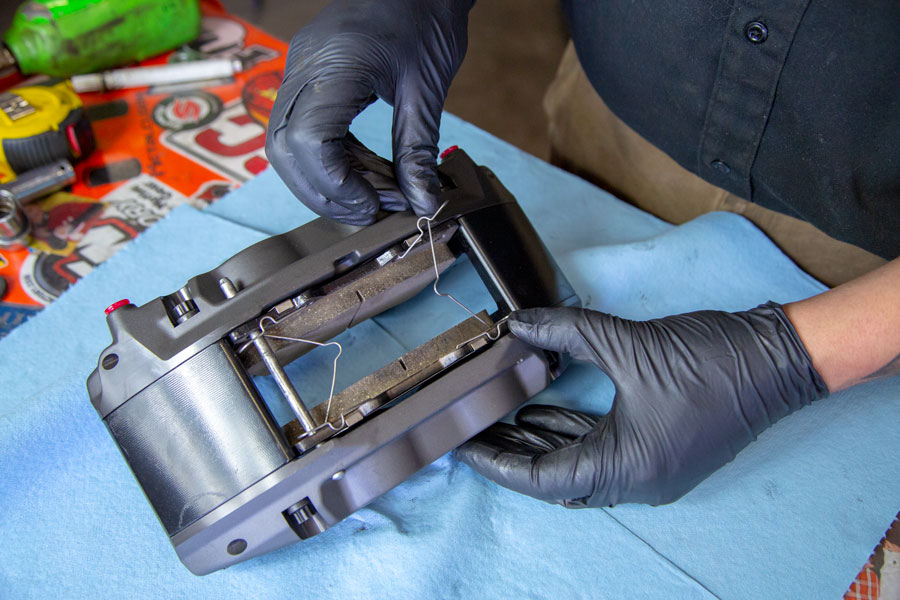
Set the brake pads into the Delta brake calipers and install the spring clips as shown.
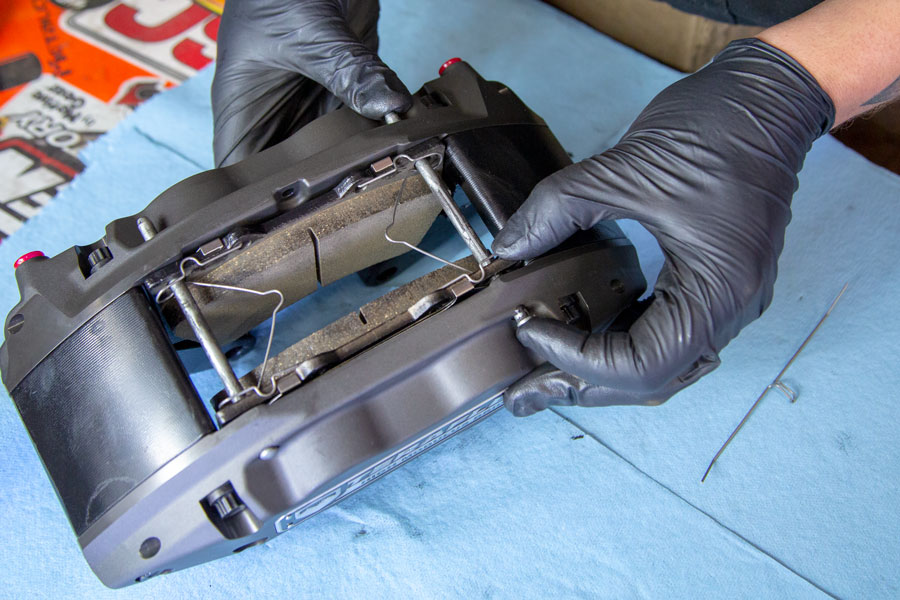
Then slide the brake pad retaining pins into the brake caliper.
Install the brake pad retention pin clip into place. **Repeat this process with all four calipers.**
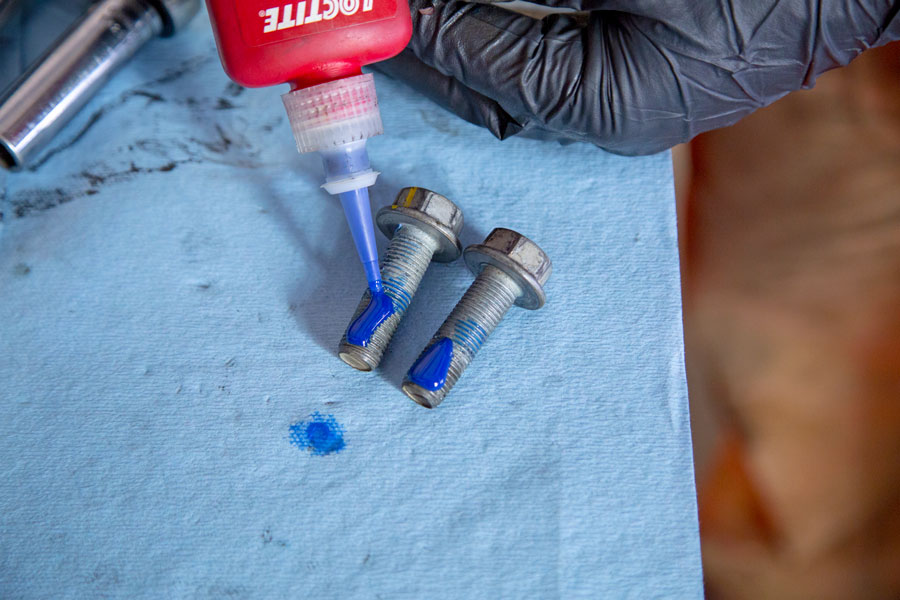
Take the time to add a little blue Loctite to the brake caliper bolts.
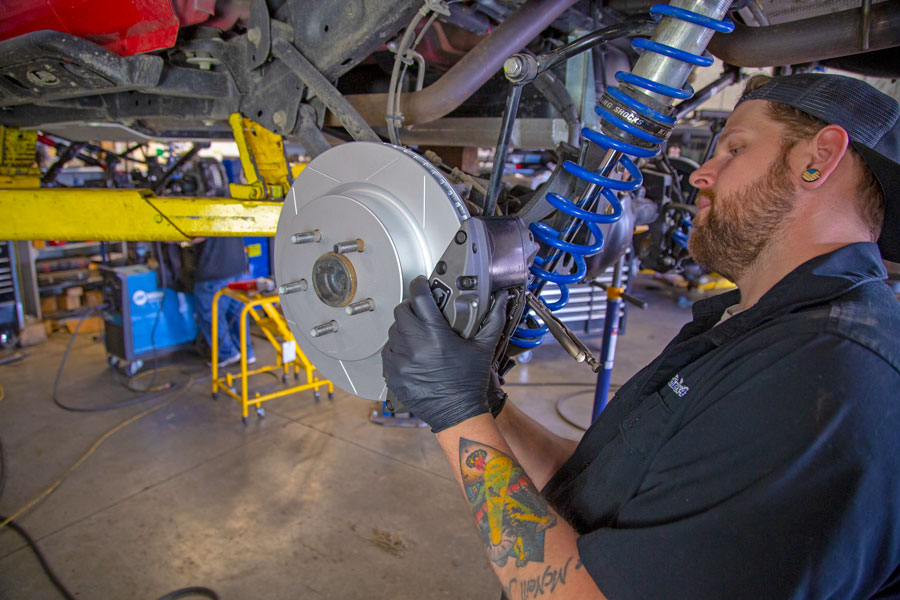
Slide the the new Delta brake caliper over the new vented brake rotor and line up the mounting ears.
Install the brake caliper bolts.
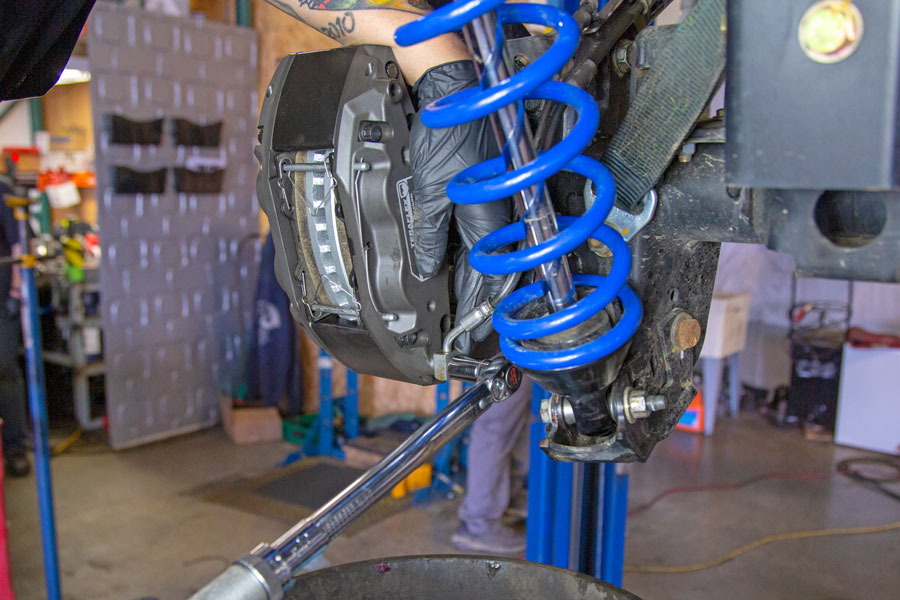
Torque the JL’s rear calipers to 74 ft.-lbs.
Spray a little soapy water along the rubber brake line and metal bracket junction.
Twist and pull the rubber hose in the OE metal mounting bracket until the banjo fitting matches up to the lower fitting in the Delta brake caliper.
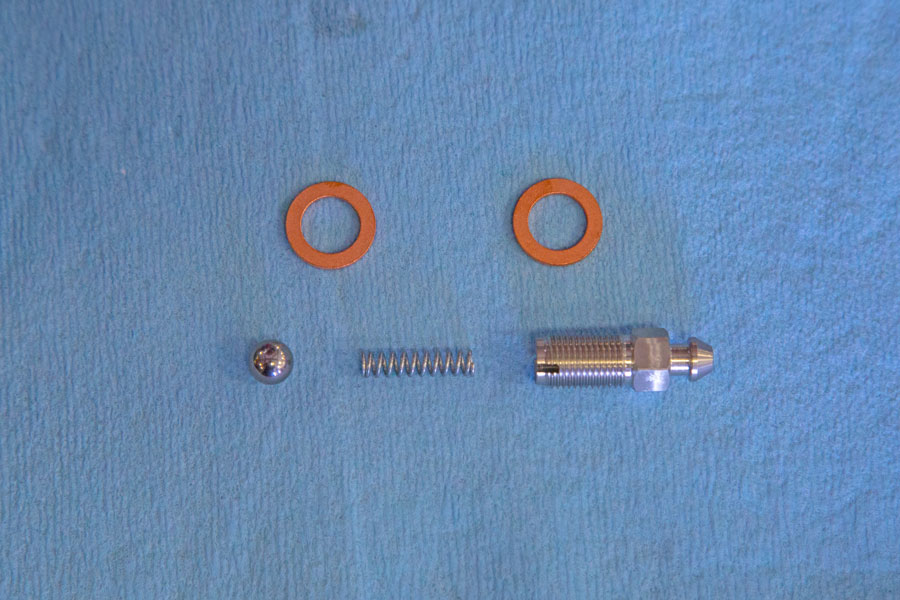
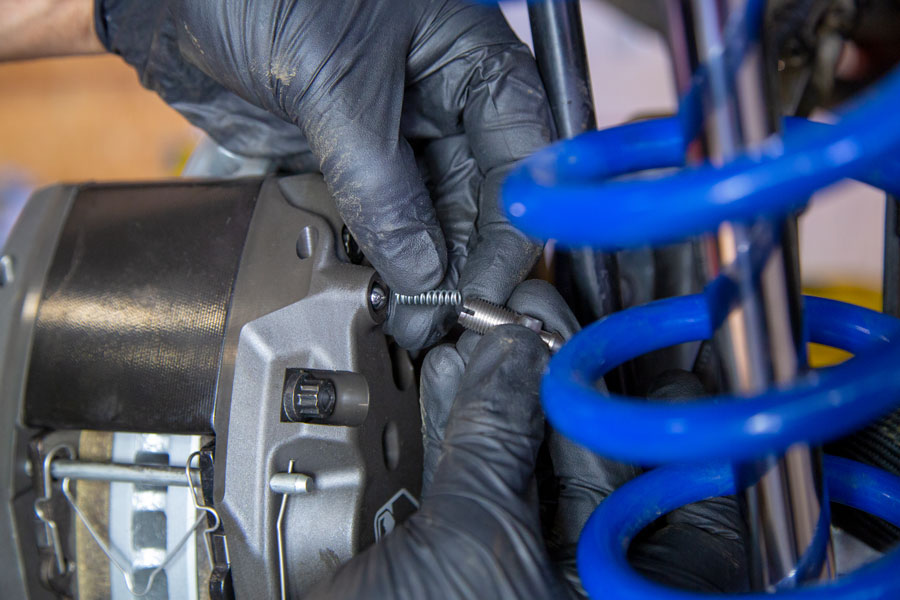
Open the bleeder hardware screw package. In it you’ll find two copper banjo fitting brake hose washers, a check ball, a check spring and the check-valve bleeder screw.
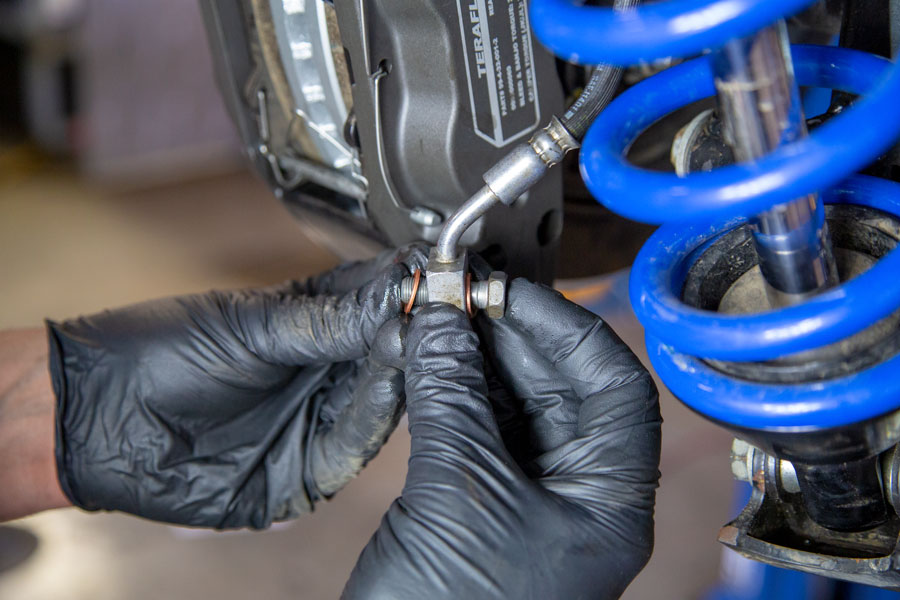
Install the banjo bolt through the brake hose banjo fitting with the new copper washers, one on each side of the banjo fitting.
Screw banjo bolt into the lower port, tighten and torque to 25ft-lbs. Release the brake hose clamp and allow the caliper to fill from the master cylinder reservoir until the fluid starts to weep out the upper port.
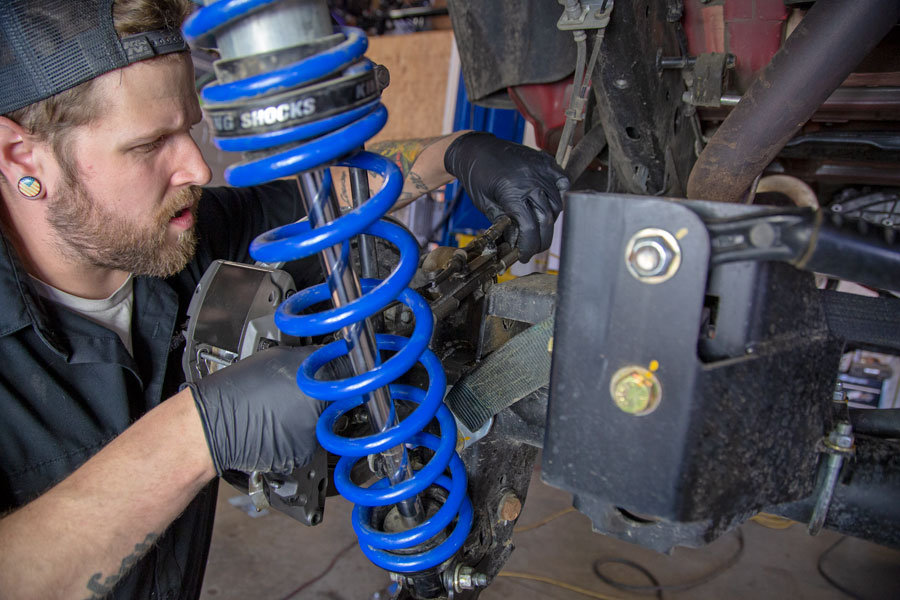
Assemble the bleeder into the upper port by installing the ball bearing first, the spring next and cap it off with the bleeder screw. The TeraFlex Delta check-valve bleeder screw is pretty slick, once installed, you can do one person brake bleeds. The check ball sits against the ball seat in the caliper and spring holds tension against ball, allowing fluid to be pushed out, while keeping air from getting in.
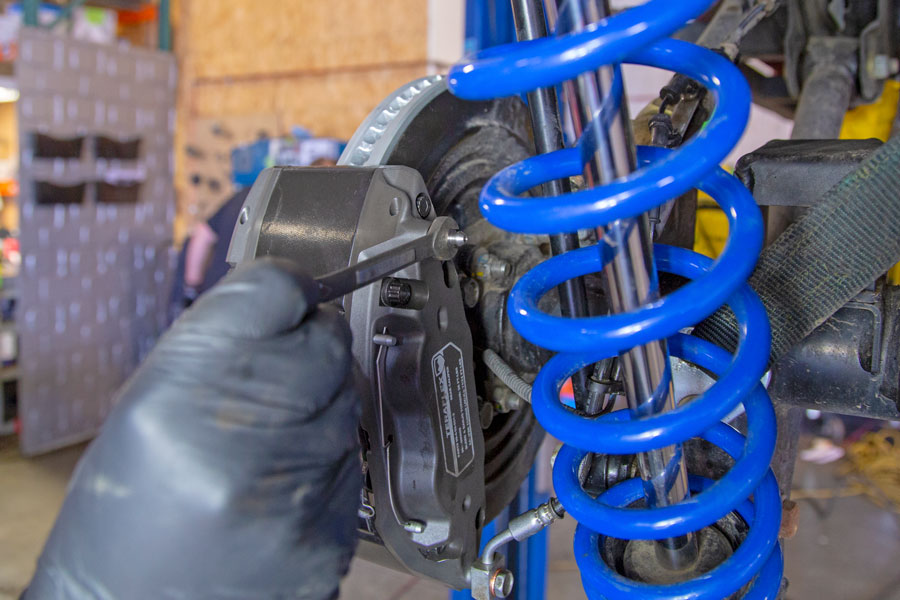
Tighten up the bleeder screw. Just snug for now until we get to the bleed process.
Step back and take a look at your new rear TeraFlex Delta brake set-up!
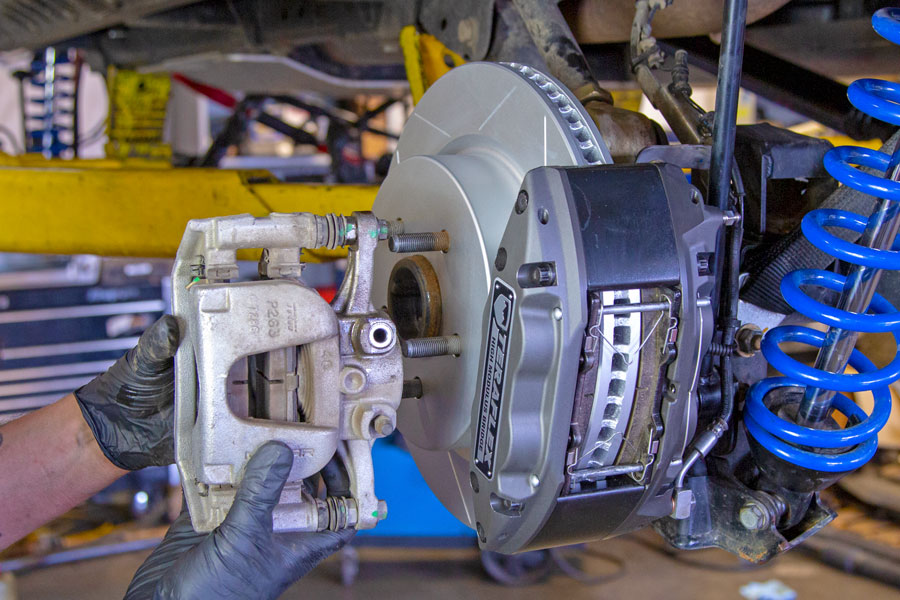
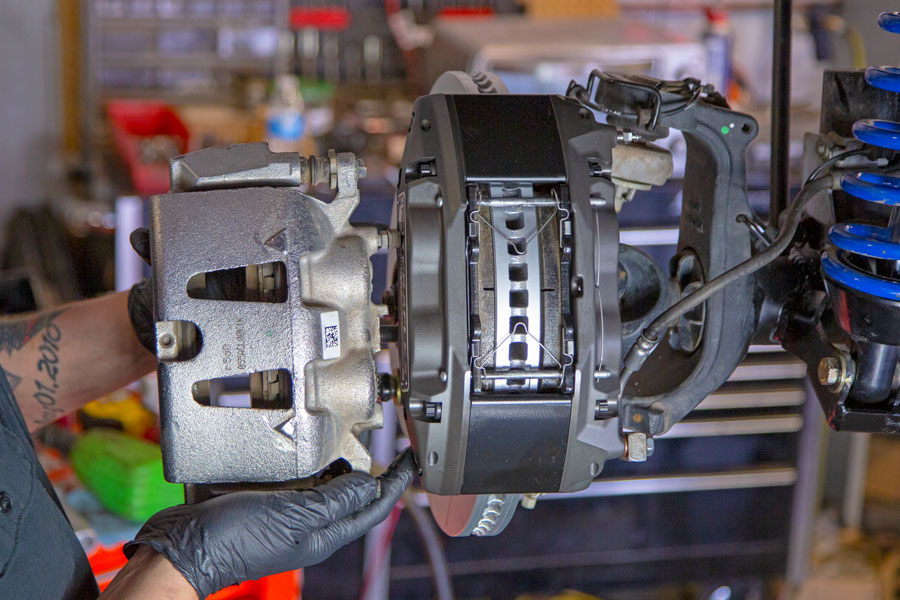
Just for grins, hold the original rear caliper up next to the new TeraFlex Delta brake caliper… huge difference! Larger, burlier and now two pistons instead of one.
Installing the Front Delta Brakes on the JL:
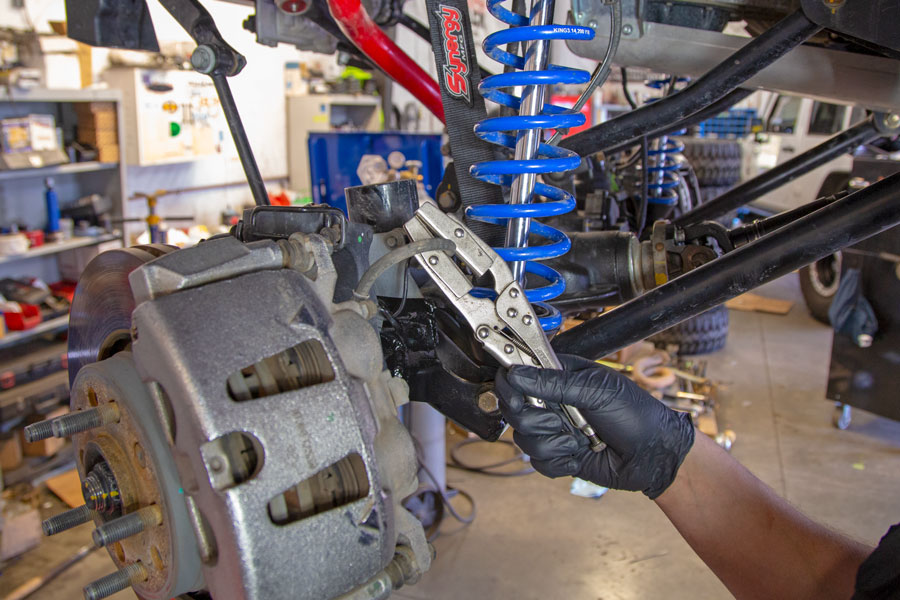
Use the brake hose clamp again to clamp the front brake hose.
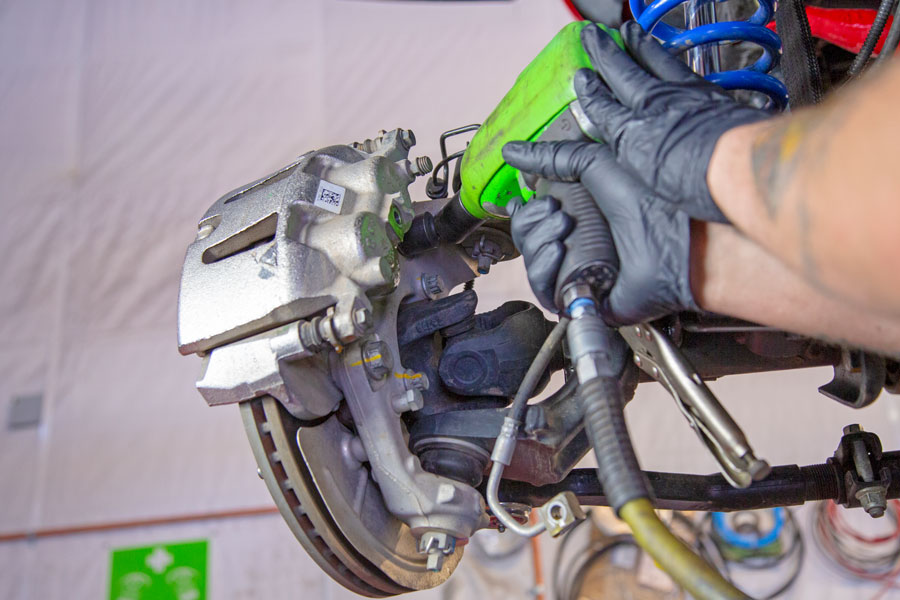
Remove the banjo bolt and move the rubber brake hose aside. There will be fluid leaking from it, so make sure to have that catch can ready.
Remove the OE front caliper bolts with a 21mm socket. On the front, we could turn the knuckle far enough to get a wobbly 21mm impact socket and an air gun in there to make it easy.
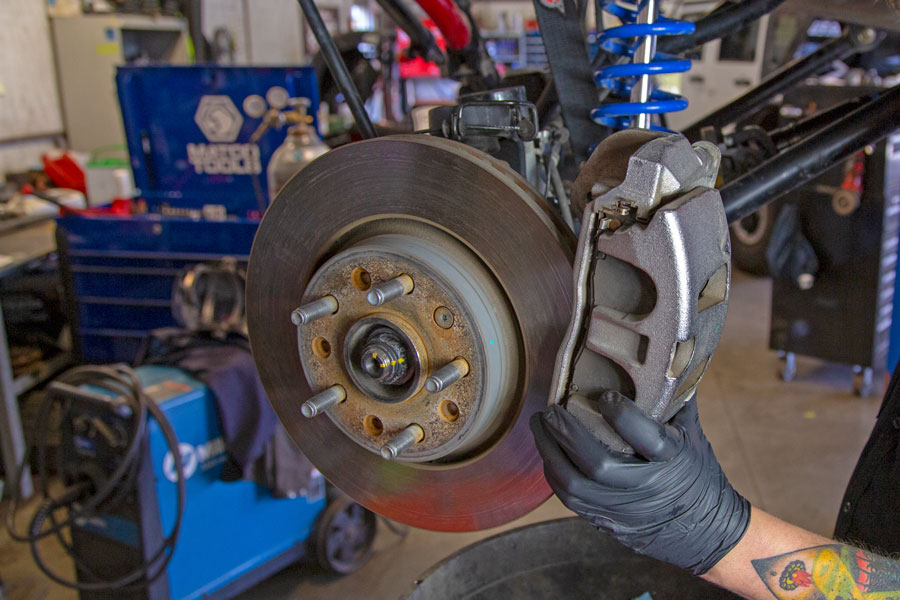
Remove the front caliper.
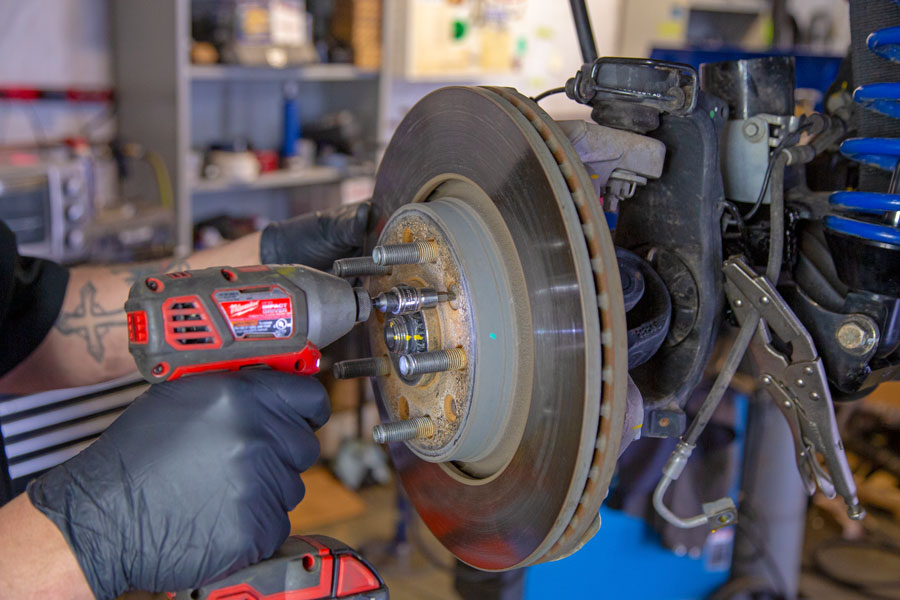
Use the T-30 bit and remove the front brake rotor retaining screw.
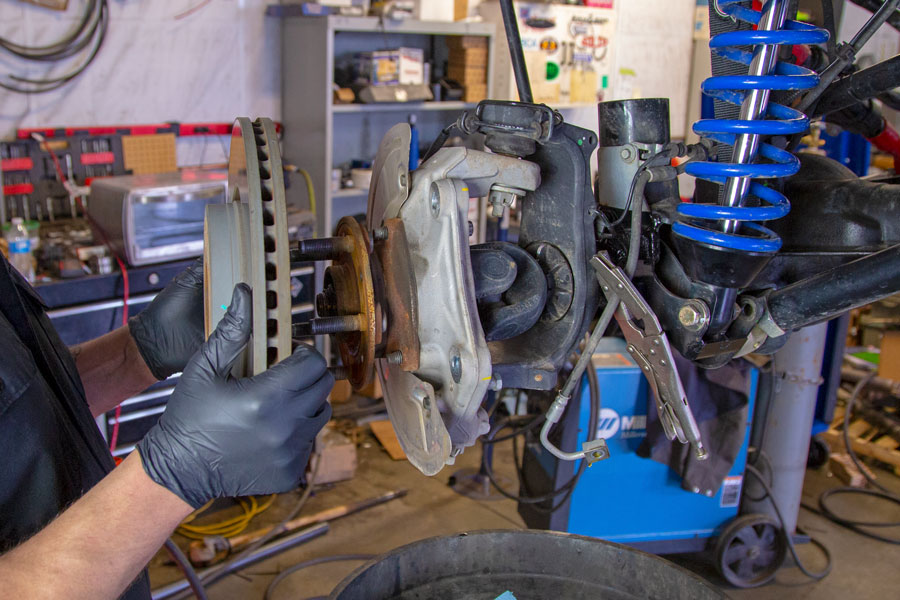
Remove the OE front rotor.
TECH NOTE: The TeraFlex instructions say to bend the front backing plates for more clearance with those huge Delta rotors. We found that between the Delta rotors and the massive Steer Smarts tie rod ends on this JLUR, it was just easier to remove the whole dust shield. No interference and no more pebbles stuck between the two making that nasty screeching noise after a day in the boonies. You can try modding it as suggested by TeraFlex or now is the perfect time to just remove the backing plates.
Start Assembling the front JL Delta Brake Kit:
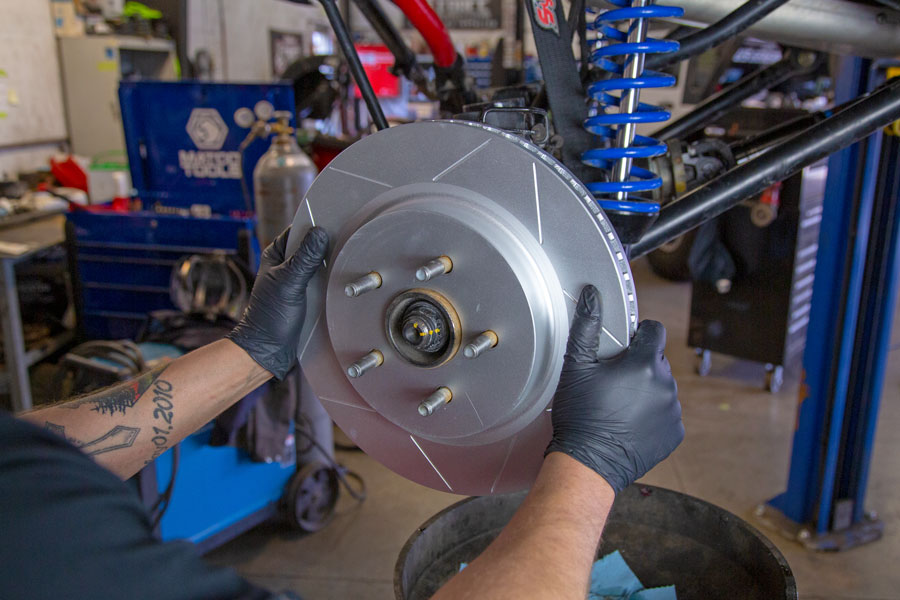
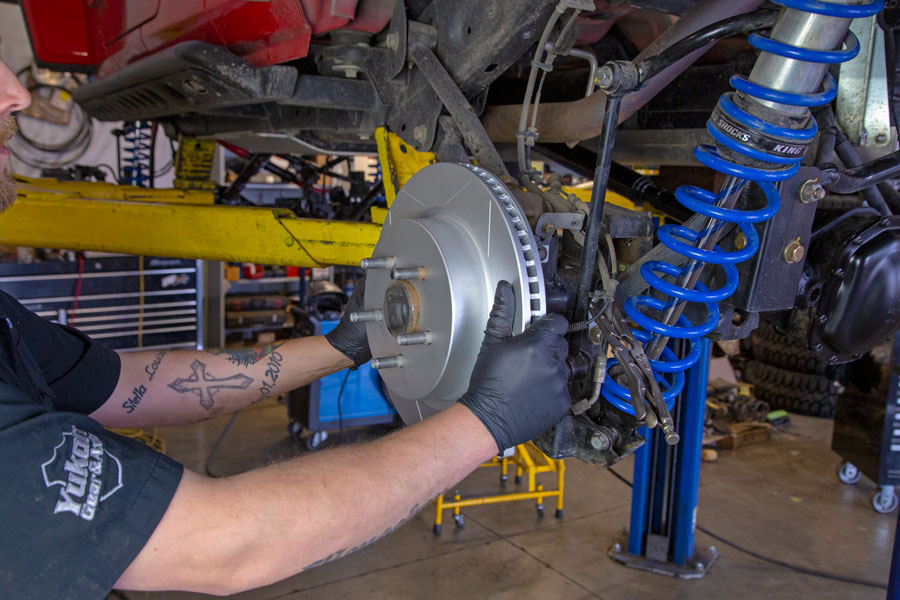
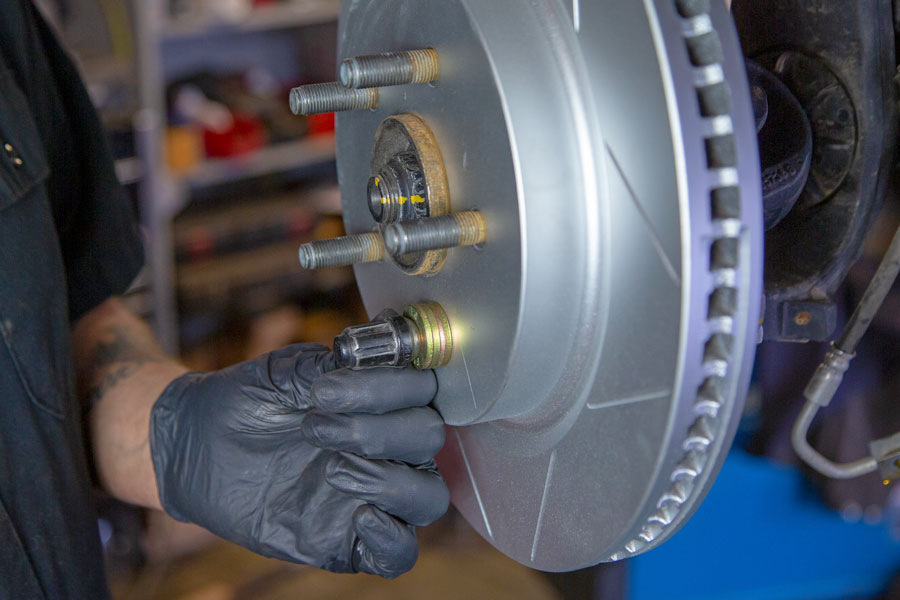
Install the new front Delta brake rotor onto the JL front wheel flange.
To hold the rotor in place while we install the caliper, take a few washers, stack them over one of the wheel studs and screw a lug nuts down hand tight. We really wish TeraFlex had added in the countersunk holes for the rotor retaining screws like the JL factory rotors. That would’ve been a great addition to this already great kit.
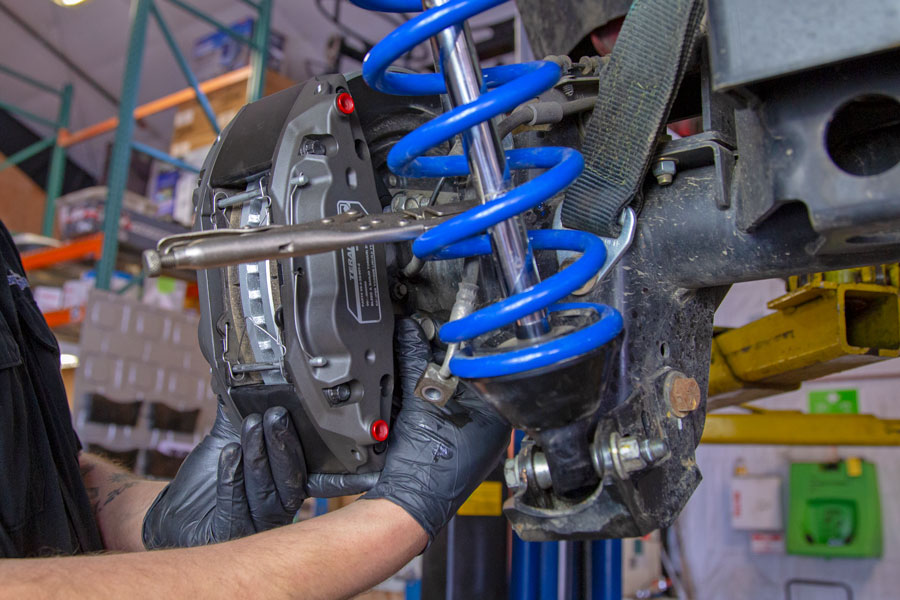
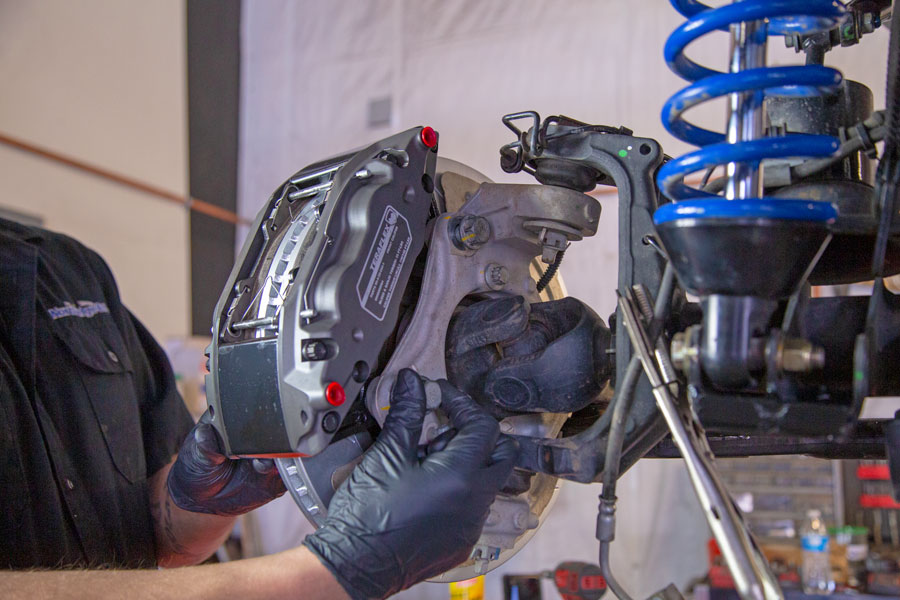
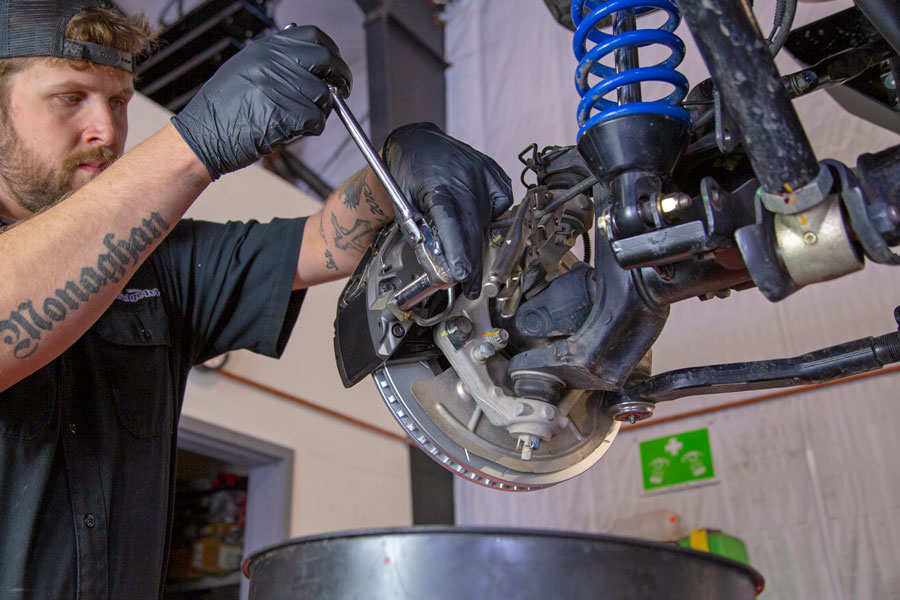
Install the prepped front calipers onto the knuckle, also using blue Loctite on the bolts.
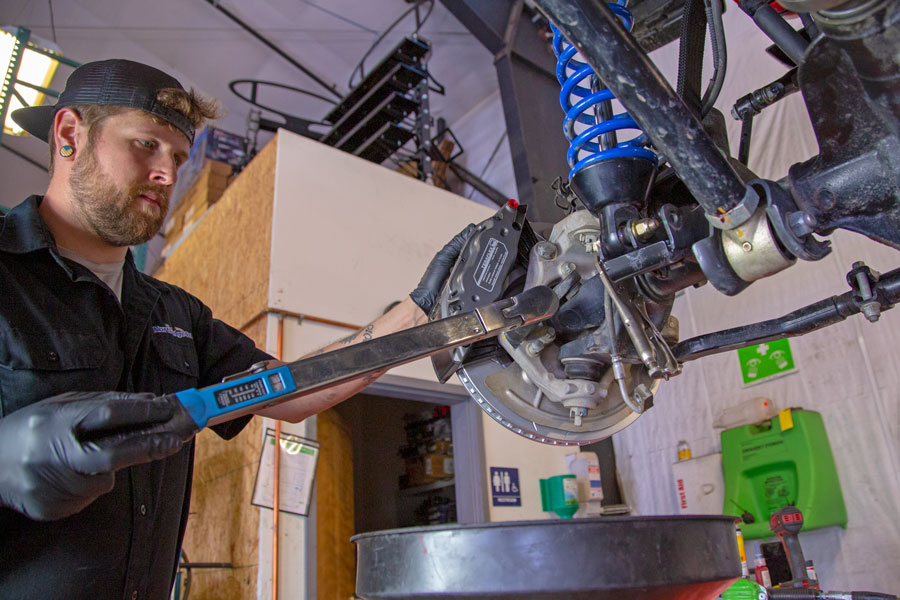
Torque the front caliper bolts to 148 ft-lbs.
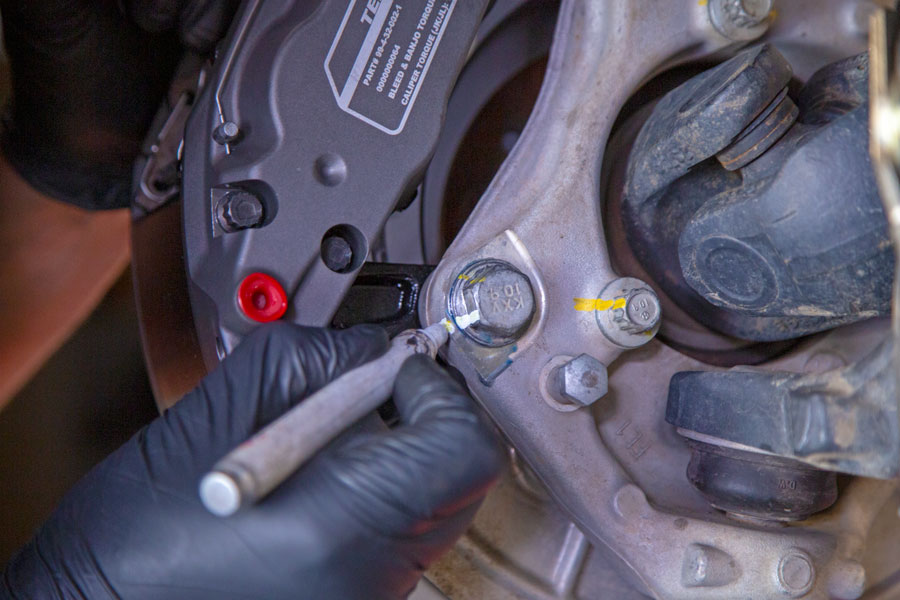
Pro Tip: Use a paint marker to mark all bolt heads after torquing them to specification to remind you which ones are torqued and which ones need to be torqued.
Just like the rear, install the new copper washers on the banjo bolt, screw it in and torque to 25ft-lbs.
Install the check-valve bleeder screw using the same steps as the rear calipers.
BOOM! You’ve got the Delta brake kit installed in the front. Step back and check out your work!
Hold up the OE front brake caliper next to the new TeraFlex Delta caliper…. DANG, those Delta calipers are beefy! Now it’s time to bleed the air out of the system!
Bleed the New TeraFlex Delta Brake System:
Bleeding the system.
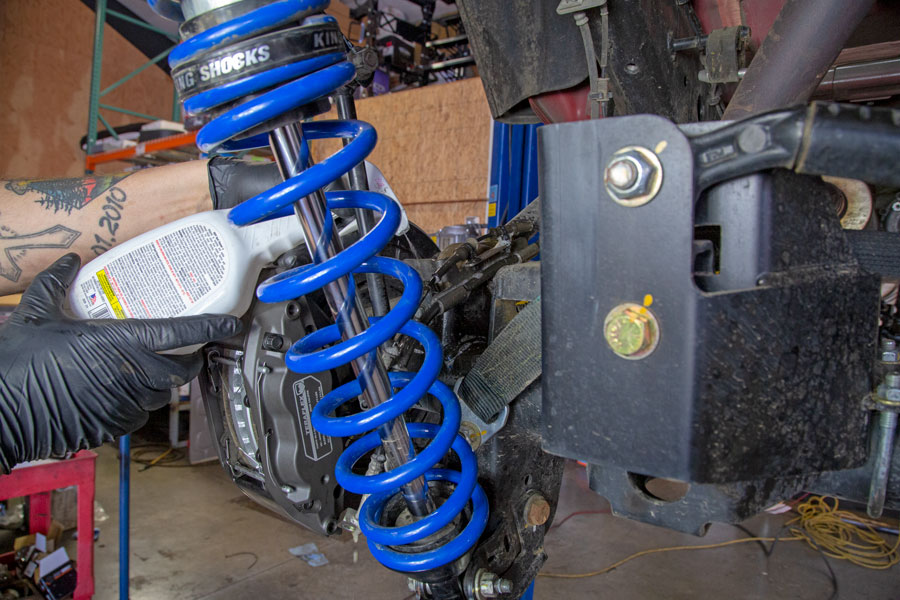
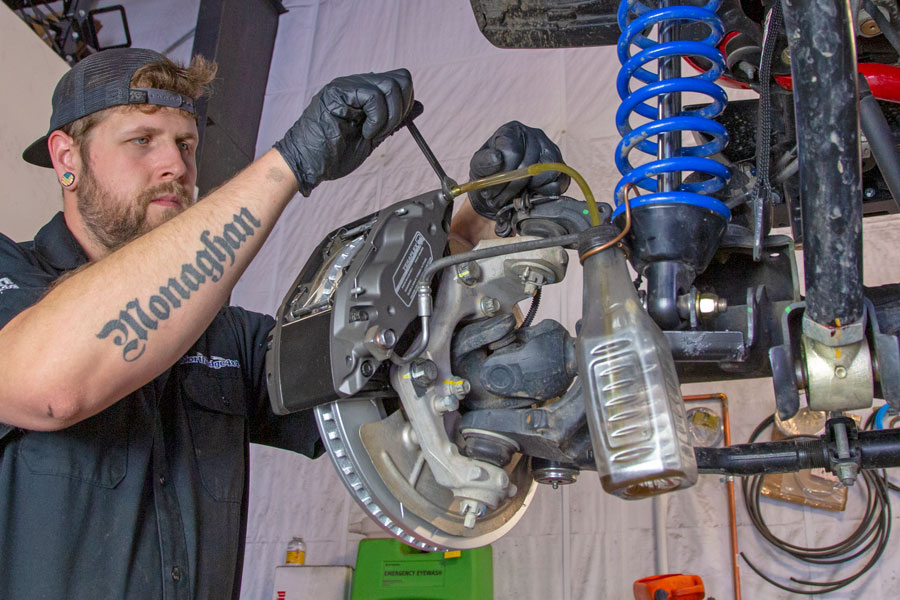
Tech Tip: Our shop crew built that nifty catch can system using an old ice tea bottle, a length of clear tubing and piece of copper tubing to act as a hanger. Hang the bottle by the copper line hanger on the coil spring, slip the clear tubing over the bleeder screw and bleed away. It’s a great way to keep the expelled brake fluid contained and away from your Jeep and the ground.
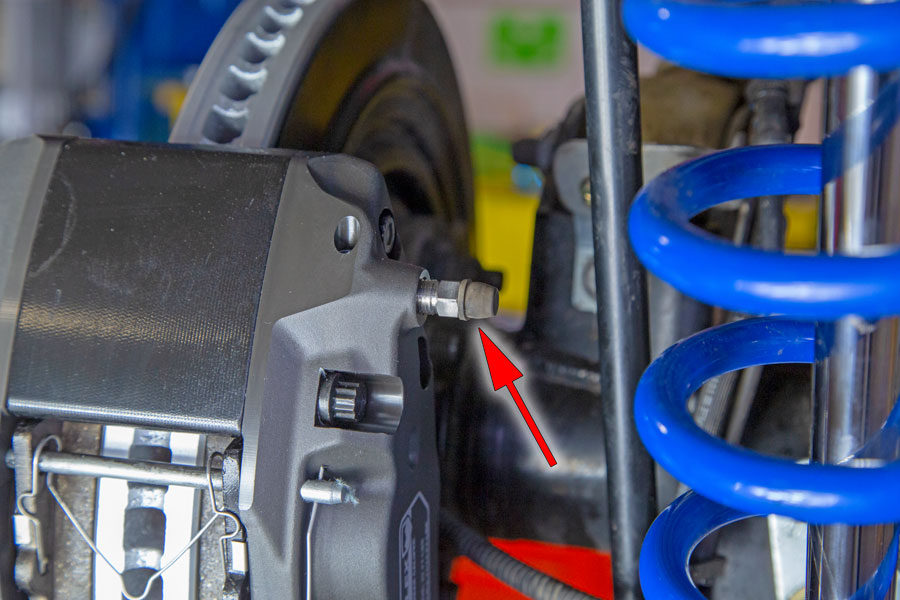
PRO TIP: Reuse the OE rubber bleeder caps to keep dirt and grit out of the Delta Caliper Bleeder Screws.
Bleeding Procedure:
-
Always start at the furthest bleeder away from the master cylinder.
-
Fill the brake master cylinder reservoir with approved brake fluid.We use DOT 3.
-
Unscrew the RH rear (passenger) caliper bleed valve 2 turns.
-
Slowly press the brake pedal to the floor twice.
-
Retighten the bleed valve and torque to 25ft-lbs.
-
Repeat this process for the LH (driver) rear caliper.
-
Repeat this process for the RH (passenger) front caliper.
-
Repeat this process for the LH (driver) front caliper.
-
Start the Jeep and check for firm bake pressure. If not repeat processes.

