SET YOUR VEHICLE
TALK TO A PARTS EXPERT TODAY!
FREE SHIPPING ON ORDERS OVER $70 in the contiguous US lower 48 states

SPECIALS!
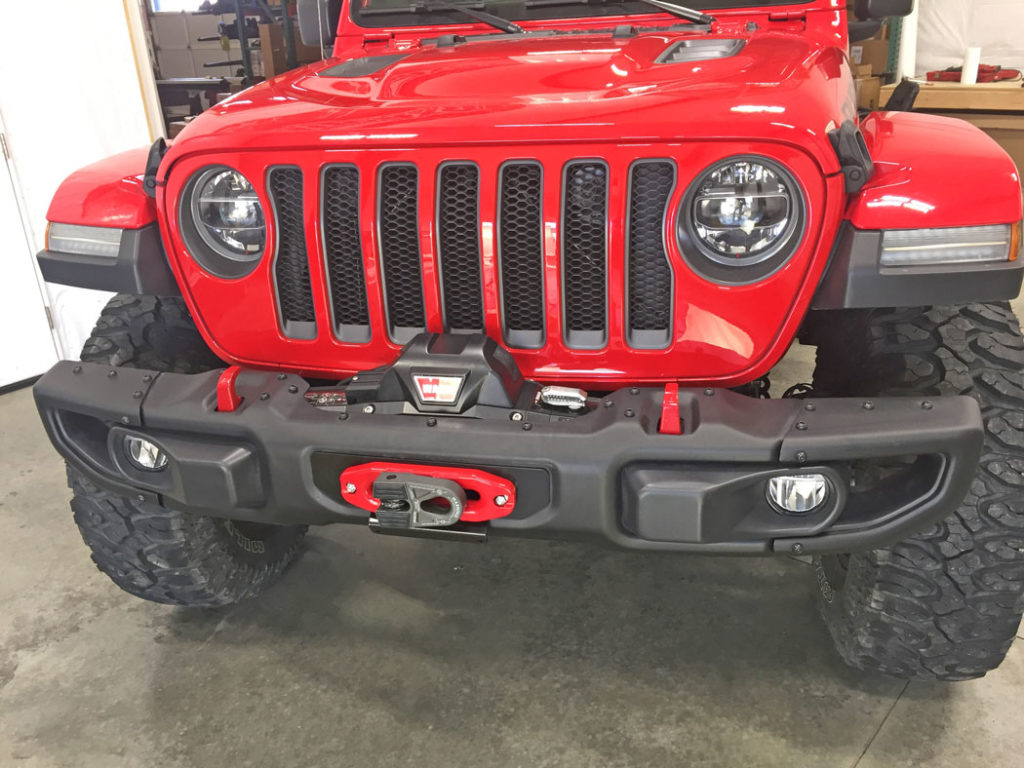
Easy Winch Install for your JL/JT Rubicon
Whether you've already been on off-road adventures in your JL/JT Rubicon or you're gearing up to explore the great outdoors, a recovery Winch is something any Jeep owner can equip their Jeep with to gain peace of mind and incredibly utility from. If you ordered the Steel Bumper Option Group with your Rubicon, it is fairly simple to make happen, you’ll just need a winch and a winch mounting plate. Enter the WARN winch mount kit for the Jeep Wrangler JL and Gladiator Rubicon . This kit bolts in-between the frame rails, accepts up to a 12,000 winch and is pretty easy to install. Some of the parts can be heavy and awkward to lift and hold in place while bolting it up, so it is recommended to have another person help with the install. For the winch, we chose the WARN Zeon 10-S winch, with 10,000 lbs of pulling capacity and 100′ of 3/8″ WARN Spydura winch rope, the Zeon 10-S is a work horse winch designed for long life in hostile environments. For those wanting to run a different winch, the WARN JL winch mounting plate does use the industry standard 10″ x 4.5″ winch bolt pattern, just check with your supplier for any possible fitment issues with your chosen winch.
Where to get this Product:
WARN JL OE Rubicon Winch Plate
WARN Zeon 10-S
Other optional products used for this installation:
Factor 55 Flatlink E
Benefits:
Enables you to bolt a winch into your OE JL/JU Rubicon front bumper.
Ease of installation:
2 Wrenches out of 5
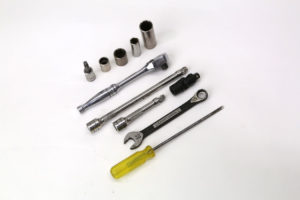
Tools Needed:
-
Small flat blade screwdriver
-
12mm, 13mm, 17mm sockets
-
18mm deep socket
-
Ratchet, extensions, wobbly
-
13mm wrench
-
T45 Torx bit
Extras:
-
Blue Loctite (or similar medium strength thread lock) for extra insurance on all threaded fasteners.
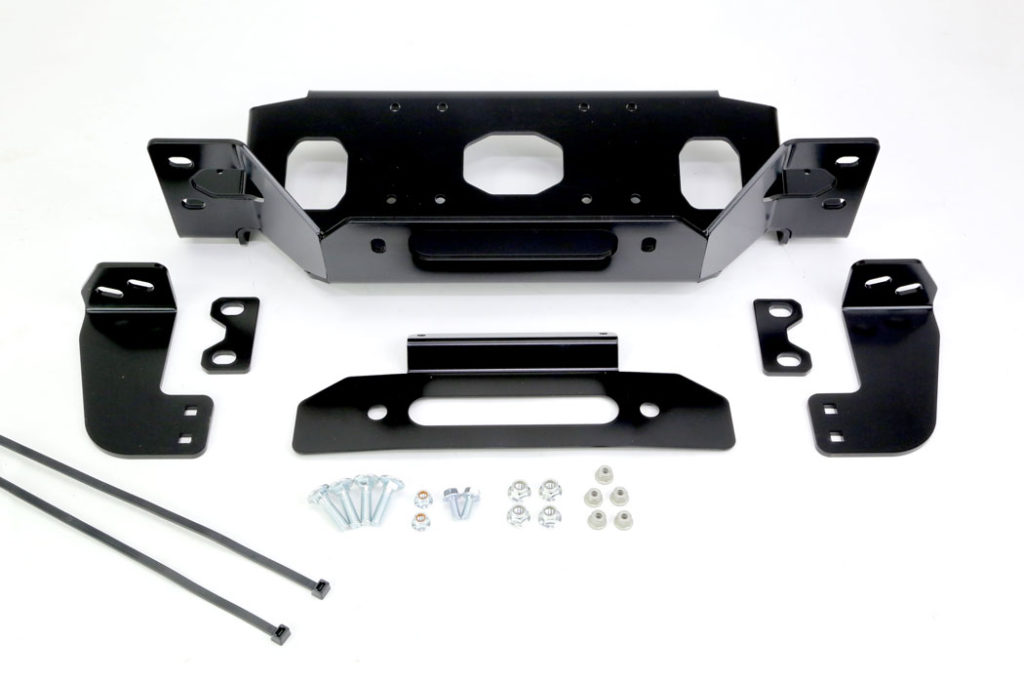
What comes in the box:
The HOW-TO:
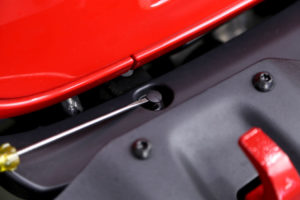
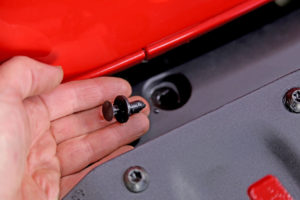
Start by removing the retaining clips holding the plastic filler plate between the grille and the front bumper. Use a small flat blade screwdriver to pry up the center locking pin and then pull the whole clip up and out of the hole. The filler piece then lifts up and off the frame rails.
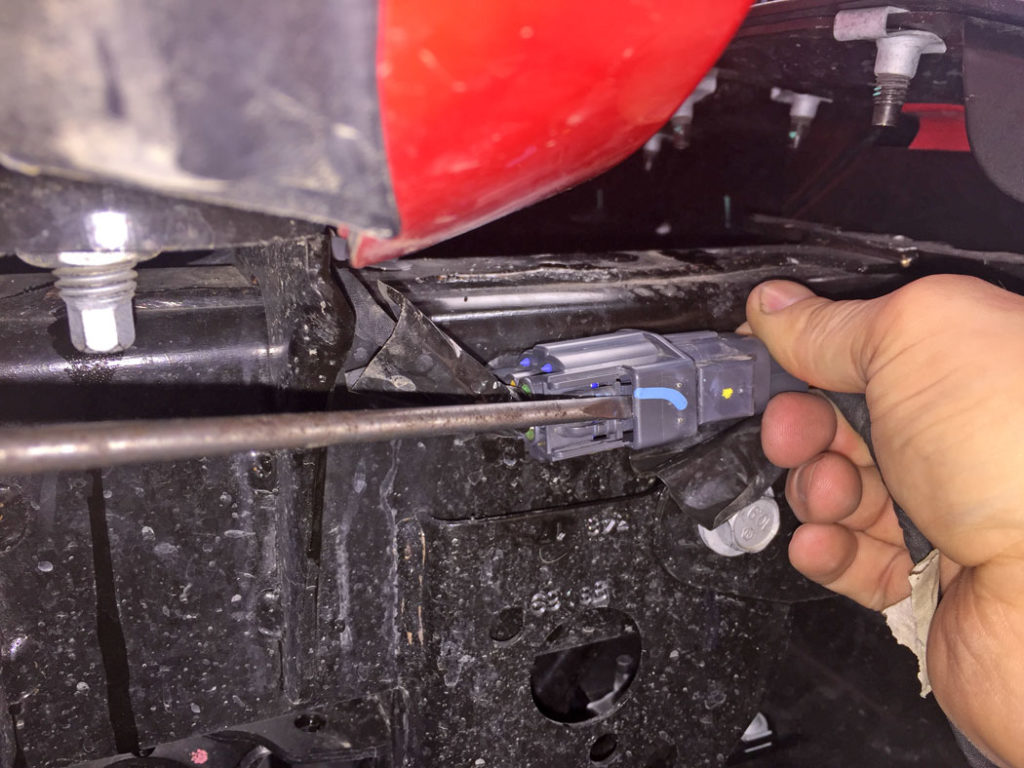
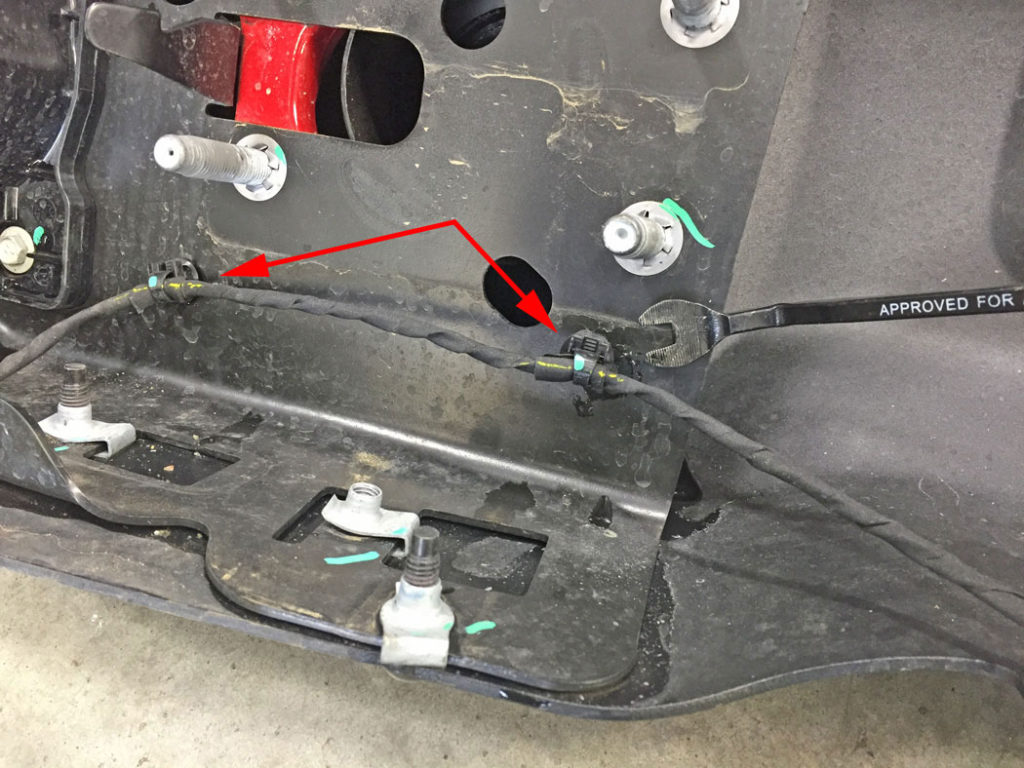
Disconnect the wiring plug located on the passenger frame rail just behind the bumper. Slide a small flat blade screwdriver in through the backside of the plug, push the latch down and wiggle the bumper-side plug out from the frame-side plug.
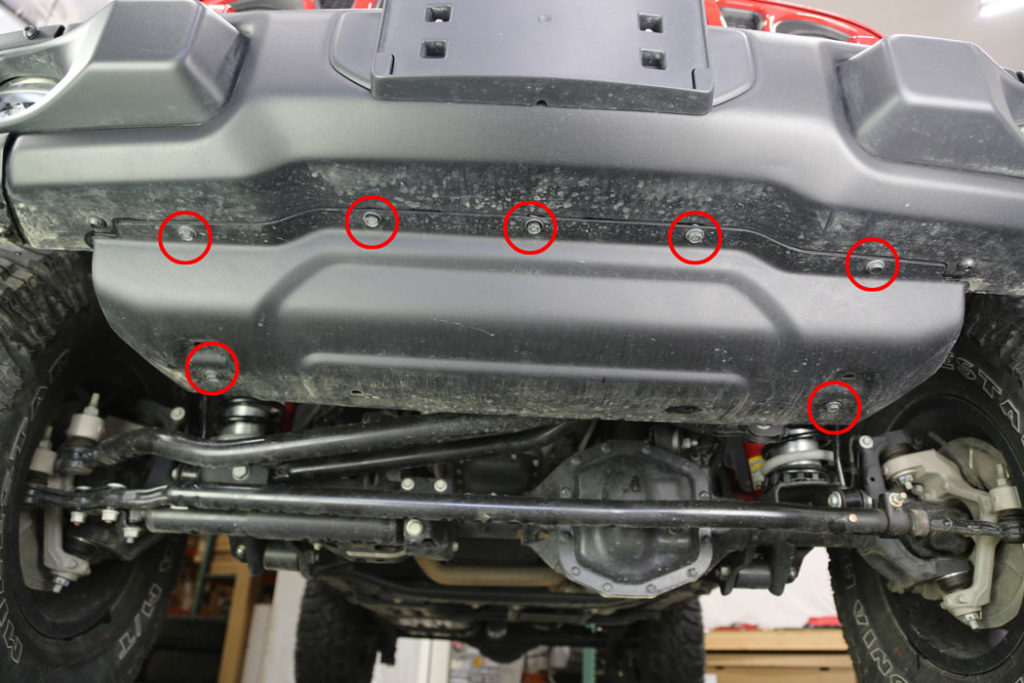
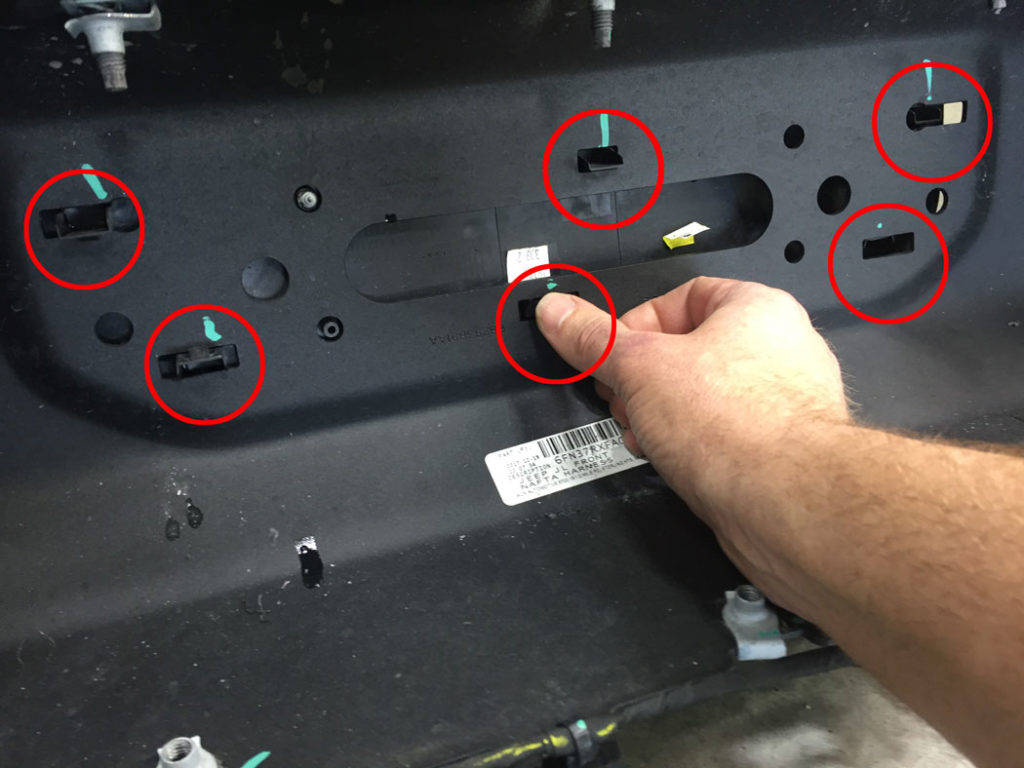
Using a 13mm socket, remove the seven bolts (circled in red) holding the OE front skid plate in place and set it aside.
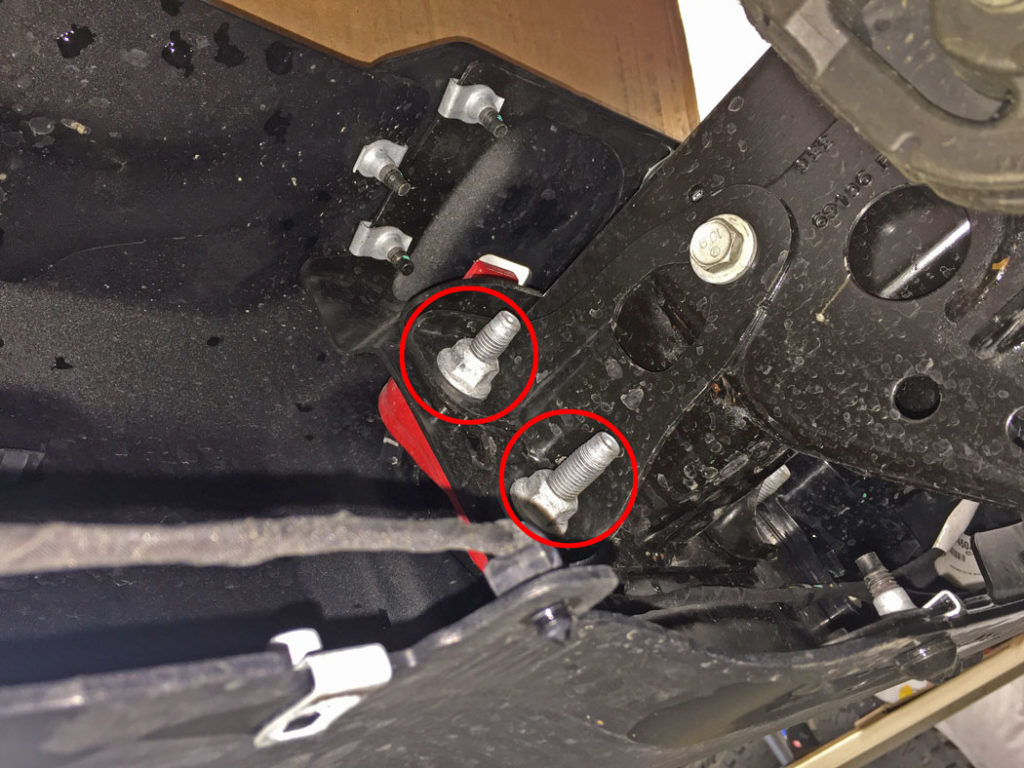
Use a 18mm deep socket to remove the eight nuts holding the Rubicon bumper to the frame rails, there are two on each side of both the left and right frame rail ends. The left hand side outer bolts are circled in red.
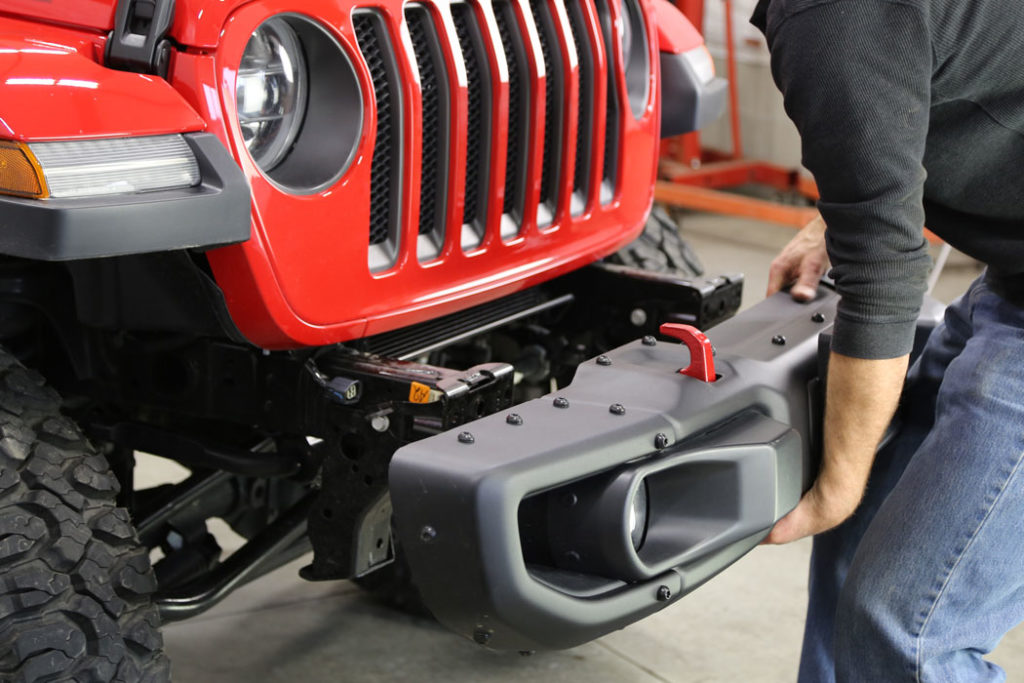
Remove the bumper from the front of the JL and set it on a stable surface to work on.
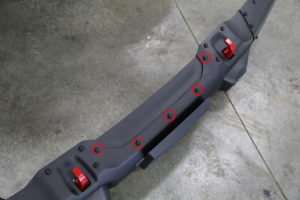
Use a T45 Torx bit to remove the five bolts (circled in red) holding the cover plate to the JL Rubicon winch bumper.
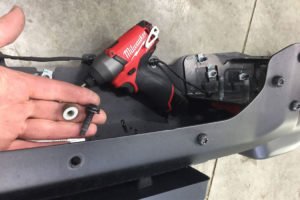
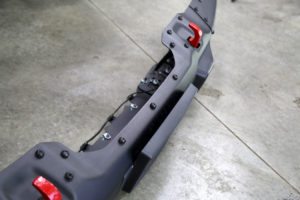
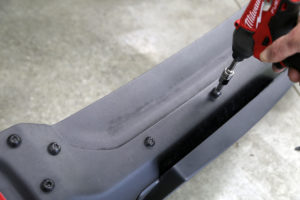
For cosmetic purposes, reinstall the T45 bolts back into their respective places using a 13mm the supplied M8 x 1.25mm hex nuts and tighten.
Remove the front license plate base by unclipping and pushing the six retaining clips forward.
Pull the clips holding the fog lamp wiring harness from the back face of the bumper. You can use a small screwdriver or clip puller tool like the one pictured.
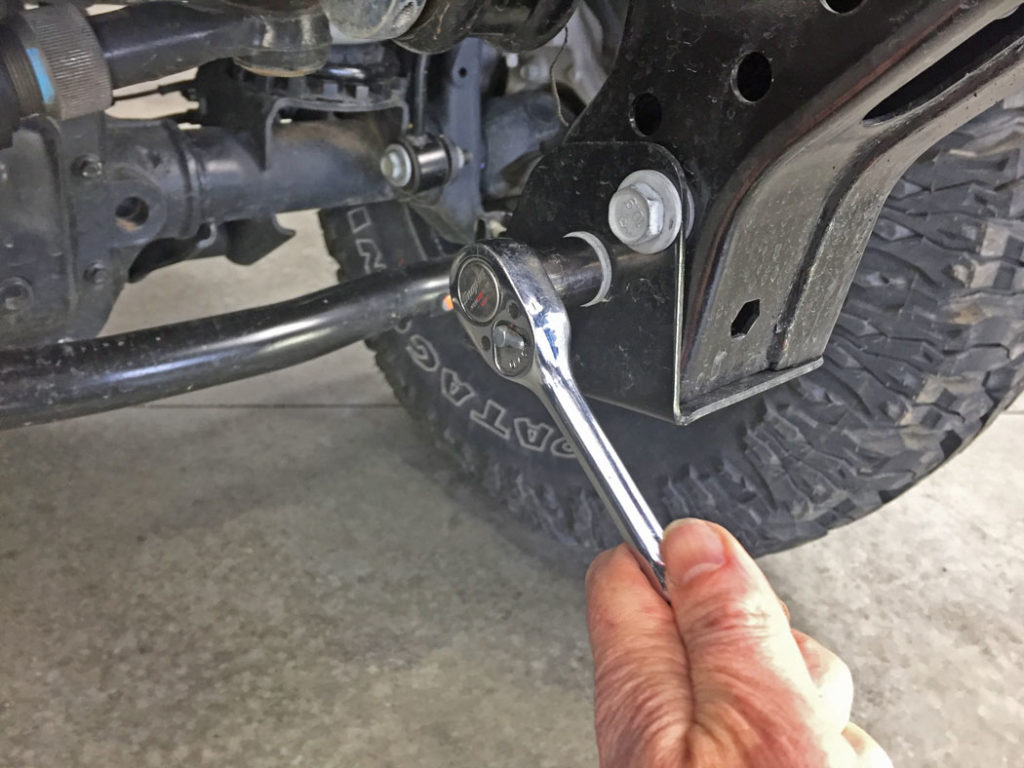
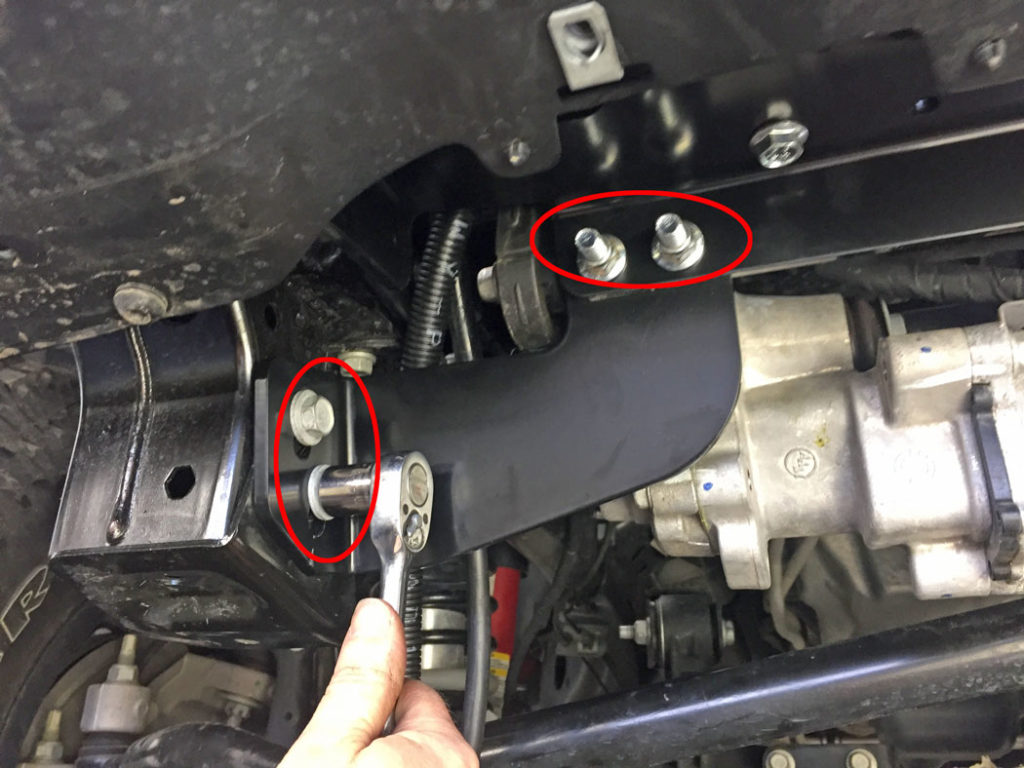
Remove the four 17mm bolts holding the skid plate mounting brackets (two on each frame rail). Keep the bolts and brackets handy, they will be used in the next step.
Install the WARN winch plate brackets over the top of the skid plate brackets on both the right and left frame rails using the OE hardware from the previous step. Use a little blue Loctite on the threads for extra security. DO NOT TIGHTEN THE BOLTS AT THIS TIME, LEAVE THEM A LITTLE LOOSE.
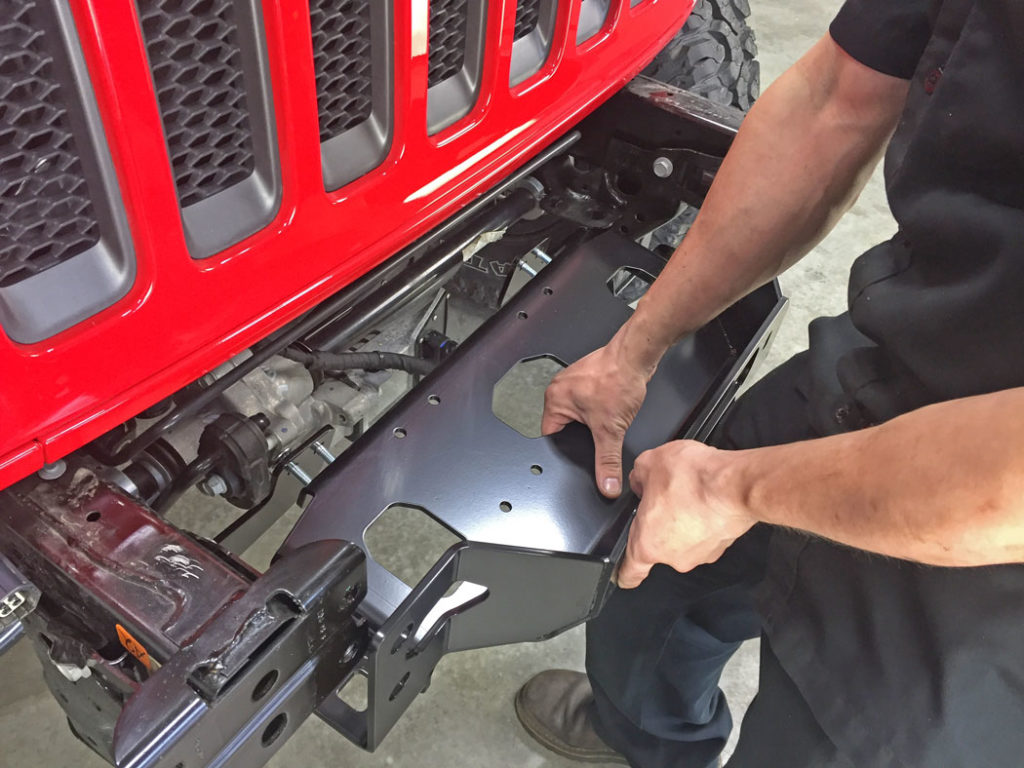
Install the WARN winch plate between the frame rails and bolt it up to the WARN winch plate brackets using the included M10x1.5 carriage bolts and hex nuts. Use a little blue Loctite on the threads for extra security. DO NOT TIGHTEN THE BOLTS AT THIS TIME, LEAVE THEM A LITTLE LOOSE.
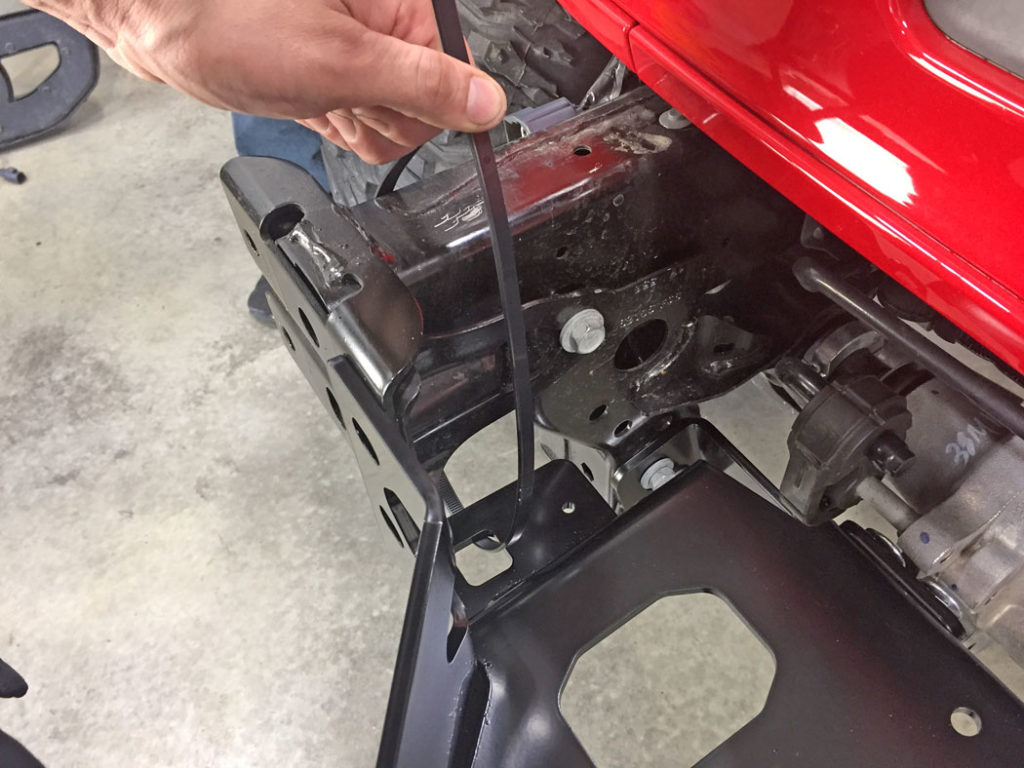
Use the supplied zip ties to help hold the winch plate in place. Note the routing of the zip tie through the hole in the winch plate.
Hold the winch plate up so the mounting holes of the winch plate align with the mounting holes on the bumper mounting plates and slowly tighten the zip ties. These zip ties will help hold the winch plate in place while installing the Rubicon bumper back in place.
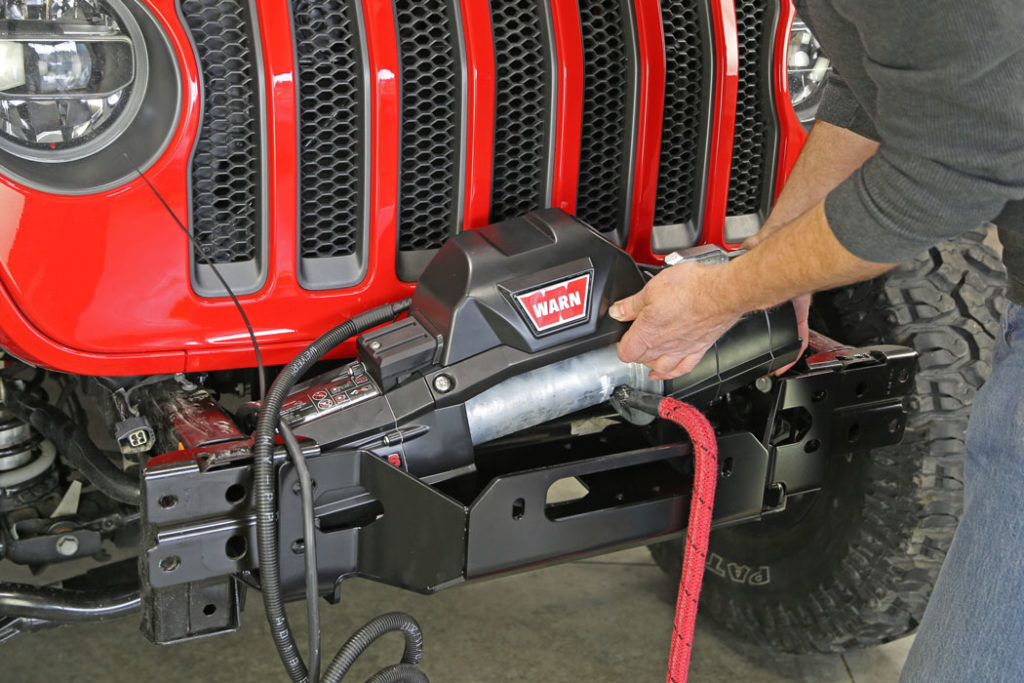
Set the winch down into the winch plate. It is a tight fit, we found it worked best to slide one end in to the winch plate first. Make sure to route your winch rope (or cable) through the fairlead hole on the winch plate. Check the winch plate mounting hole alignment and retighten the zip ties if needed to keep the holes lined up.
Install the winch plate spacers onto the outer sets of frame mounting studs on the Rubicon bumper.

Thread the winch rope through the fairlead hole and reinstall the OE Rubicon bumper onto the front of the frame rails. You may need to wiggle and push the bumper a bit to get it to slide all the way in.
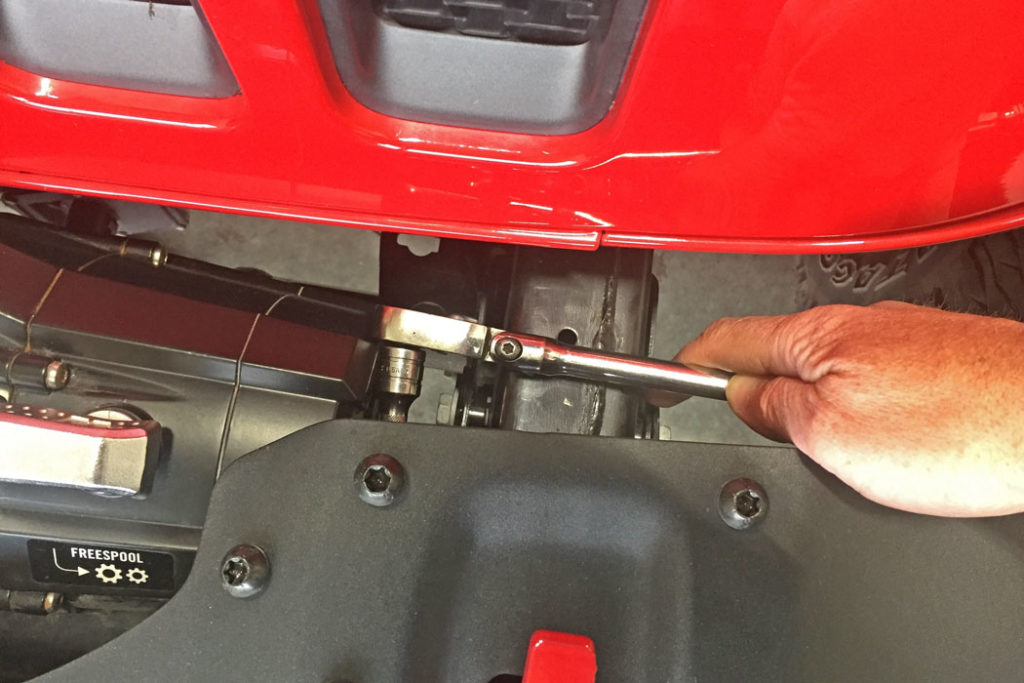
Using the 18mm deep socket, reinstall the eight nuts securing the bumper to the frame rail. The outer two nuts on each frame rails are easy to get to, but it is quite tight to get to the inner nuts. We found it easiest to get the top inner nuts from the top side of the bumper and the bottom inner nuts from underneath the vehicle. A wobbly and an extension or two will help you get to them a little easier. Use a dab of blue Loctite on each stud and torque the nuts down tight.
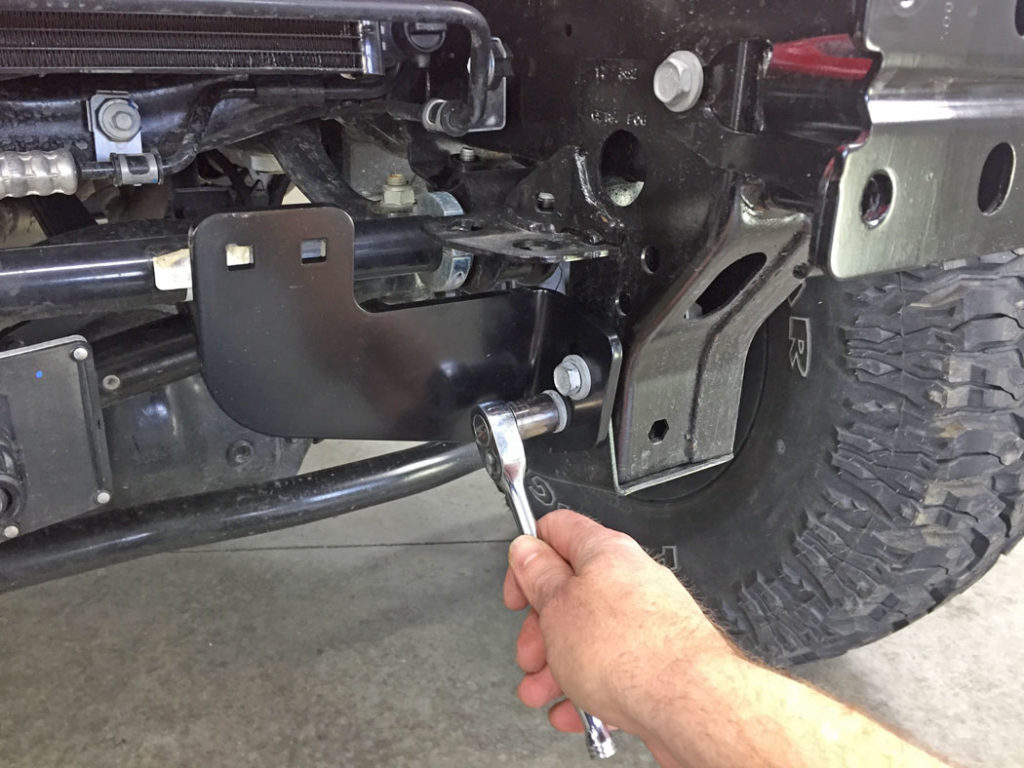
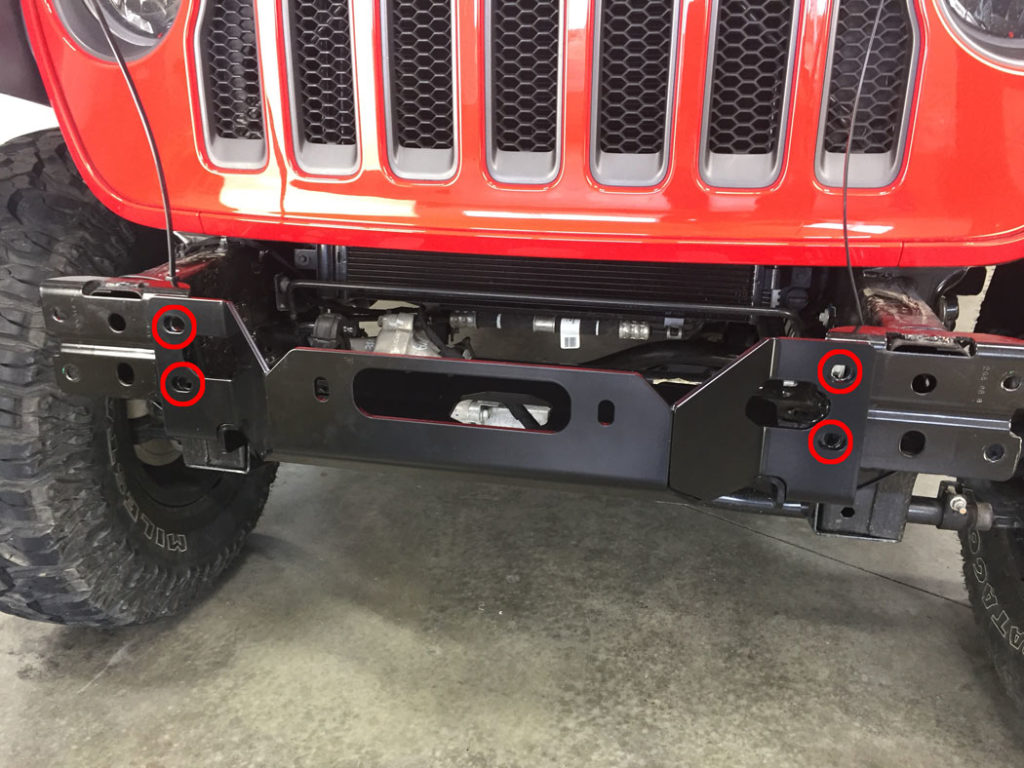
With the eight main bumper nuts installed and torqued down, it is time to tighten the winch plate bracket mounting bolts, four on the right hand side (circled in red) and four on the left hand side.
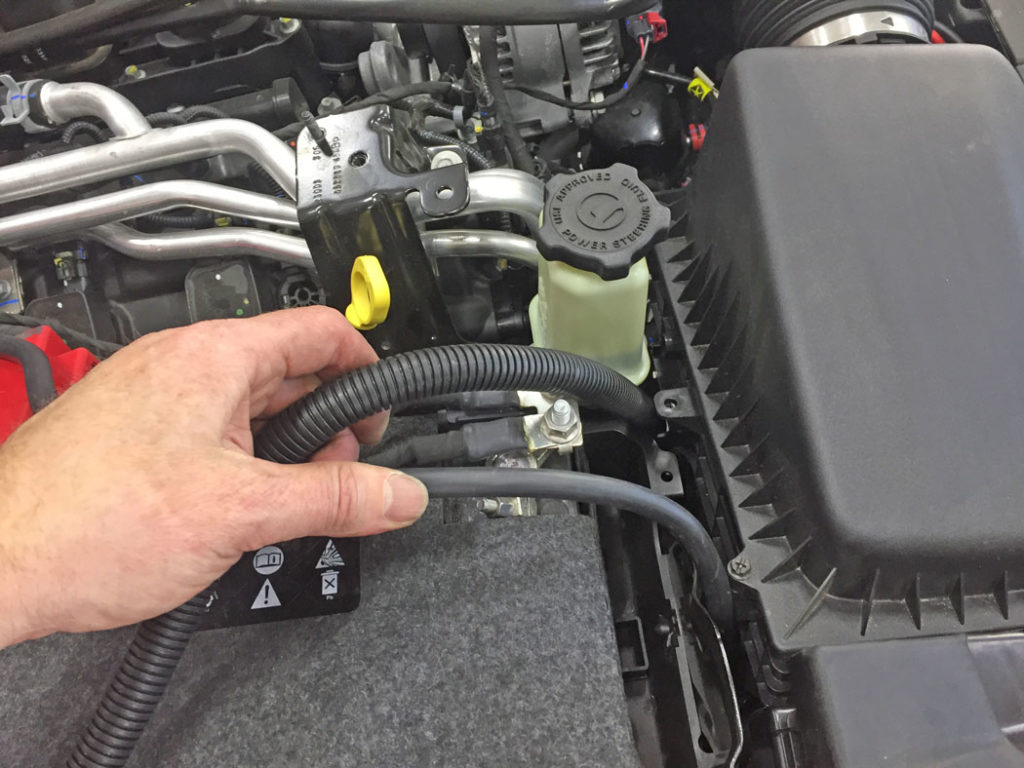
Route the winch power and ground cables up into the engine compartment. We routed ours up between the battery box and the air filter box. Use zip ties to secure the winch power and ground cables.
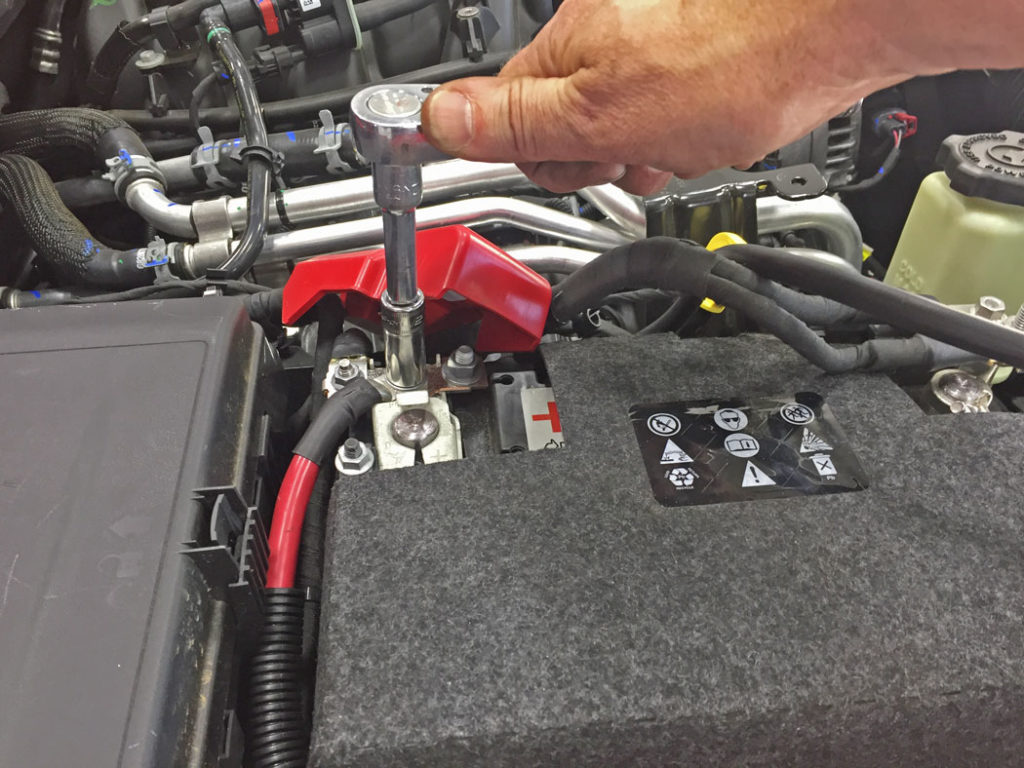
We used a 13mm socket to remove the nut and then connected the winch power cable to the main stud on the positive lead of the battery.

We then used a 13mm wrench and connected the winch ground cable to the main ground stud on the battery terminal.
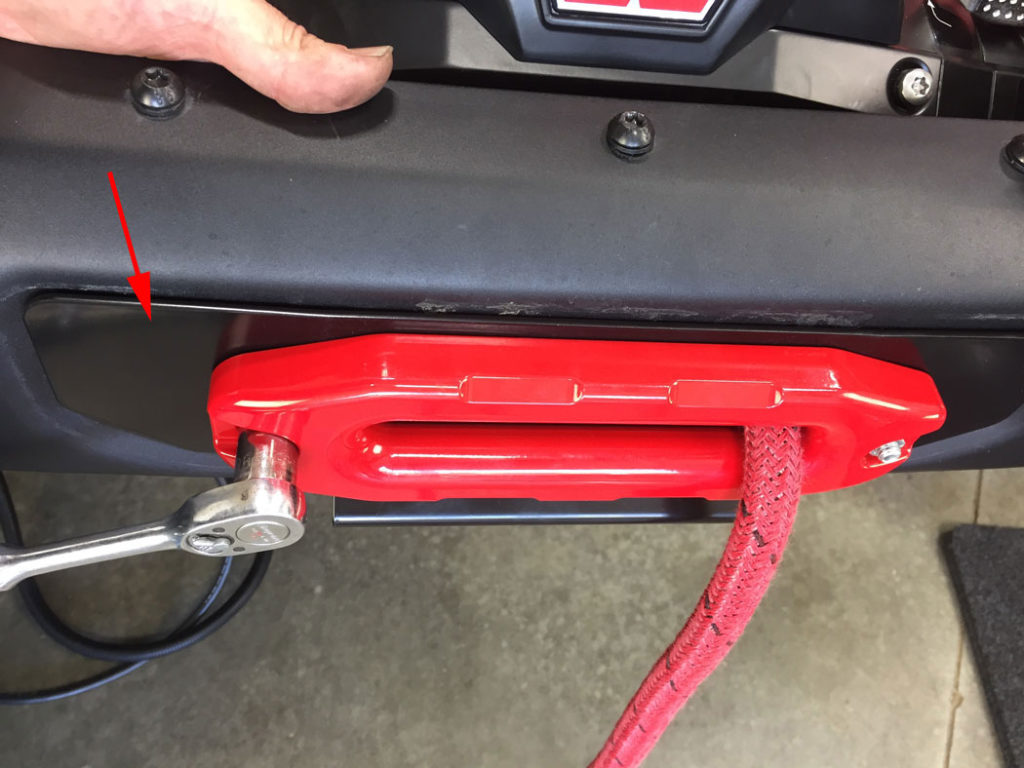
Install the WARN filler plate (red arrow) along with the fairlead and mounting bolts and tighten fully. We used a red Maximus 3 fairlead* to color match the Firecracker Red paint on our JLU Rubicon. *WARN does include an aluminum fairlead with their Zeon 10-S winch, but we really wanted the color matching red fairlead for looks.
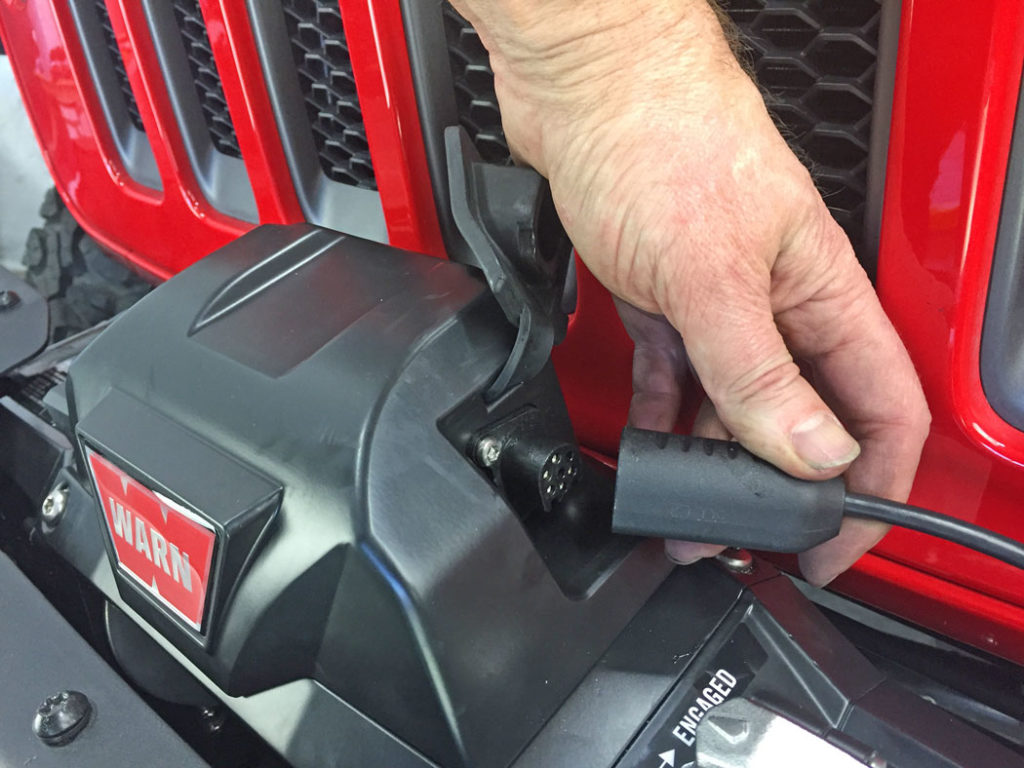
Plug in the winch controller. On the ZEON winch it is located on the side of the winch control box under a rubber protective cover.
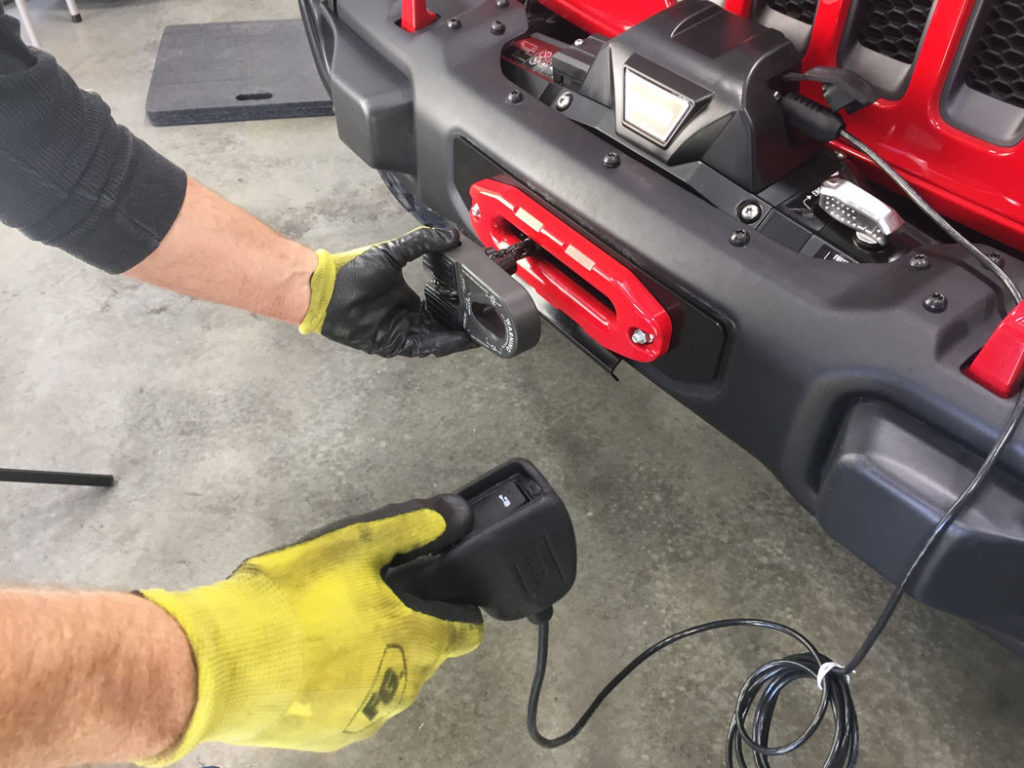
Use the controller to spool in the winch rope. Go slow and wind the rope in as evenly as you can. We used a Factor55 Flatlink E* for the rope end. The Flatlink shackle mount stores flat up against the fairlead for a cleaner look and more protection for your expensive winch rope.
*WARN does include a traditional style hook with the Zeon 10-S.
TO FINISH THE INSTALL:
Go over all mounting bolts to make sure they are tight. Install license plate to the flange on the fairlead filler plate. Secure the fog light harness to the winch plate using the OE Christmas tree clips. Reinstall the factory skid plate using the factory hardware. Reconnect the plug for the factory fog lights.